


Another upgrade we decided to do to the 1987 Buick Grand National at the same time as we were doing the front upper / lower tubular a-arms was to replace the stock caliper rubber brake hoses with new braided lines.
Braided hoses eliminate the flex (swelling) issue caused by OEM rubber hoses.
Which means you get a firmer feeling brake pedal.
(and it’s always a good thing to be able to stop better!)
This is a relatively easy, beneficial, basically inexpensive upgrade to do on any Turbo Buick.
Of course, a must to do with this job is bleeding your brakes afterwards, so, easy install of new components, but bleeding brakes isn’t a real fun job. Especially by yourself!
(Just FYI, the calipers on this particular Buick GN are the upgraded dual piston S10 with spindles & 11″ rotors conversion from 98-05 blazer 2wd)
.
COMPLETION TIME:
* about 30 minutes
.
PARTS:
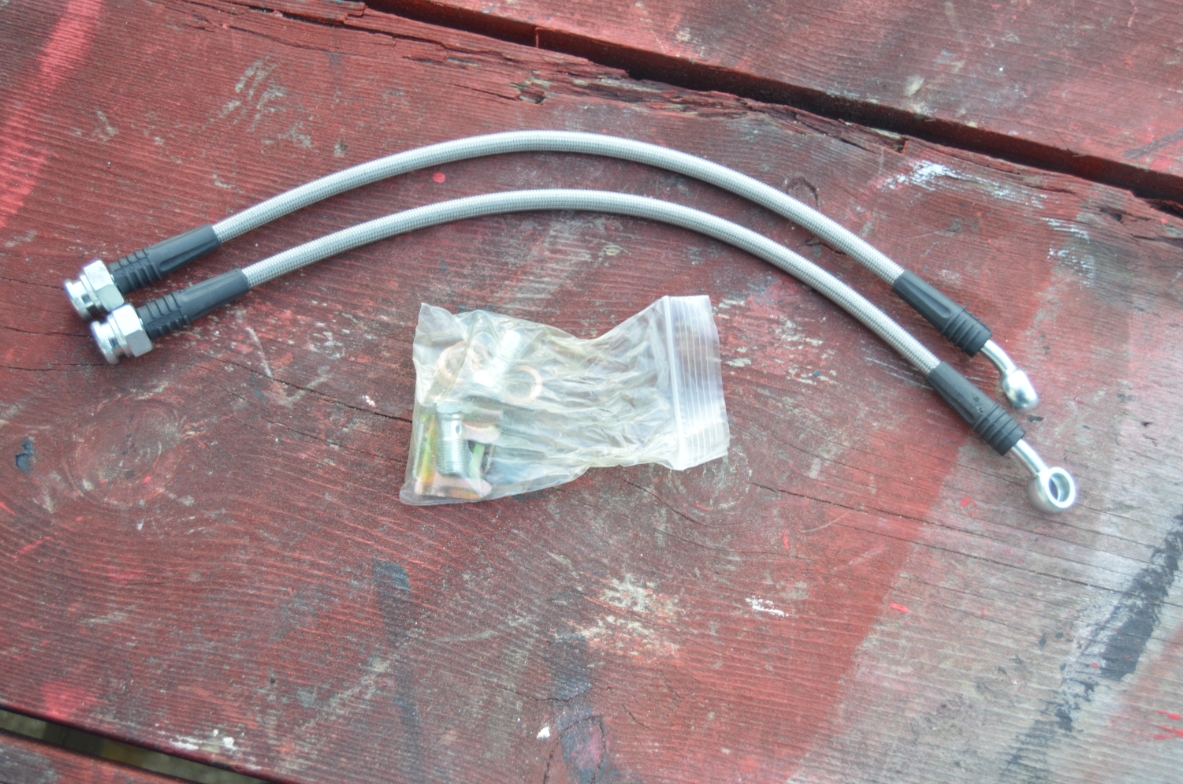
* set of braided brake hose ($37/set of 2, 15″ long, off ebay, make sure you get the correct banjo bolts! 10mm x 1.5 – some sellers are supplying the wrong size! The proper bolt should be course thread)
* brake fluid
.
TOOLS:
* 11mm, 18mm, 5/8″ wrenches
.
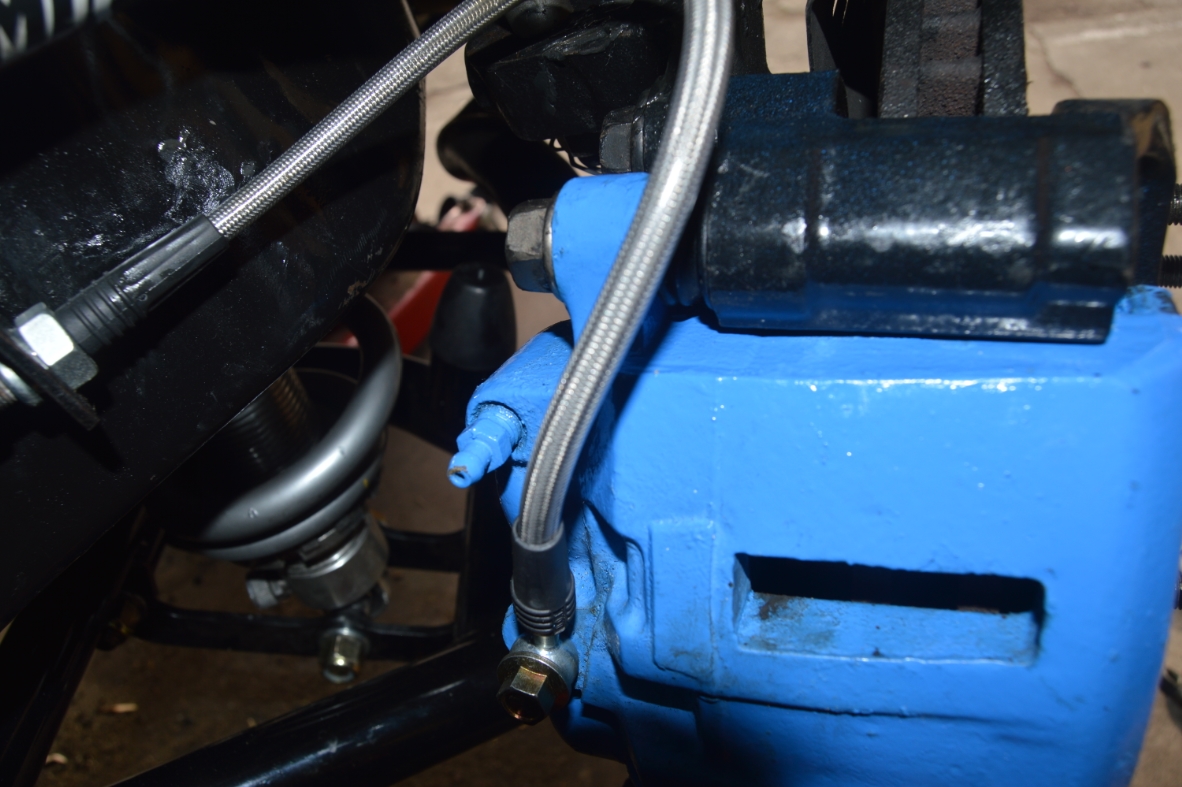
NEW FRONT BRAIDED BRAKE LINE:

.
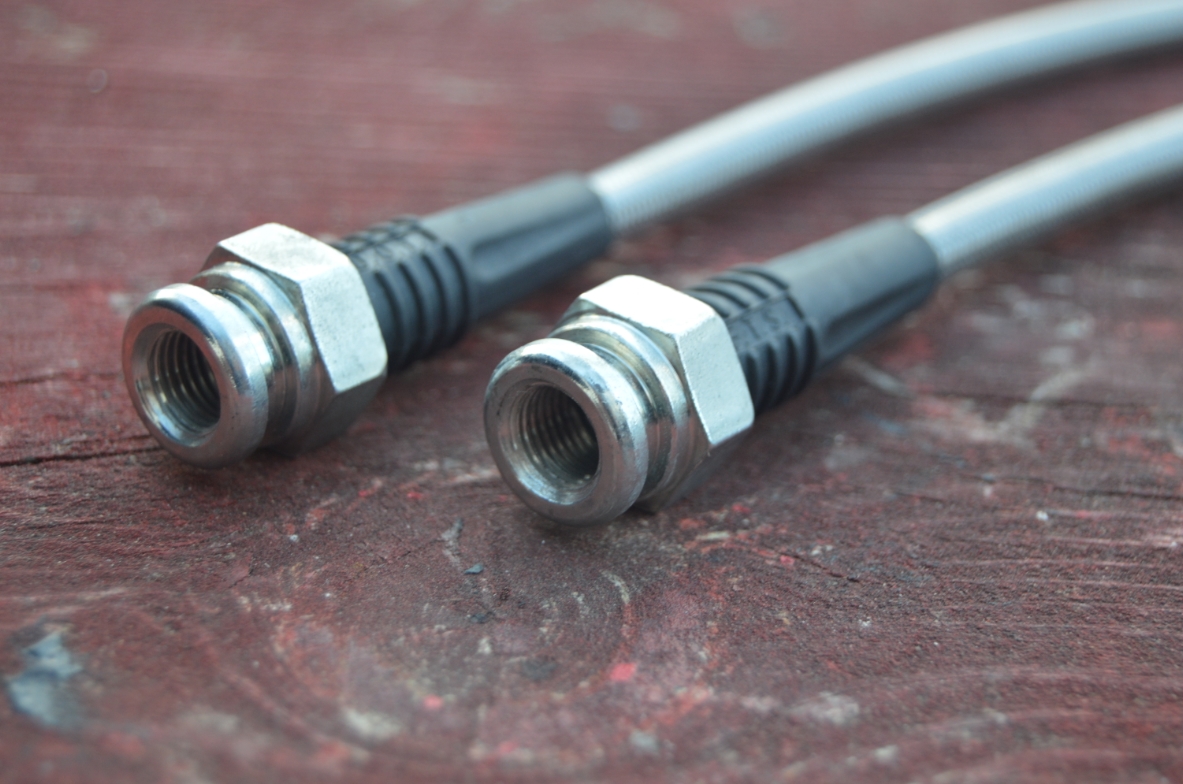
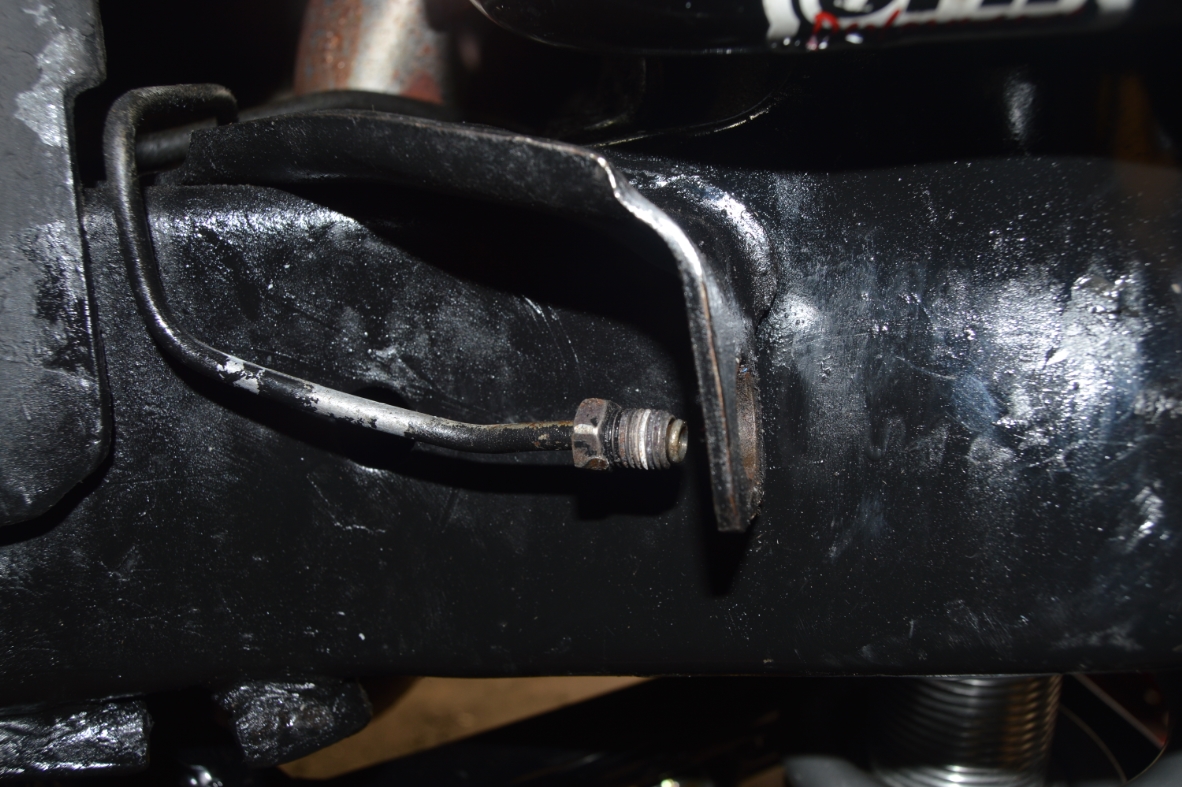
COMPARISON OLD RUBBER HOSE VS NEW BRAIDED LINE:

.
HOW-TO:
1. You can probably do this job with the wheels still attached, and without it being up on ramps or jack stands.
(we already had the car up since we were doing other tasks)
Prepare yourself for brake fluid to be leaking out when you remove the lines!
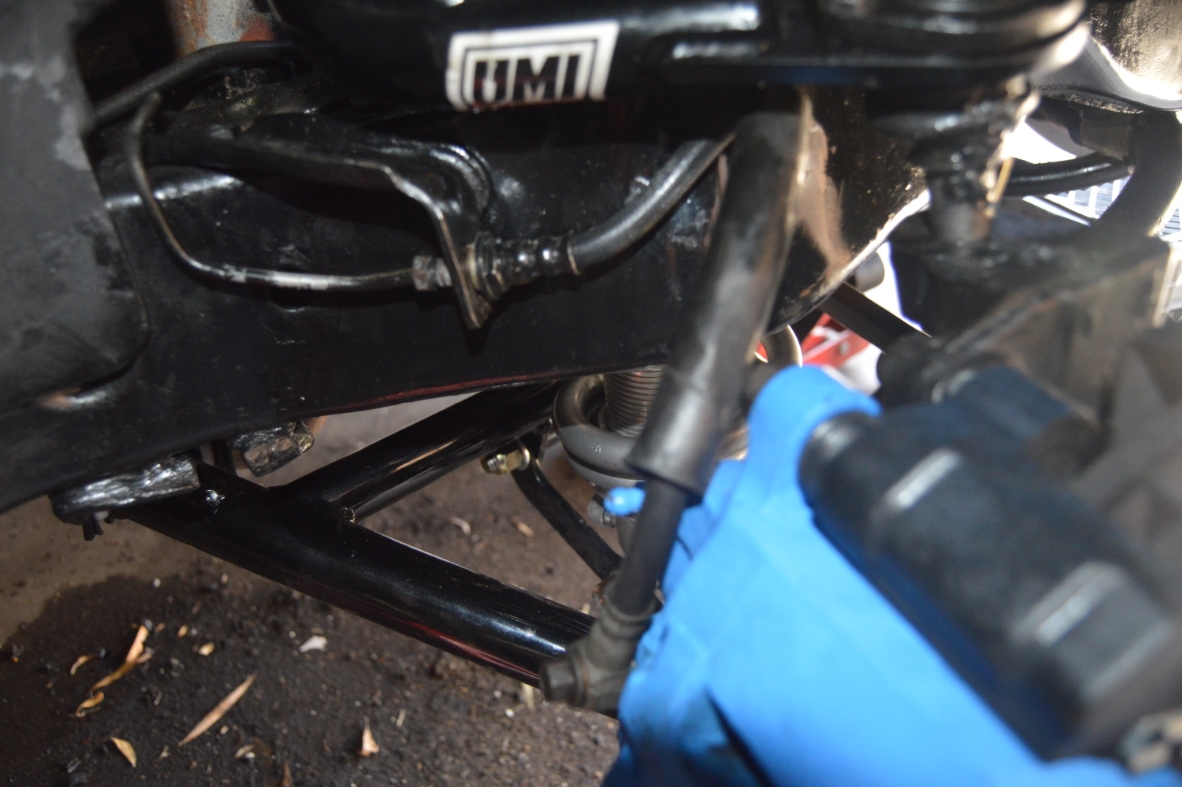
2. Remove the banjo bolt from the caliper.
3. Unscrew the other end of the hose (on the frame side), using an 11mm wrench on the existing brake line, and a 5/8″ wrench on the hose side.
.
.
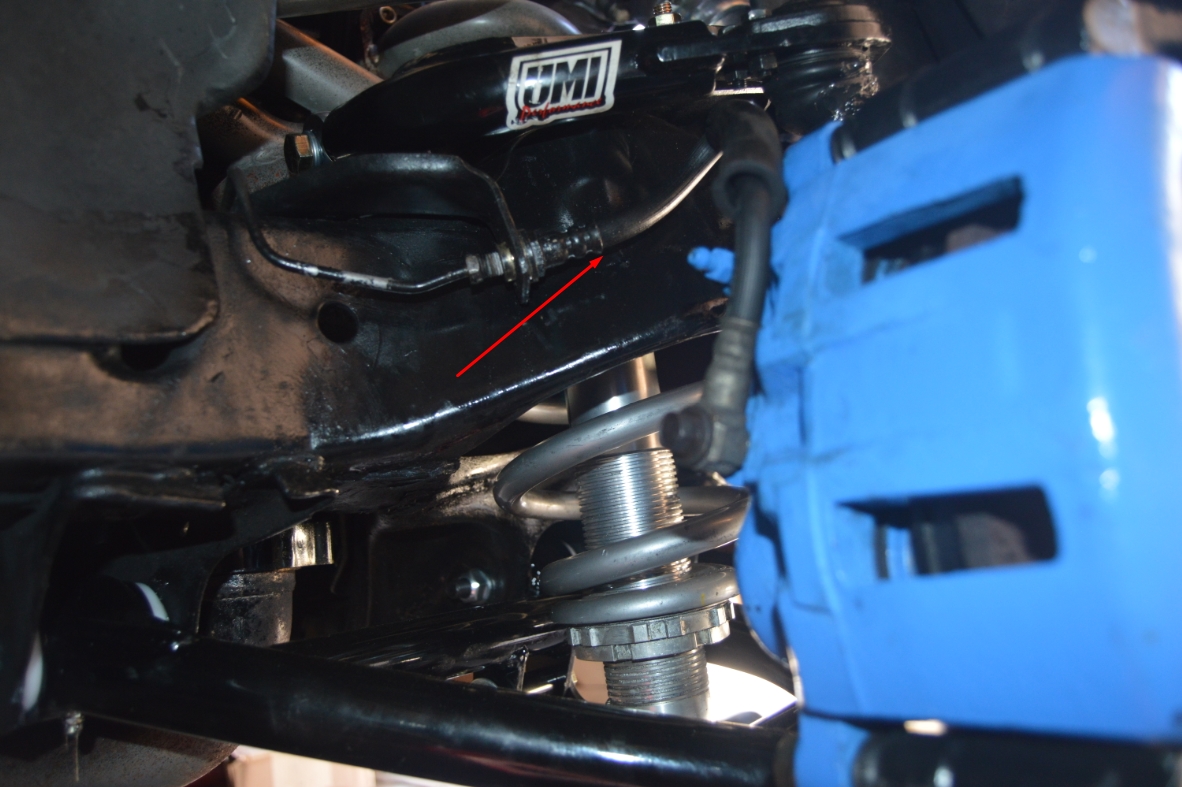
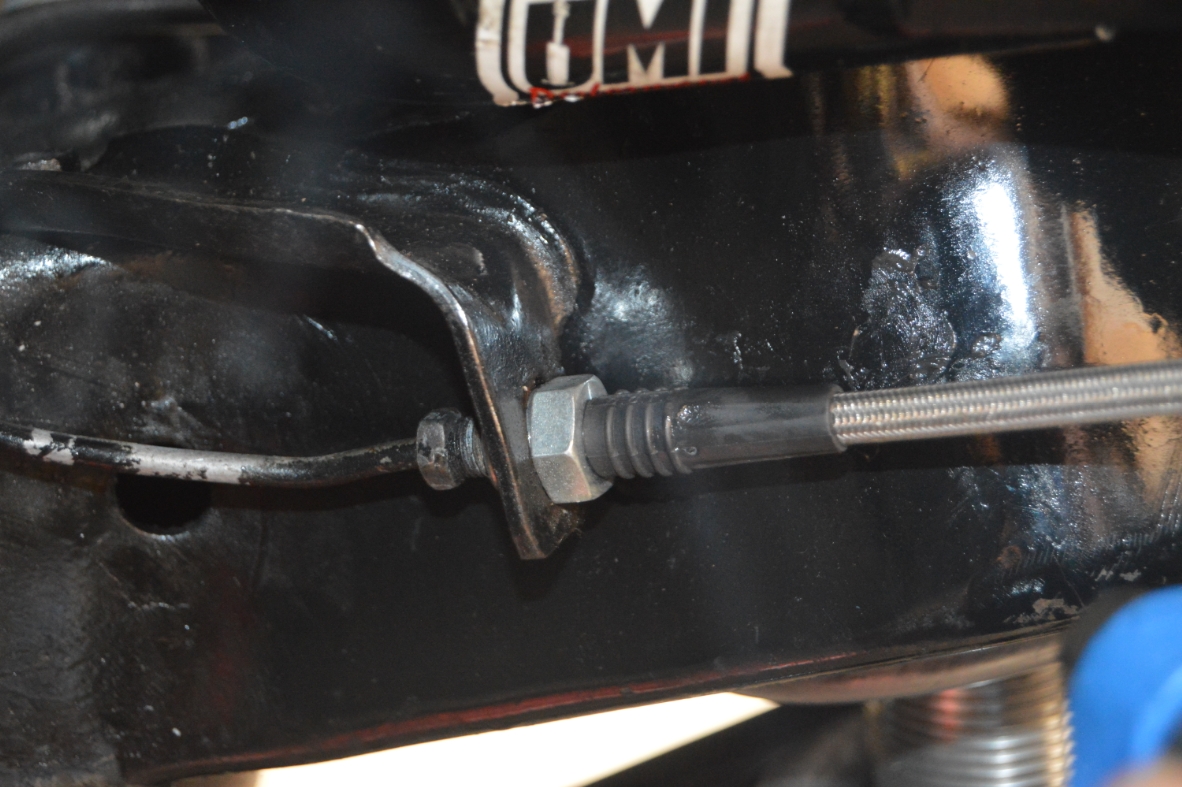
4. Attach (don’t fully tighten yet) the new braided brake line on the frame side. There’s a clip that holds it in place.
5. On the caliper side, the banjo bolt gets 2 copper washers attached, 1 on each side of the braided hose end.
(correct order: bolt, washer, hose end, washer, caliper)
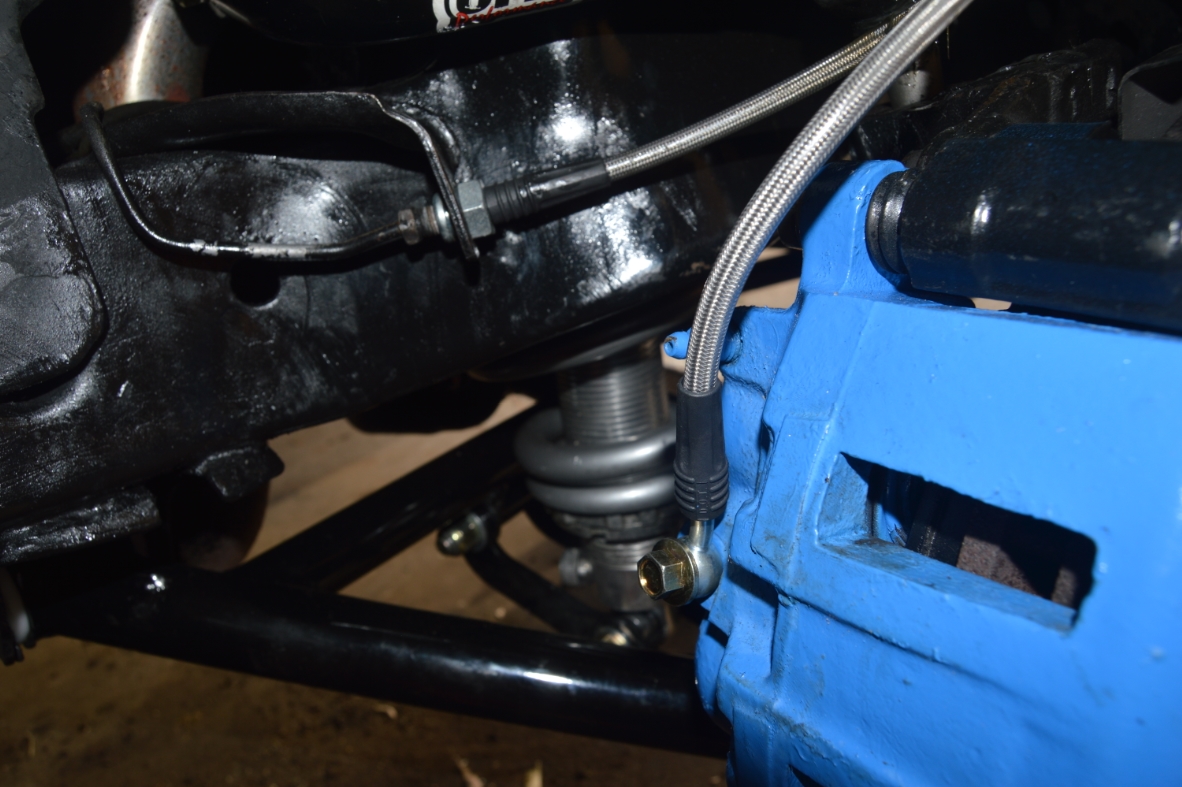
6. Route the hose in a manner where it isn’t going to bind anywhere. At the current position, and also at any point in the wheel turning radius. Also think about vertical travel of the suspension as well!
(we bought a longer length hose than stock specifically for this purpose, so it doesn’t bind or stretch anywhere in the path of the direction that the wheels travel.)
(stock length hose = 12″, new braided hose length = 15″)
.
.
7. tighten both sides of the new brake line.
8. repeat for the other side of your G-body Regal.
9. Bleed the brake system.
Job done.
Enjoy the firmer brakes on your Turbo Regal!
.


