


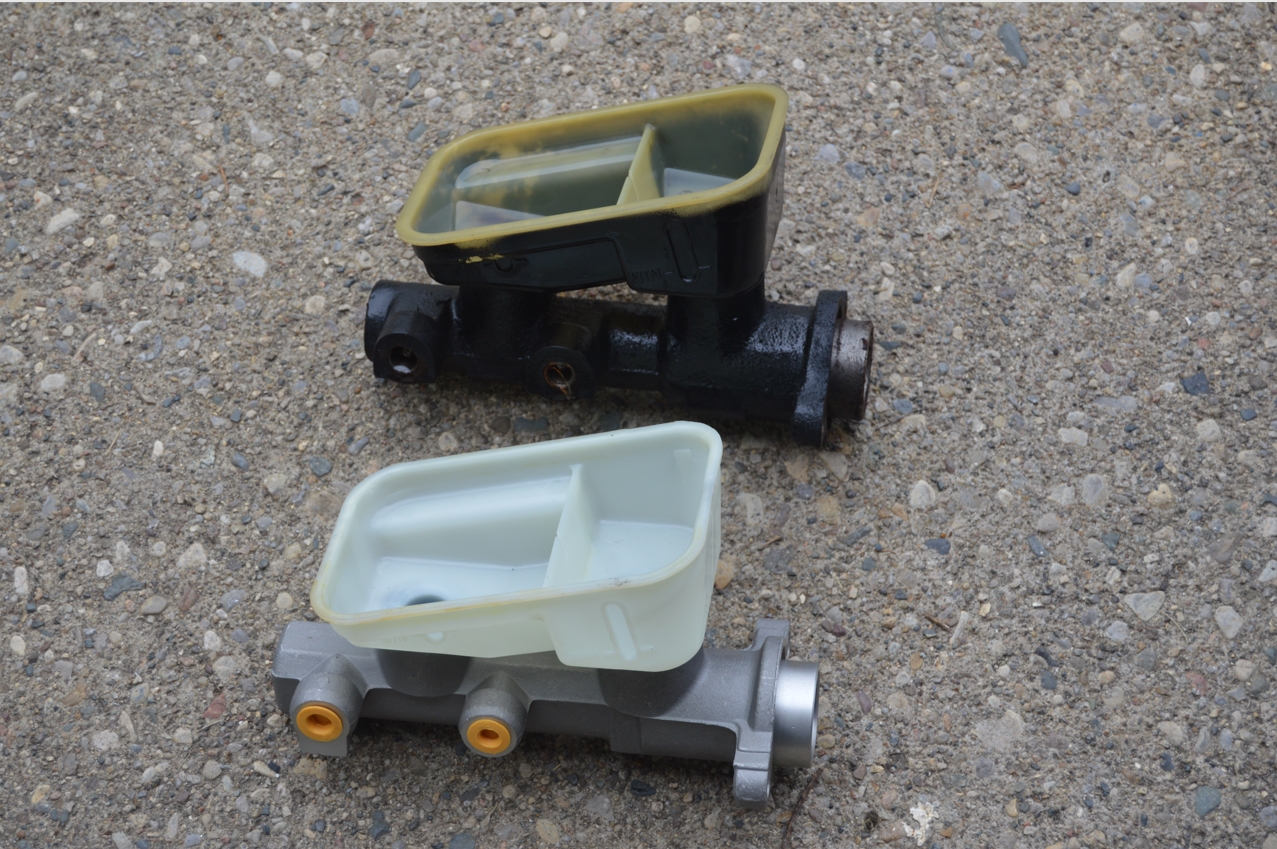
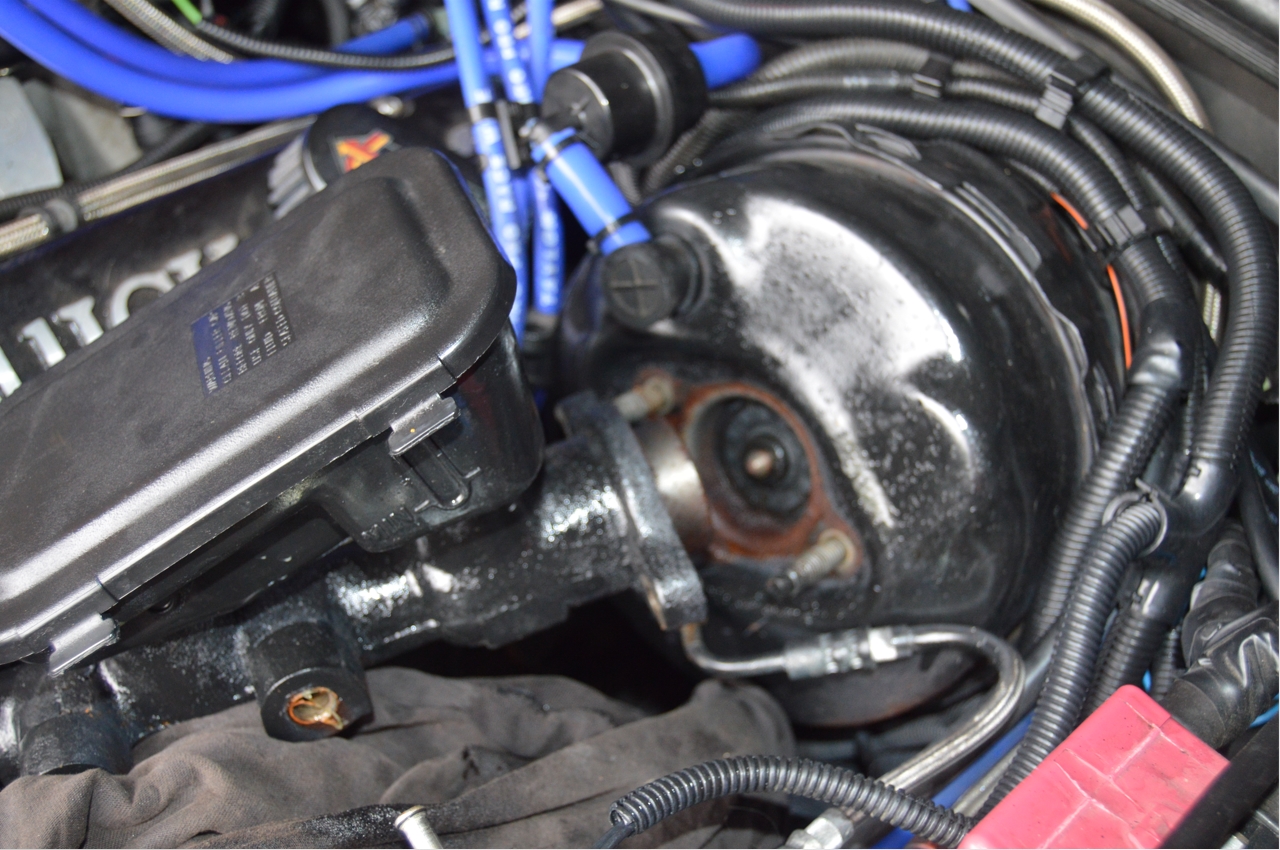
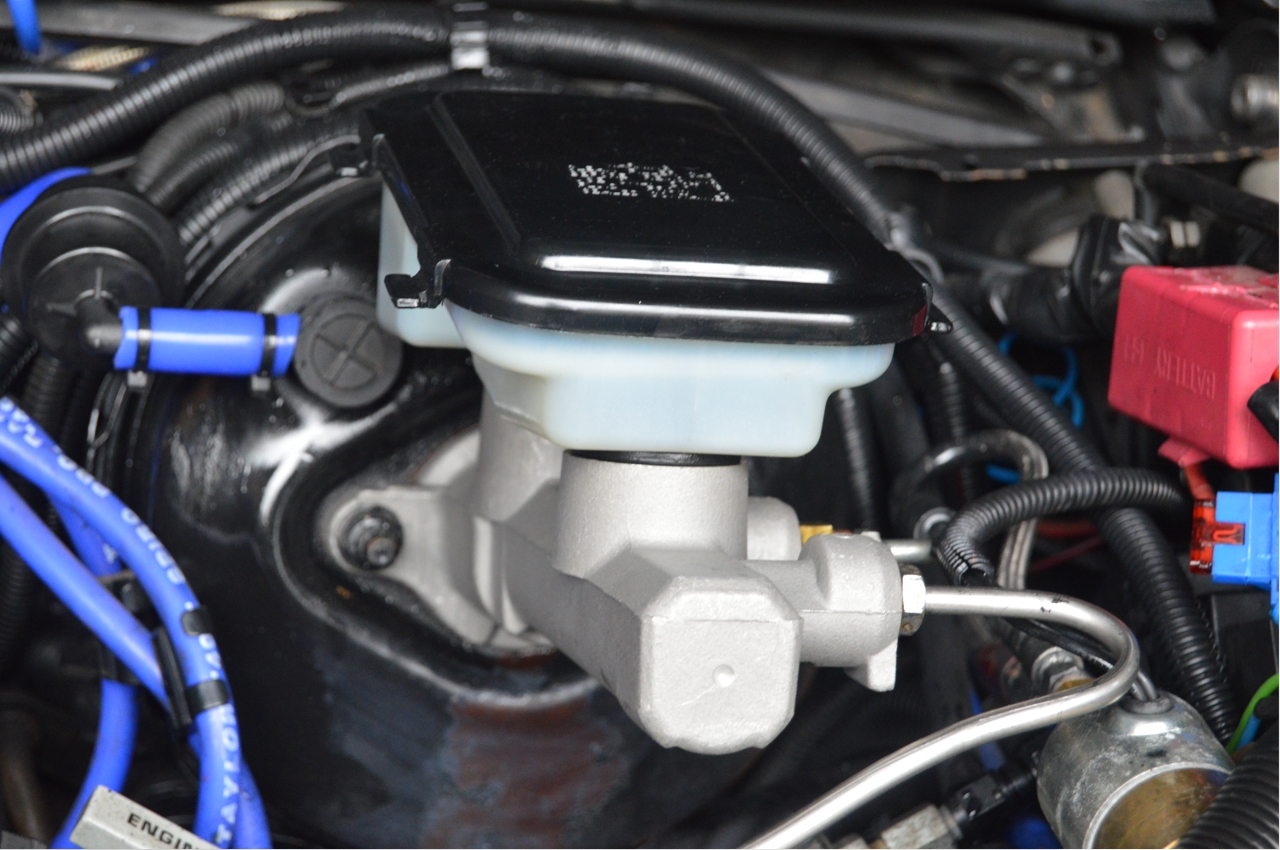
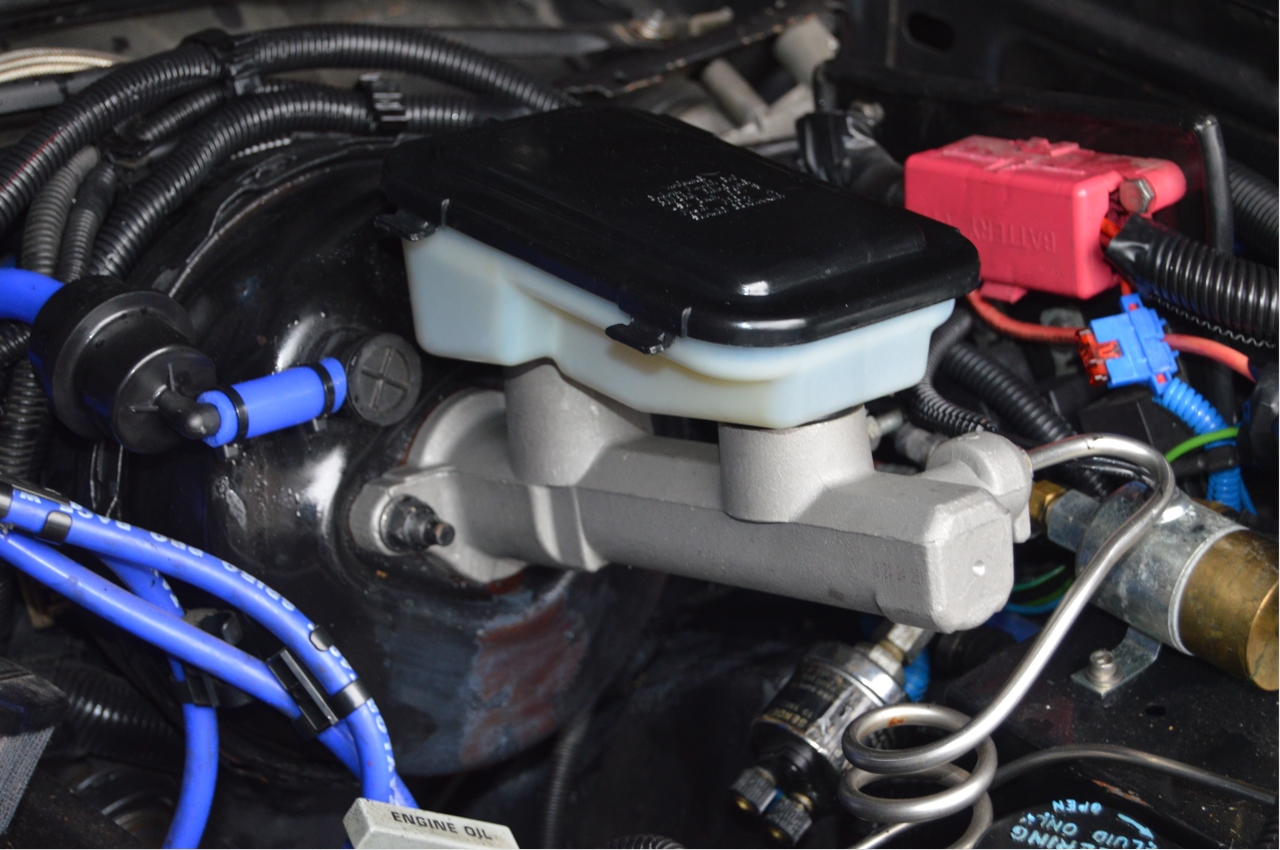
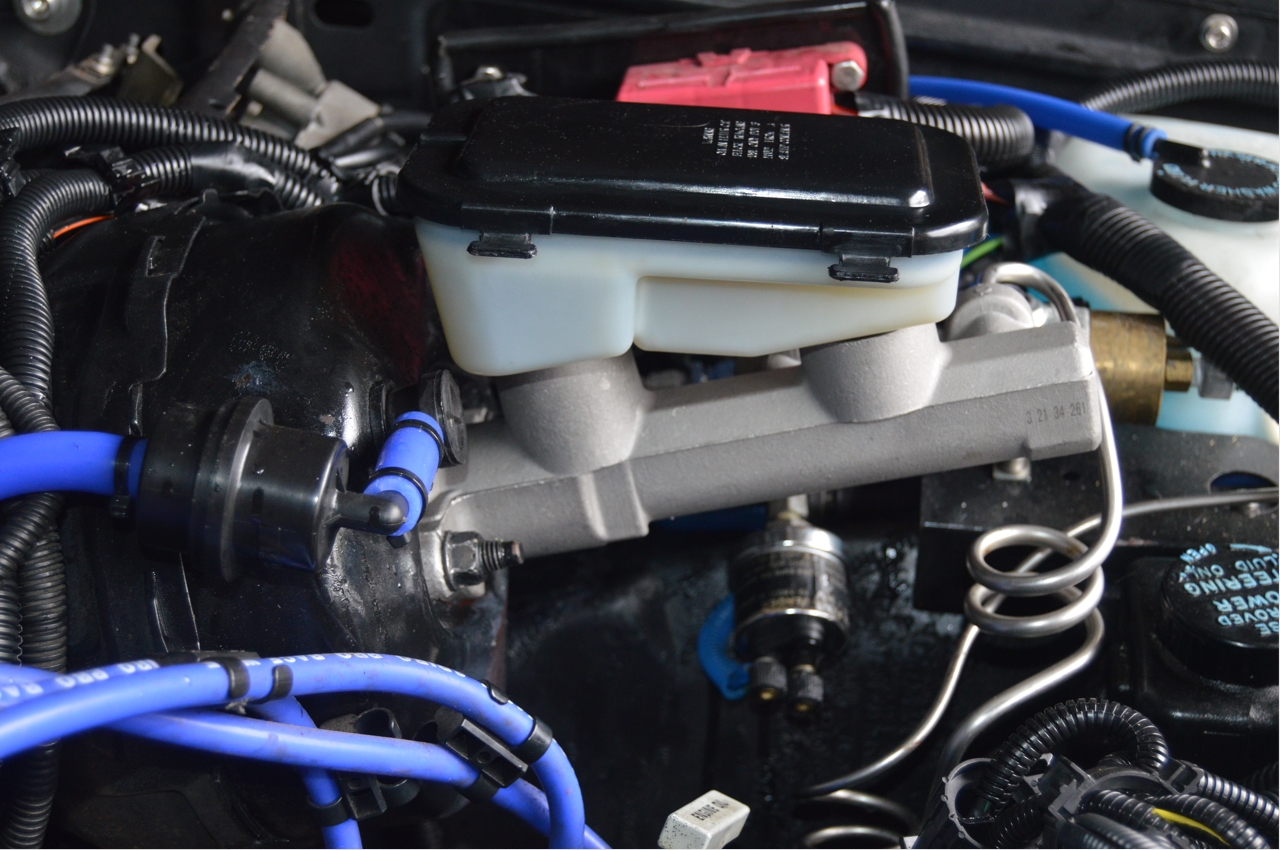
Not too long ago, we just got done painting the brake booster and master cylinder.
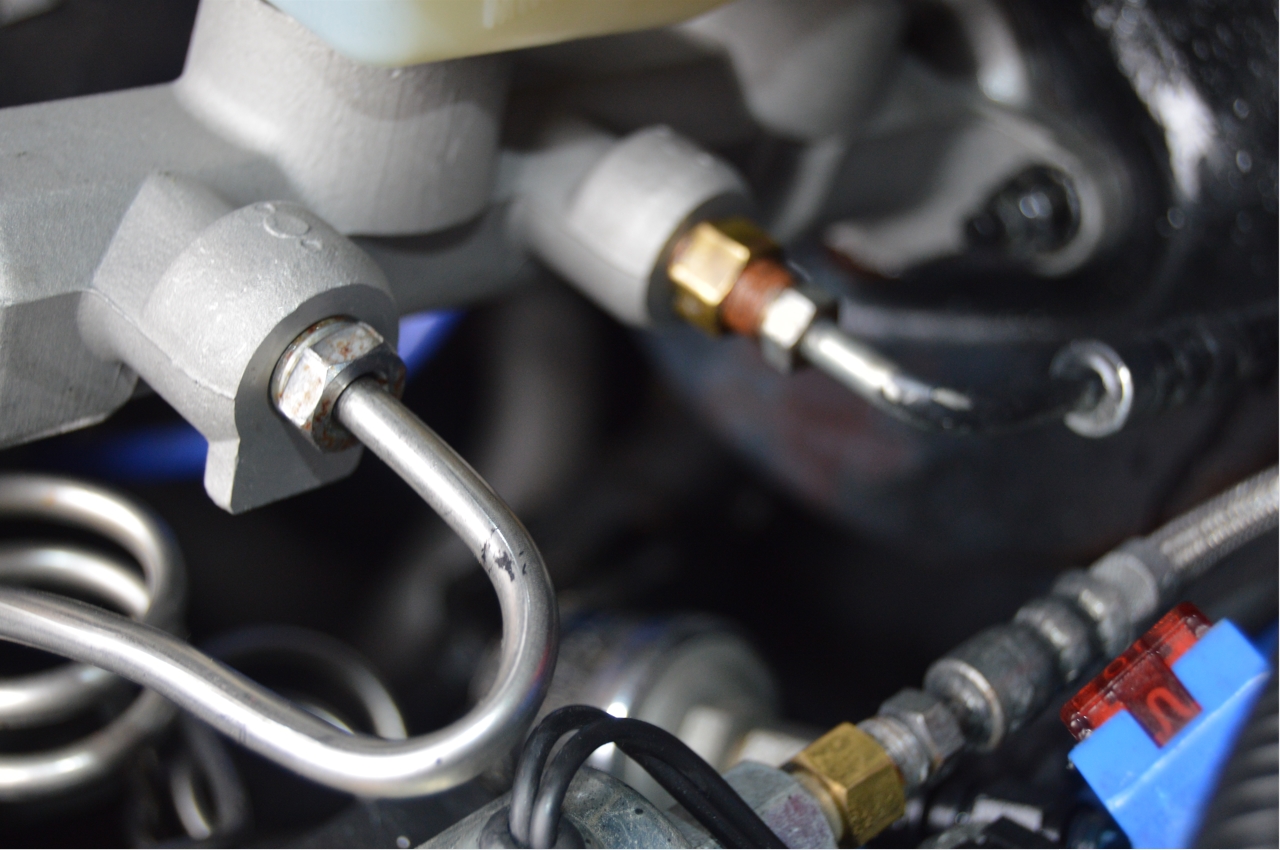
Recently we noticed one of the (all new about a year and a half ago) stainless steel brake lines was leaking at the proportioning valve.
It just needed a tightening, but the fluid was real low in the master cylinder, so we decided to go ahead and re-bleed all of the brakes.
The rear disc brakes wouldn’t bleed for some reason.
We checked the speedbleeders that we installed on the brake calipers awhile back, all of the incoming brake lines, the prop valve itself, and then the master cylinder.
With the cover off, we noticed it didn’t look like the fluid (in the front reservoir, which is the rear brakes) was moving (when the brake pedal was pushed down). No streams or bubbles of fluid were coming out of the bottom, where the brake fluid would normally escape thru the system and into the lines.
We totally removed the front brake line from the MC, and while our assistant slowly pumped the brakes, we watched. No fluid was coming out of there at all!
Our diagnosis, a bad master cylinder.
OK, since the biggest local Turbo Buick meetup of the season was 2 days away, and this being a Monday, there’s really no time (or take a chance) for online ordering of the part (where it would probably cost much less).
[this gathering, the Woodward Wednesday car show, is happening tonight (8-16-23), to which we are attending]
AutoZone, here we come.
Of course, our nearest parts store doesn’t have it in stock.
(but they can order it & it’ll be here in 2 days, no thanks, too close for comfort)
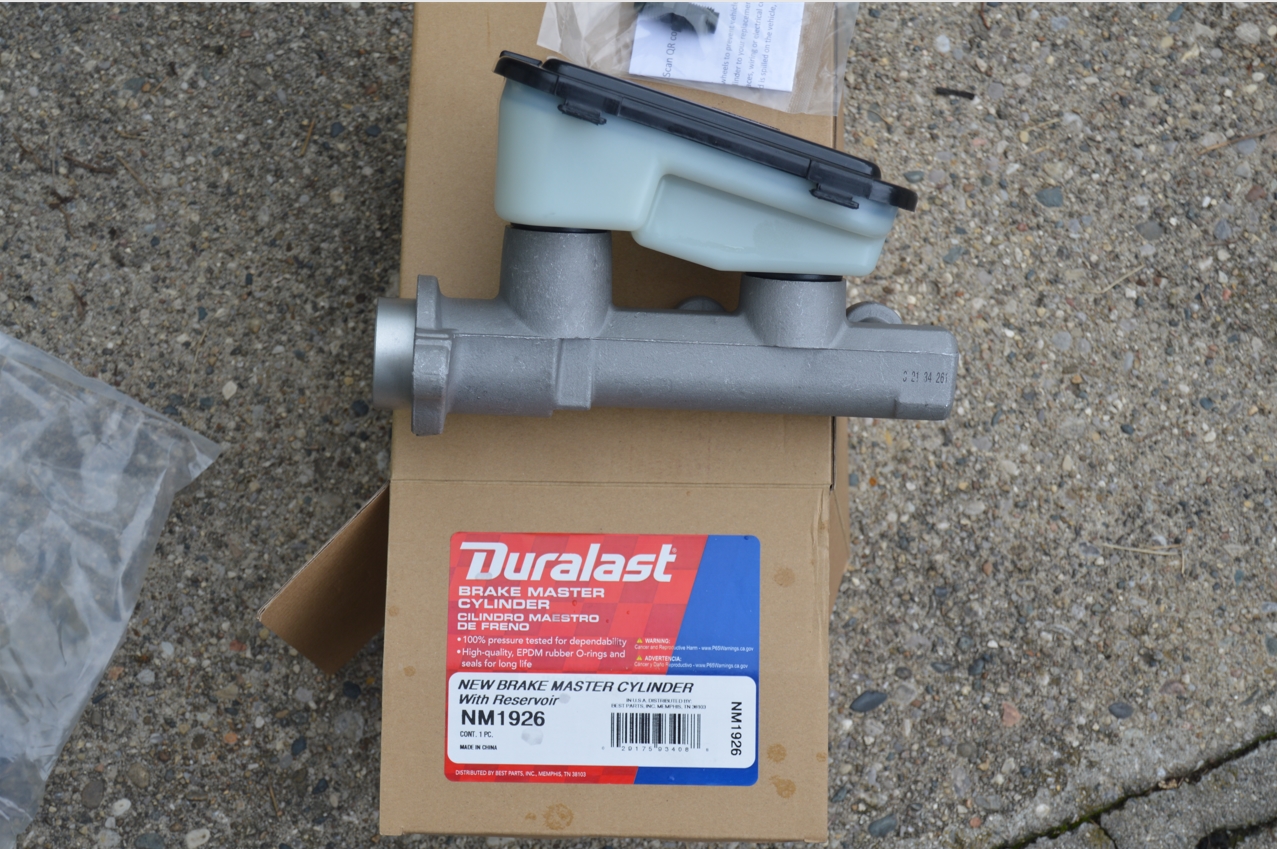
The store 13 miles away does however, so we head over there and acquire one.
(we told them it was for a 1987 Oldsmobile Cutlass v6, since it’s compatible!)
.

.
 PARTS:
* master cylinder (with new reservoir & lid) out the door for just shy of $75 (autozone)
[no core charge required]
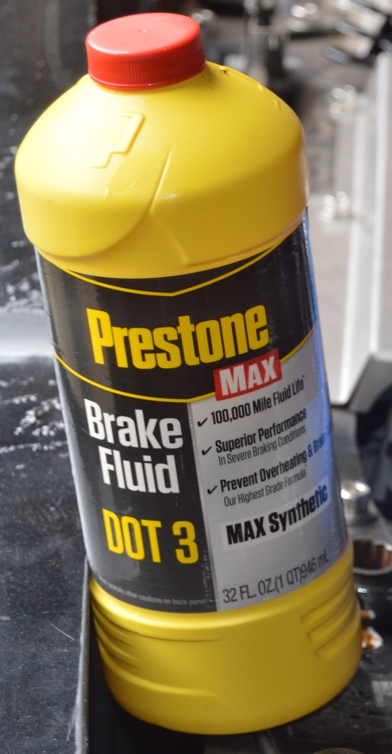
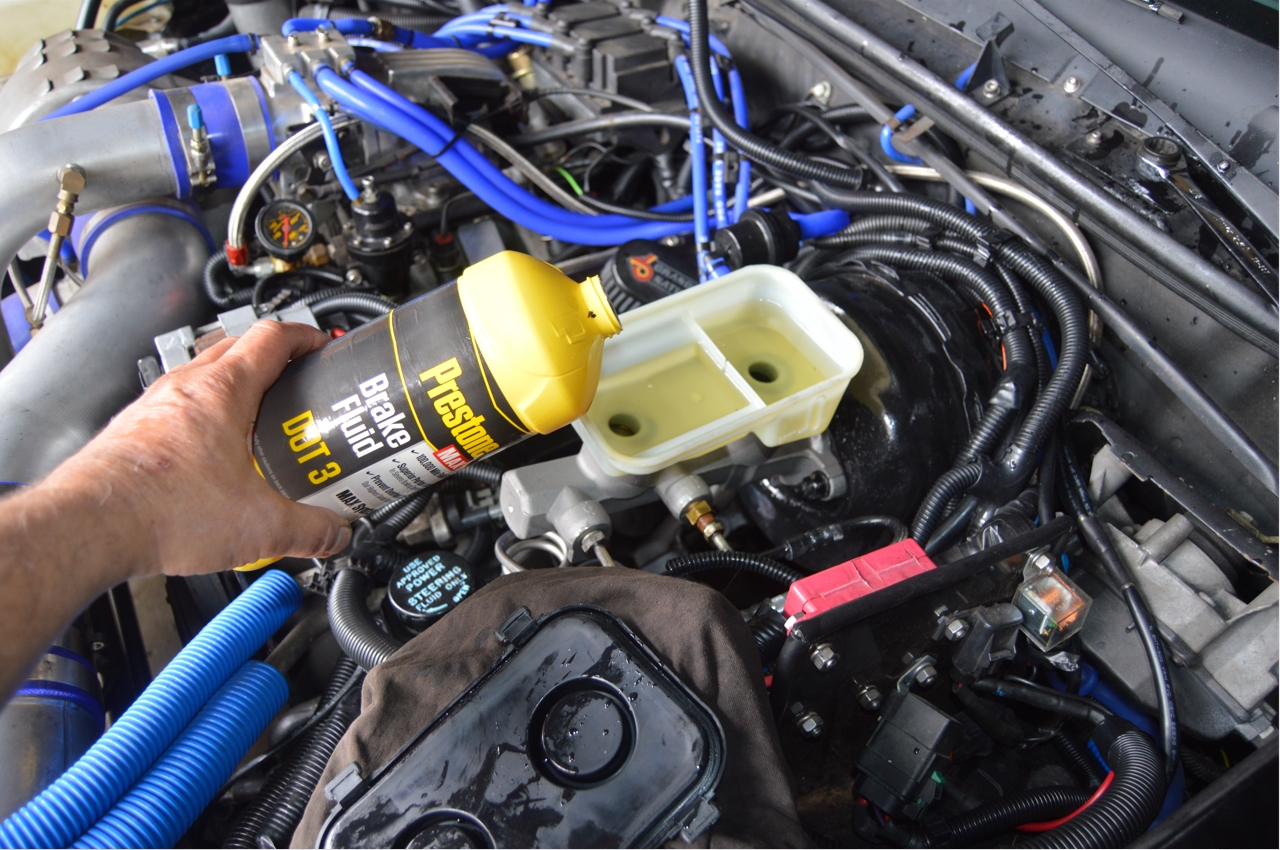
* can of brake fluid ($12)
* jug / can or something (to put old brake fluid in)
.
TOOLS:
* 9/16″ line wrench (both brake line fittings on the MC)
* 15mm wrench/socket (2 nuts that attach MC to vacuum booster)
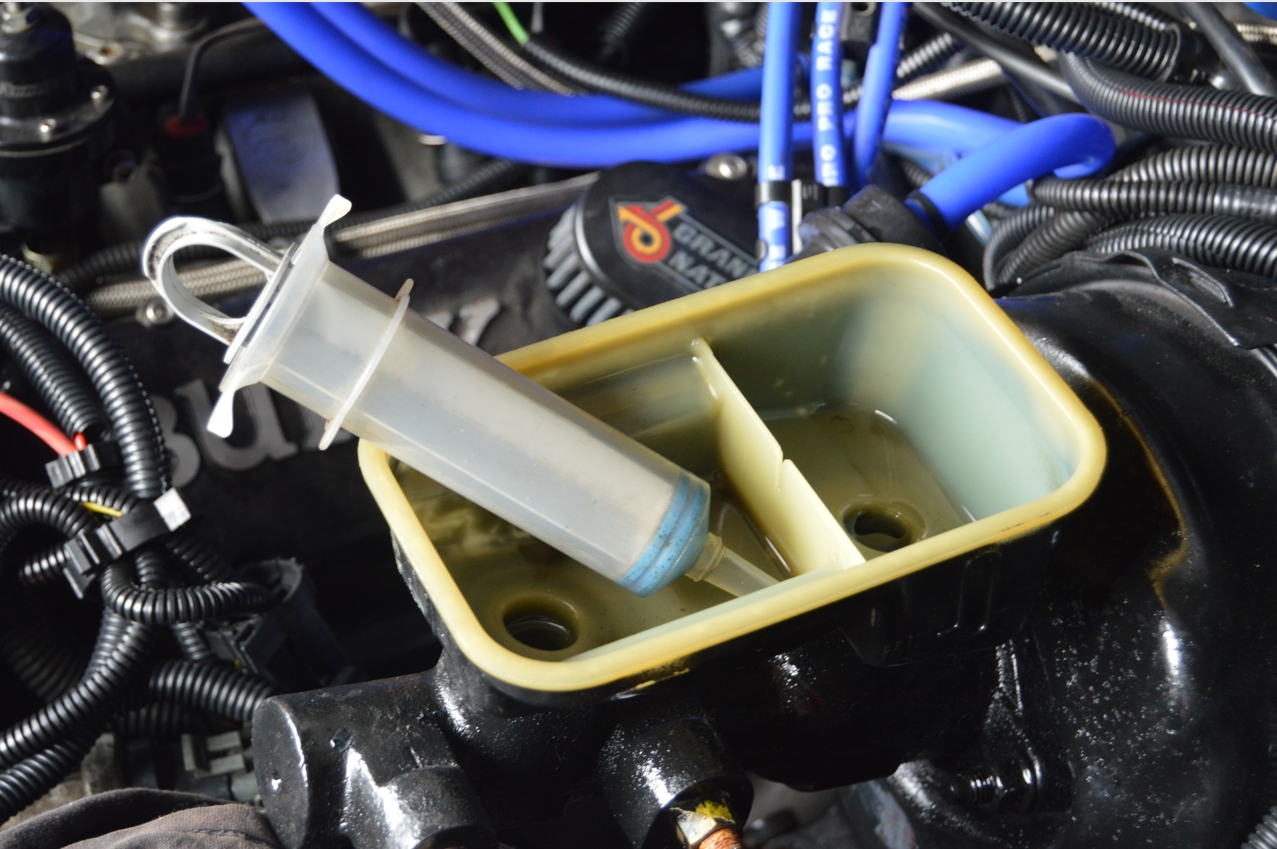
* big syringe (or a turkey baster works well too) – (to drain fluid from the old MC)
* 7/16″ line wrench (for the line lock fitting)
[since we have a line lock system, you have to disconnect that line before you can remove the fitting that’s ON the master cylinder]
.
COMPLETION TIME:
* about half an hour
.

.
HOW TO:
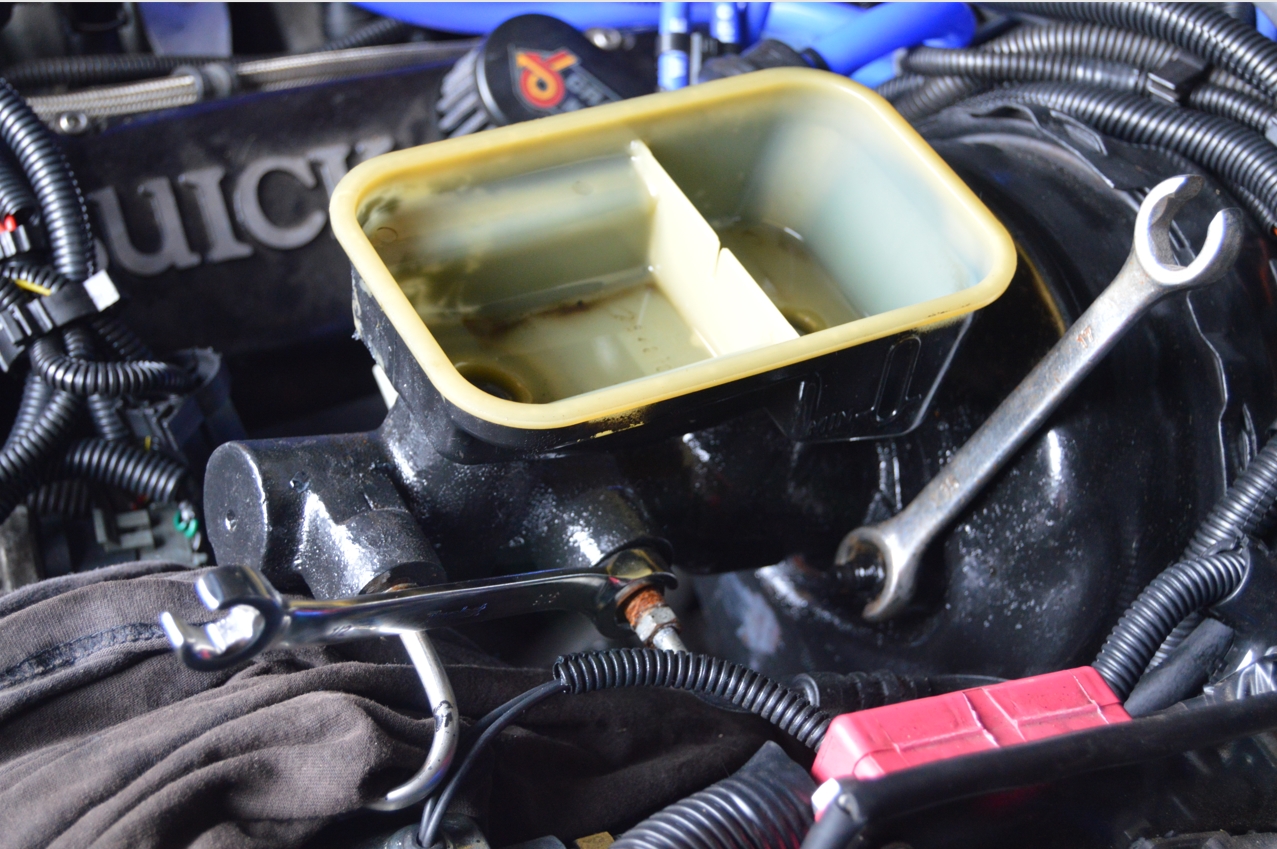
1. place a rag underneath MC and brake lines.
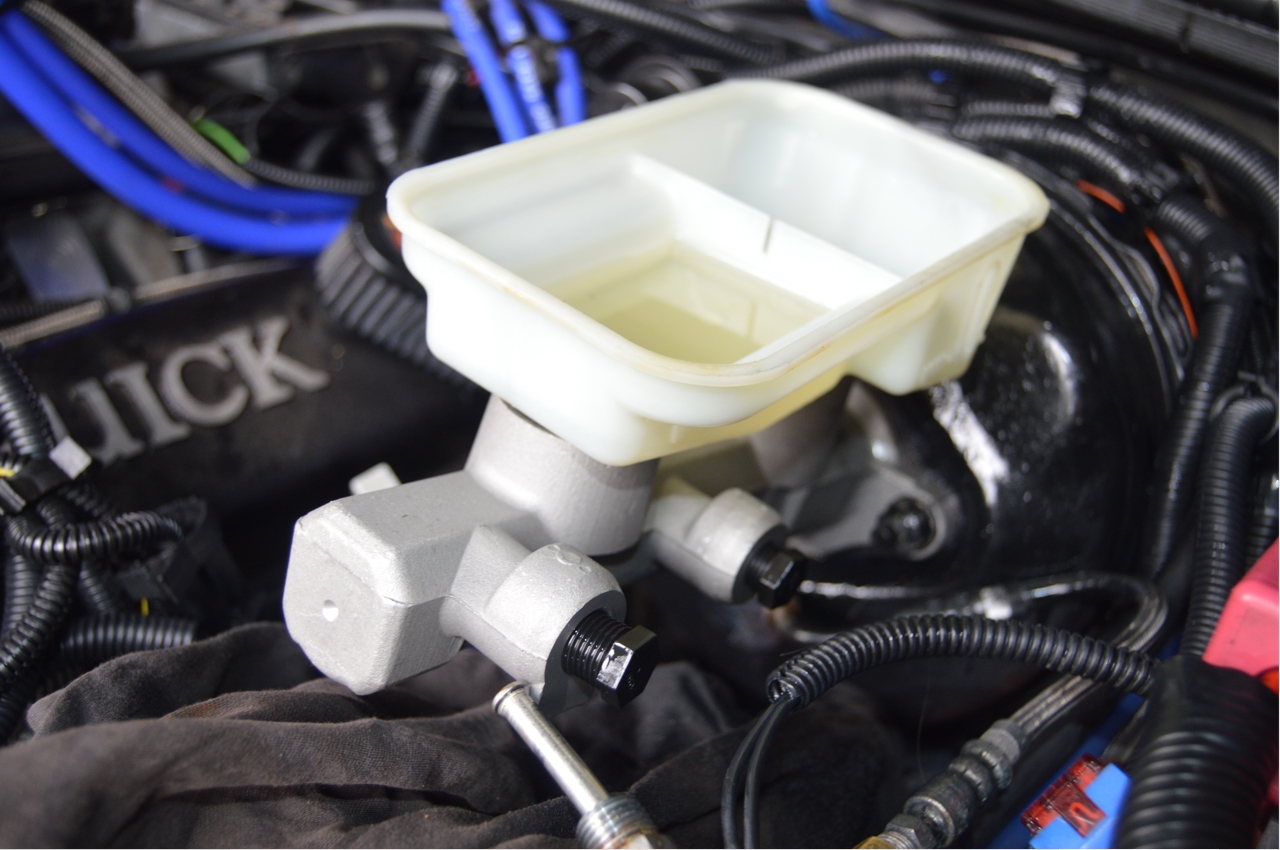
2. remove cover/lid.
3. suck out old fluid with syringe.
(so it makes less of a mess dripping down after you remove the brake lines)
4. remove front line (9/16″ wrench)
5. remove rear line (9/16″ wrench)
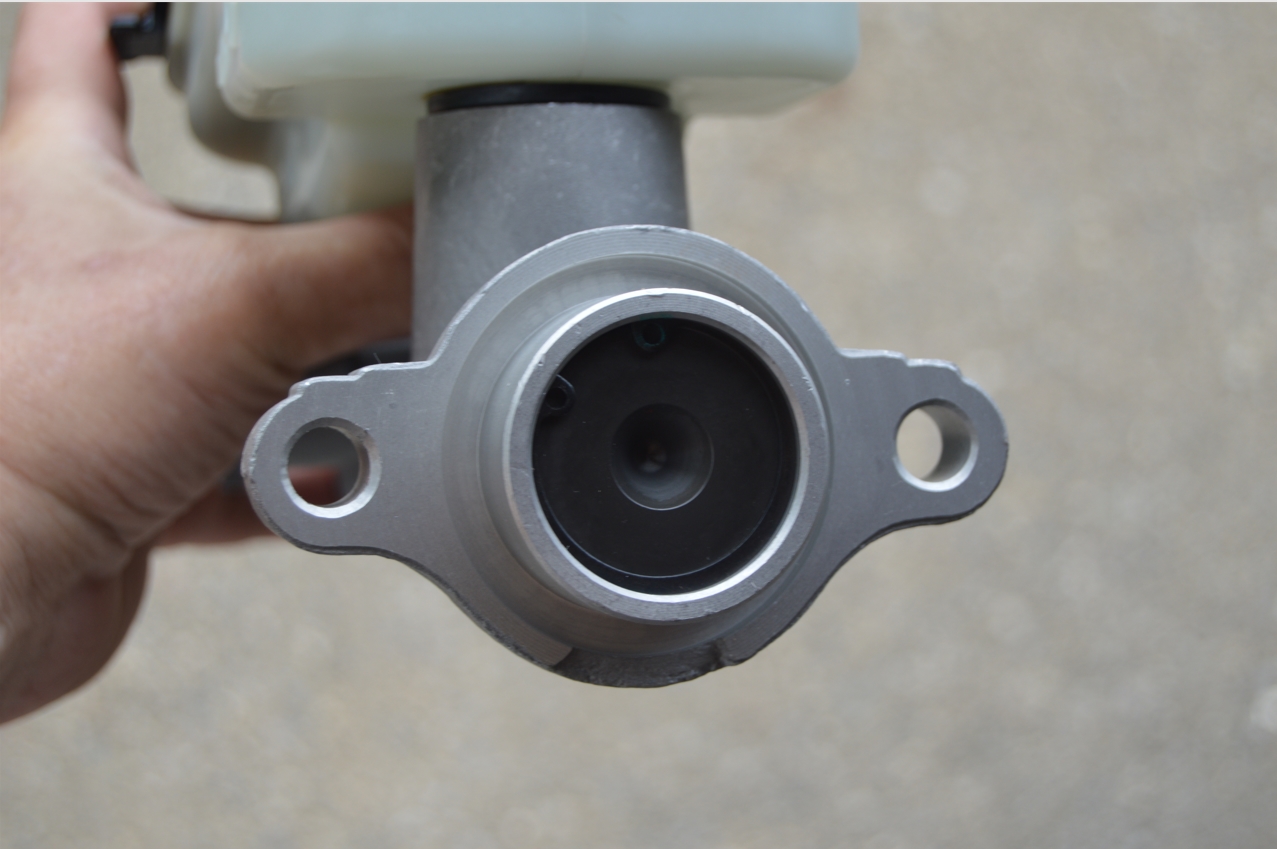
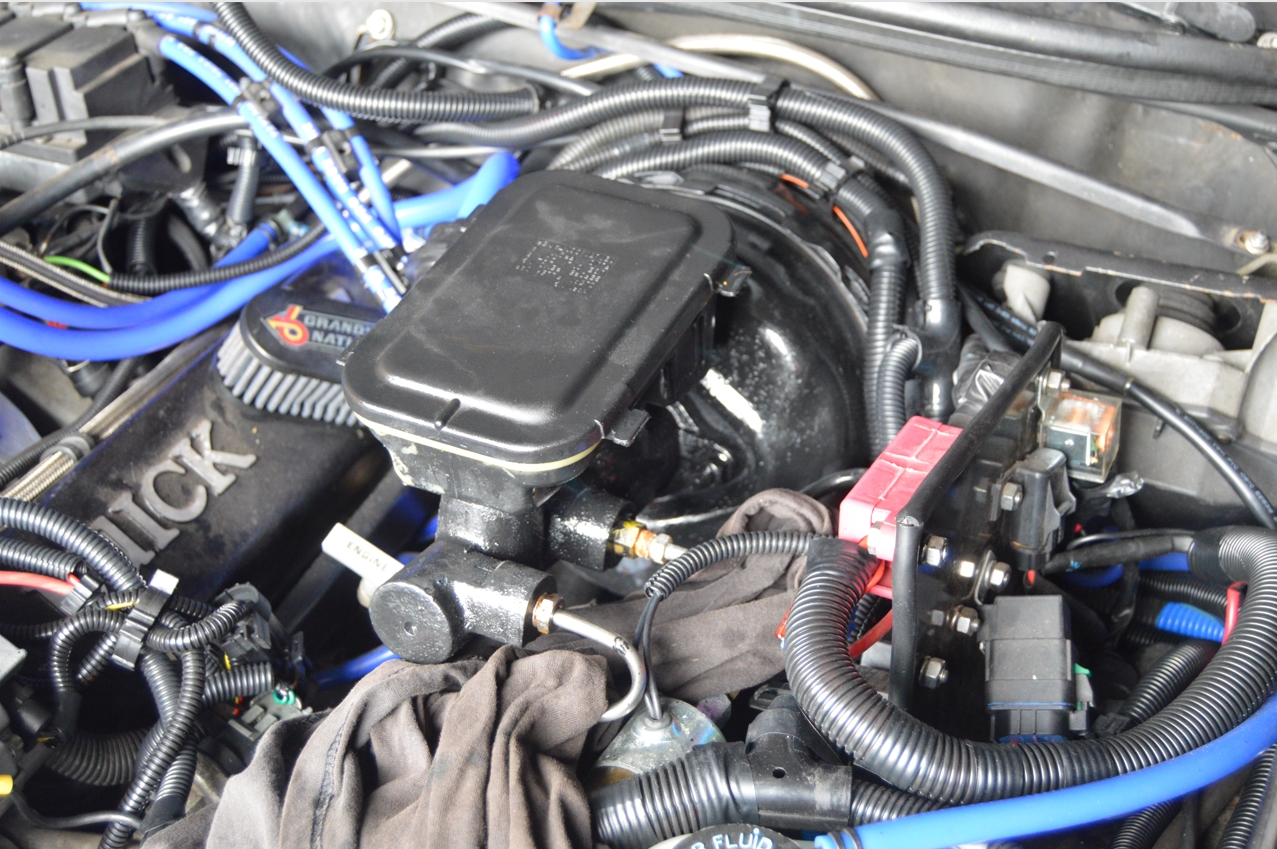
6. remove MC from booster (15mm wrench)
[you can bench bleed the new master cylinder or do it on the Gbody Regal]
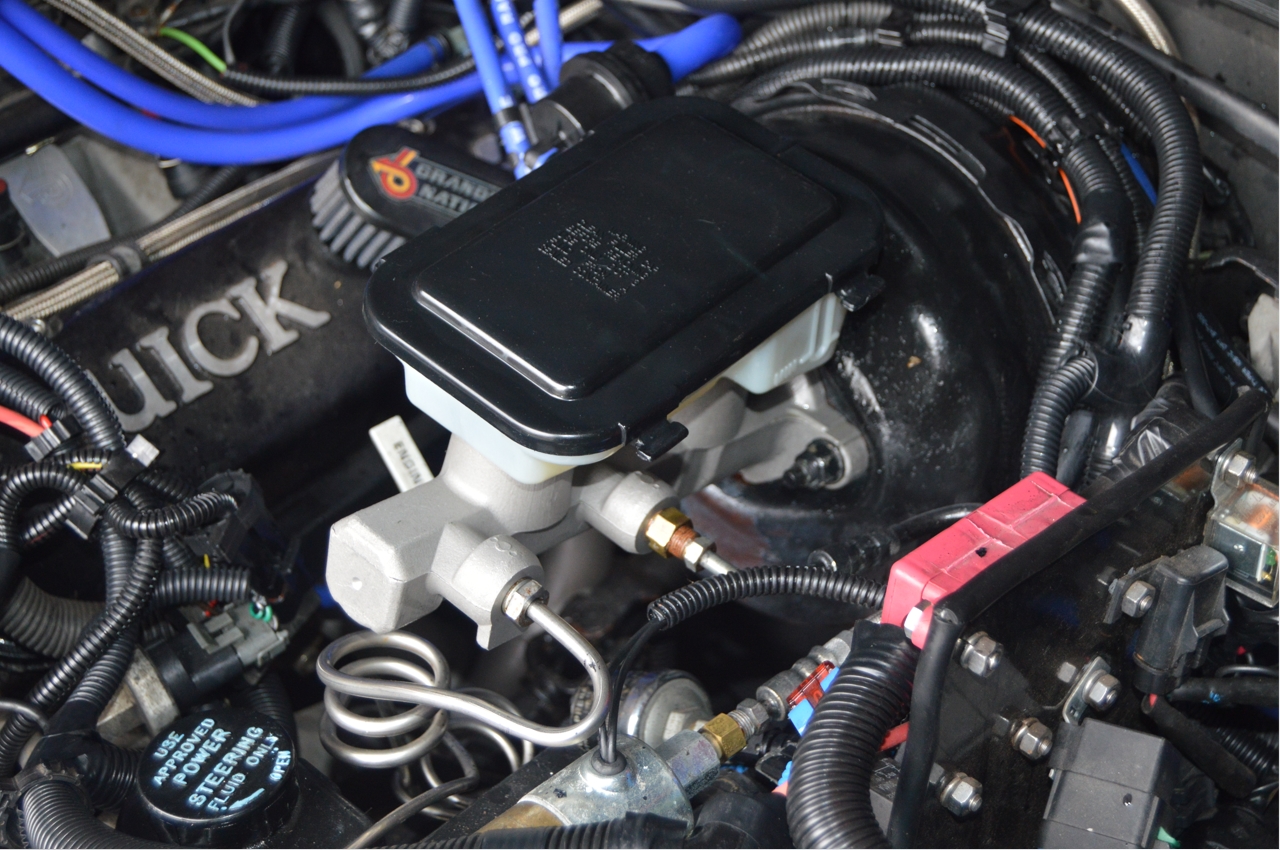
7. install new MC.
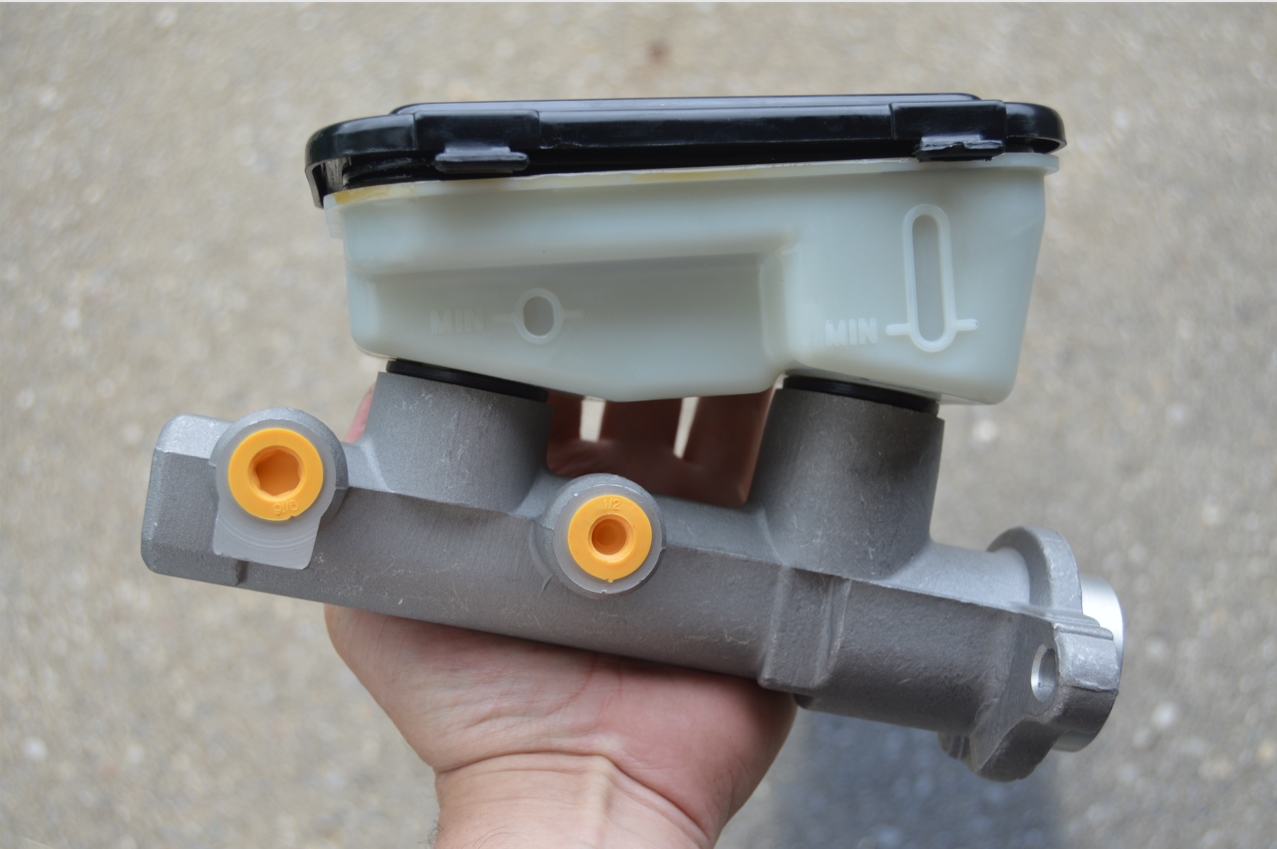
8. connect the supplied bleeder kit & bleed the MC.
[note: this master cylinder didn’t include the tubes that are normally used for bleeding. The instructions said pump until fluid drips out the exit holes! then use the black caps in the holes until you reattach the brake lines. ok, not what we are use to, but it worked]
[we did it ON the car & it took 30-40 pumps to get the fluid to drip out of the exit holes]
[we left the cover off while doing this, so be careful as the fluid will squirt out if you go too fast!]
9. connect the front & rear brake lines.
10. fill the MC up with new brake fluid.
[DON’T get any fluid on ANY painted surface! It eats paint!]
11. bleed all of the brake lines.
[you can do this manually or with a vacuum pump like we used]
[put the reservoir cover on when bleeding brakes]
[start with the rear passenger side, then rear driver, front passenger, and finally front driver side]
[MAKE SURE you check the fluid level inside the master cylinder frequently, you don’t want any air in the brake system, otherwise you have to start over!]
12. once the brakes are fully bled, start the Turbo Regal up, depress the brake pedal, and put it in gear.
Are the brakes holding it?
If not, rebleed and/or check all the components for leaks!
Fix whatever the issue is before proceeding!
13. if all good so far, let off the brake and move forward a few feet.
are the brakes stopping the car?
if not, recheck all the above!
14. if still good, try stopping 30-40 feet ahead.
15. A-ok? take it out for a short test spin.
When you return, once again check the brake fluid level.
Add more if necessary.
The job should be complete after this.
.

.


