


When we initially replaced the stock black rubber vacuum hoses with blue colored silicone versions, we weren’t exactly sure how much we would need of each size, so we guesstimated.
That meant we bought way more than we needed in the assorted required diameters.
Which ended up being a good thing, as now that around 5 years has passed since doing so, some of them are pretty faded and/or oily on the inside.
[and that’s the drawback with colored silicone hoses versus the OEM vacuum lines, when they get dirty on the inside, they visually change the color of the hose on the outside, and it’s very noticeable]
Another mostly no-cost (right now, since we purchased long ago) project that we can tackle.
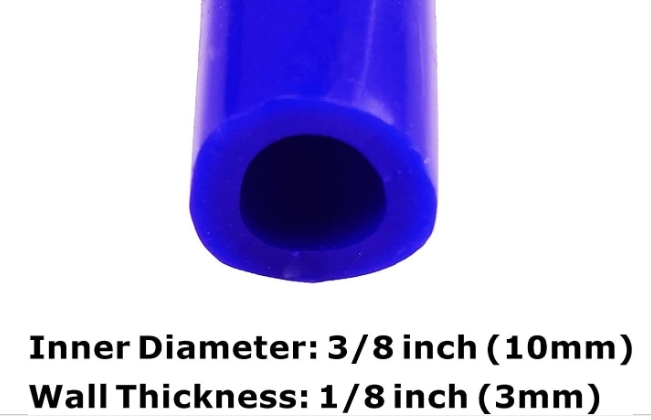
[but we did need to buy new hose for the catch can since we only bought what we needed in that size the first time around: 10′ long of 3/8 (10mm) blue vacuum hose was $13.59 shipped]
.
.
This is part of our “Buick Grand National Engine Bay Cleanup series.”
(a multi-part series we’re doing for assorted things under the hood)
(eventually the entire thing will look as pretty as the rest of the Turbo Buick does)
.
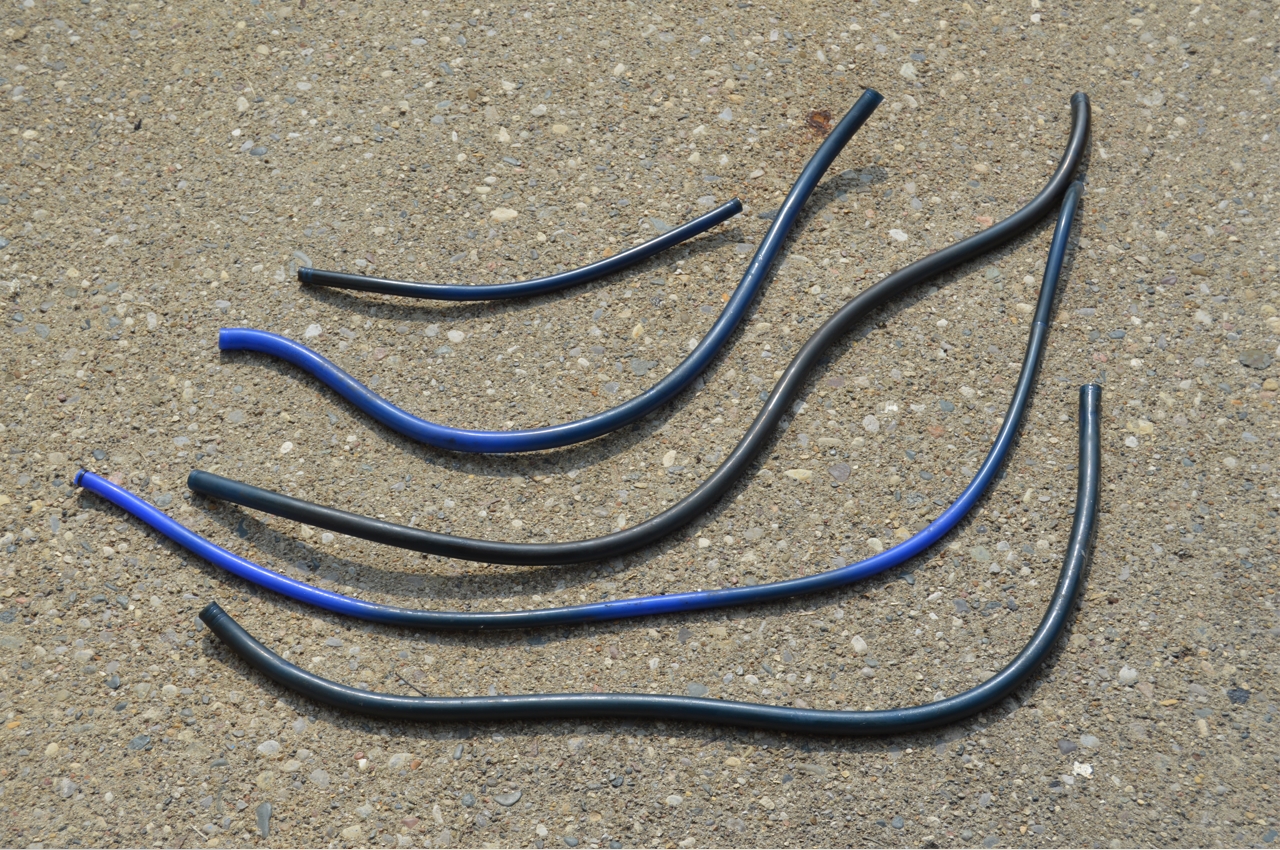
To do: You just start at one side of the engine compartment, replace a vacuum line, keep going, then move to the other side, until they are all done.
You can visually check for the proper size needed by simply holding up the new stuff next to the old ones. Then stretch both out together to get the length required.
.
If you need to know stock specs:
vacuum line routing is here.
vacuum line sizes are here.
.

.
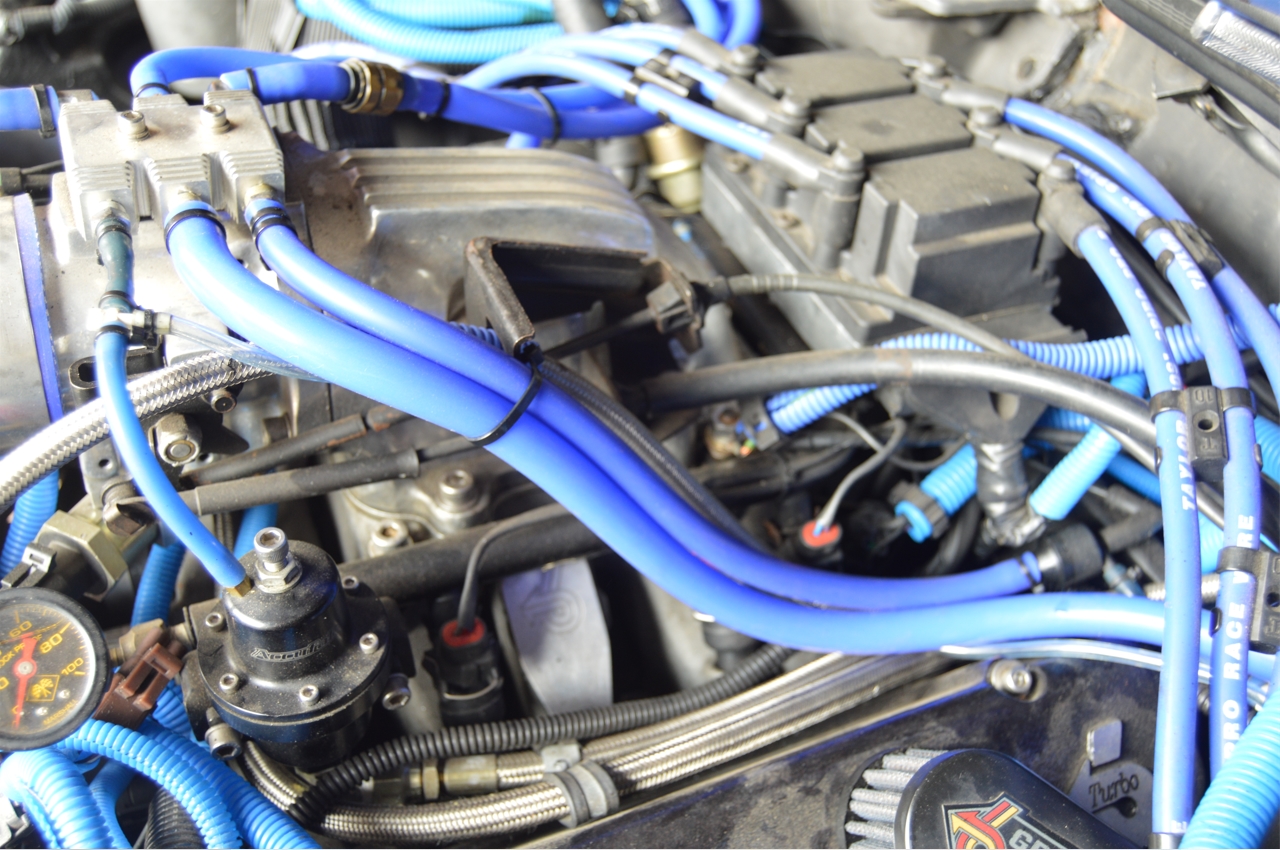
We replaced only a few vacuum lines, just the ones that really needed it to make the motor area shine again.
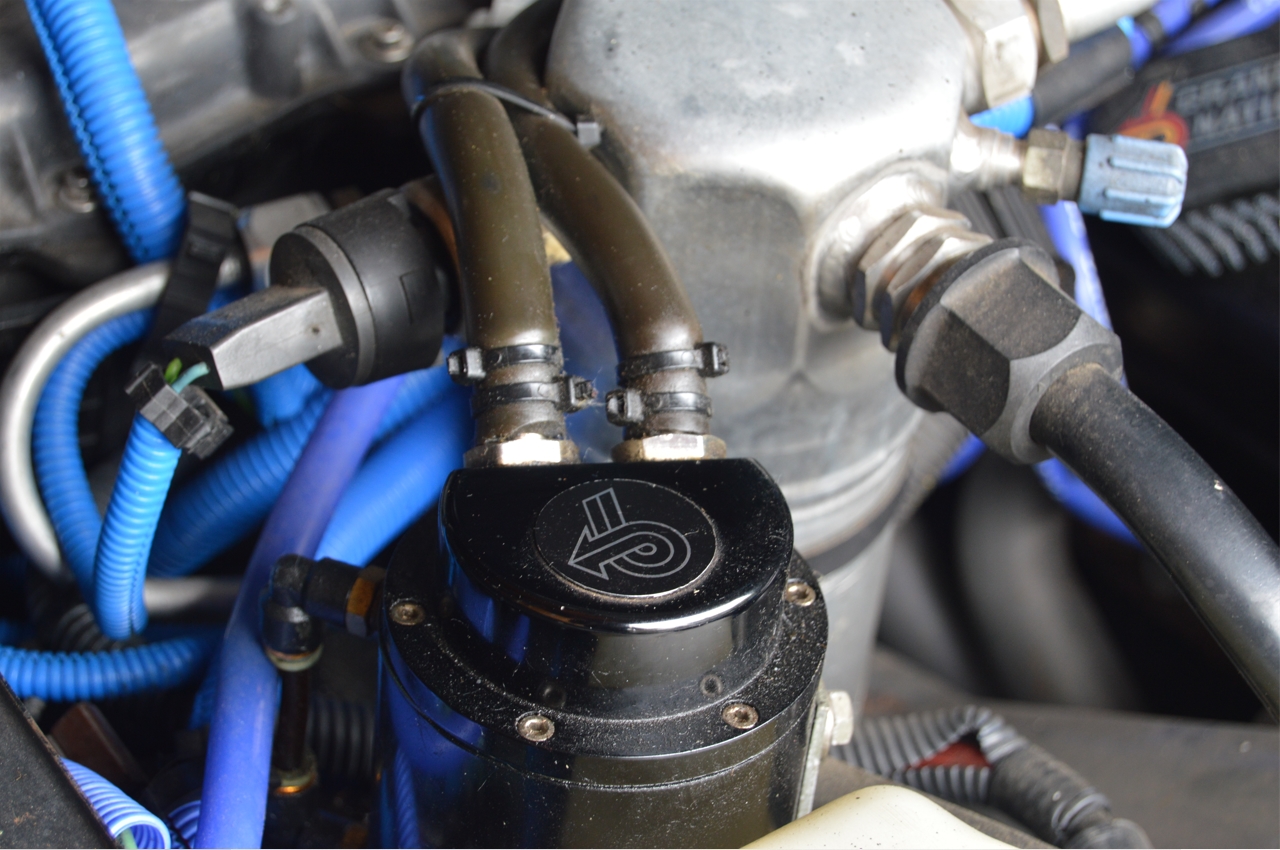
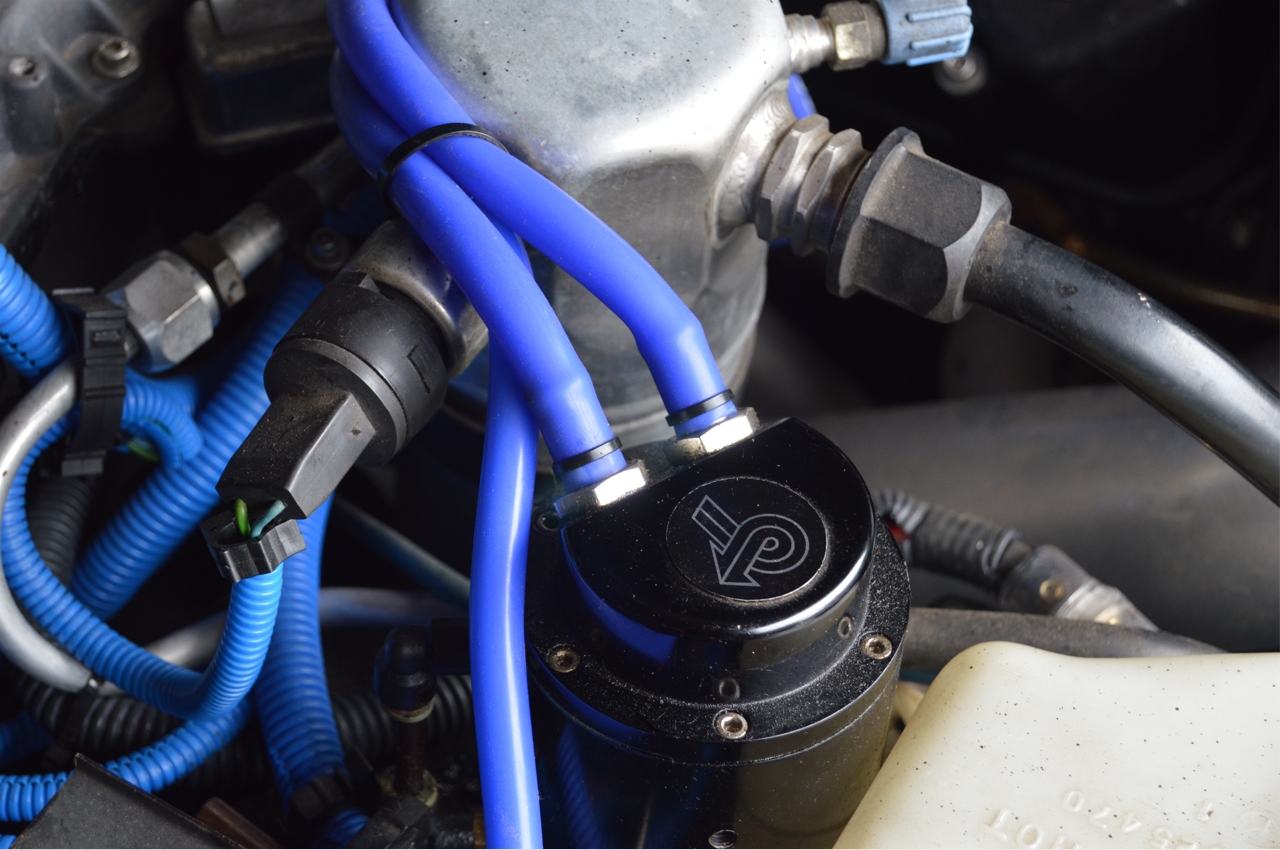
A. two 3′ long pieces for the oil catch can (+ a 2″ piece between RJC check valve & vacuum block on top of engine).
[one piece runs from OEM PCV valve to catch can, the other from top block (thru check valve) to catch can]
[note that on the RJC check valve, it’s a 1 way valve. The side with the hole, goes nearest the vacuum block on the top of the engine]
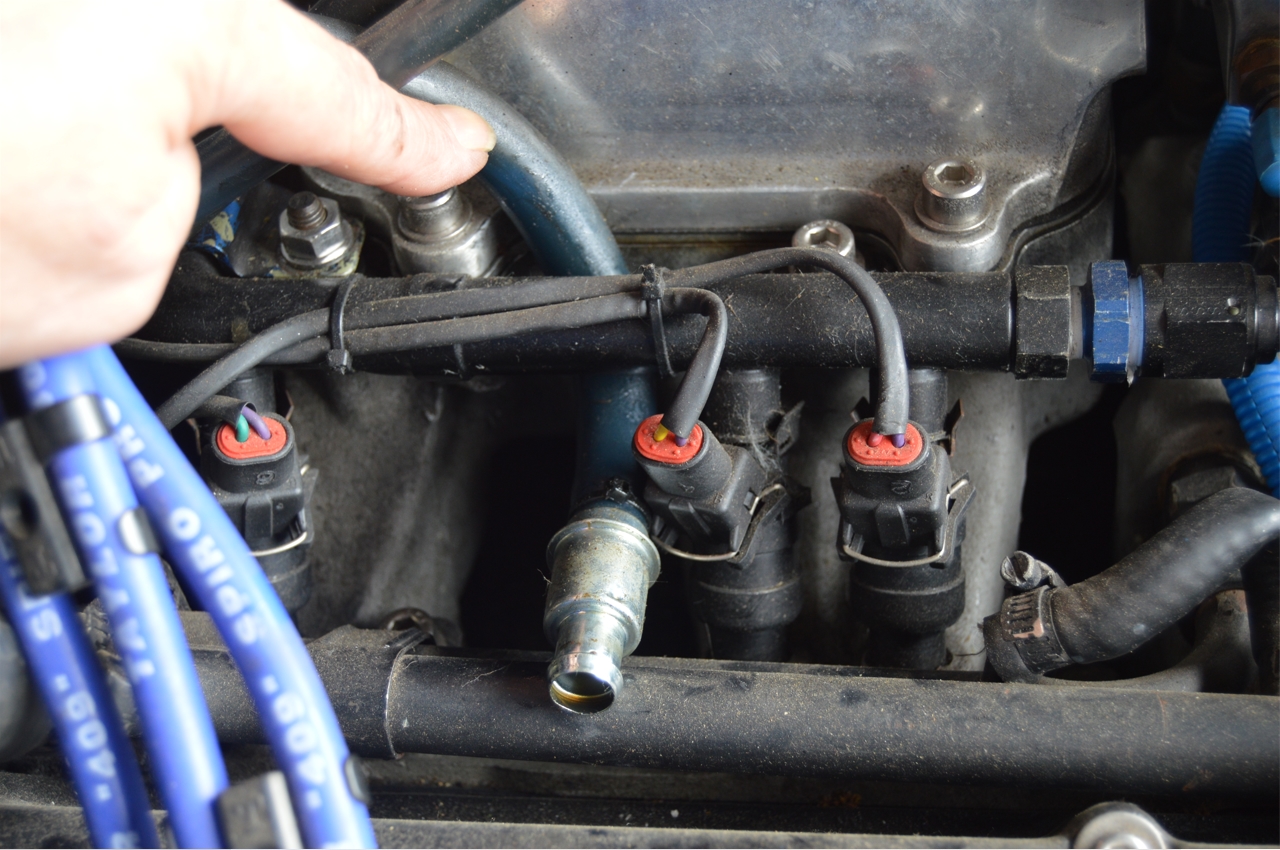
B. 42″ long hose for the map sensor.
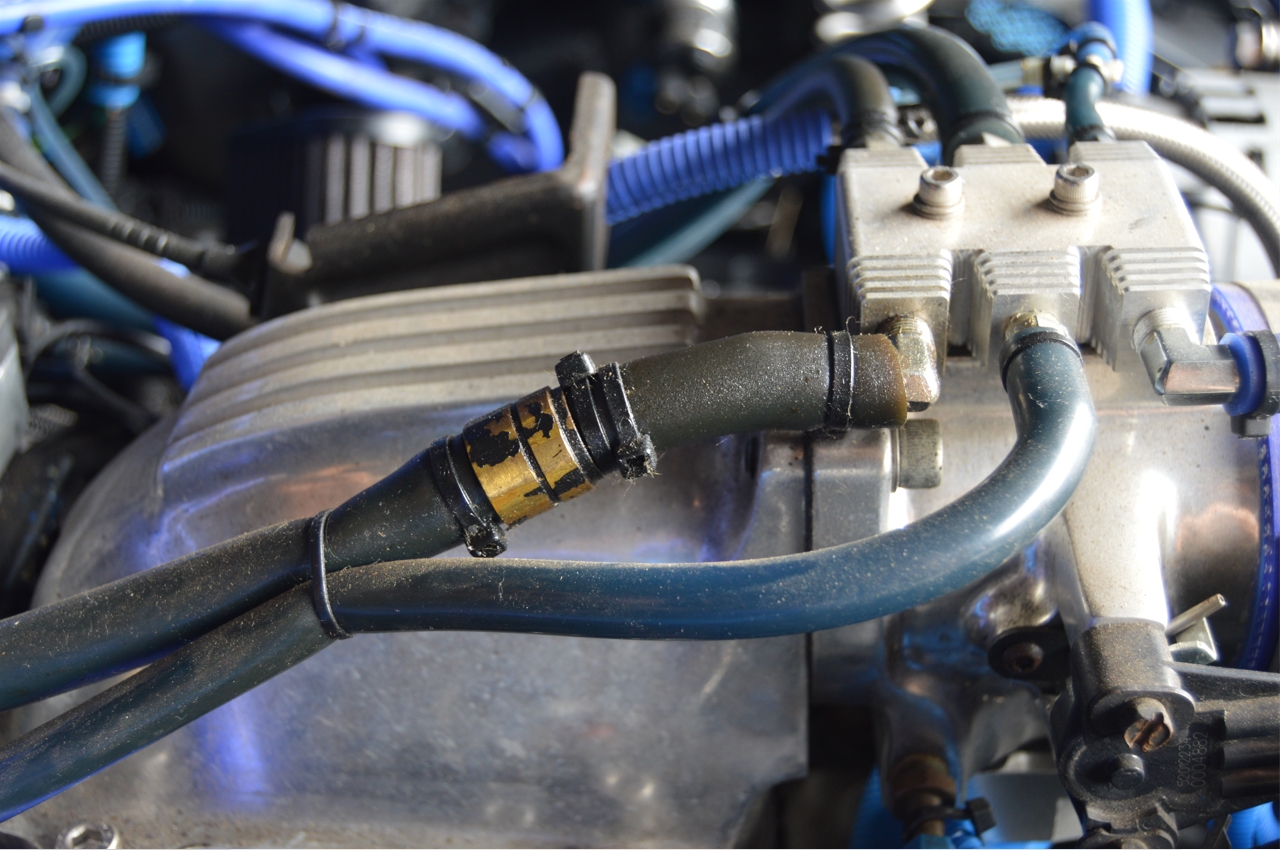
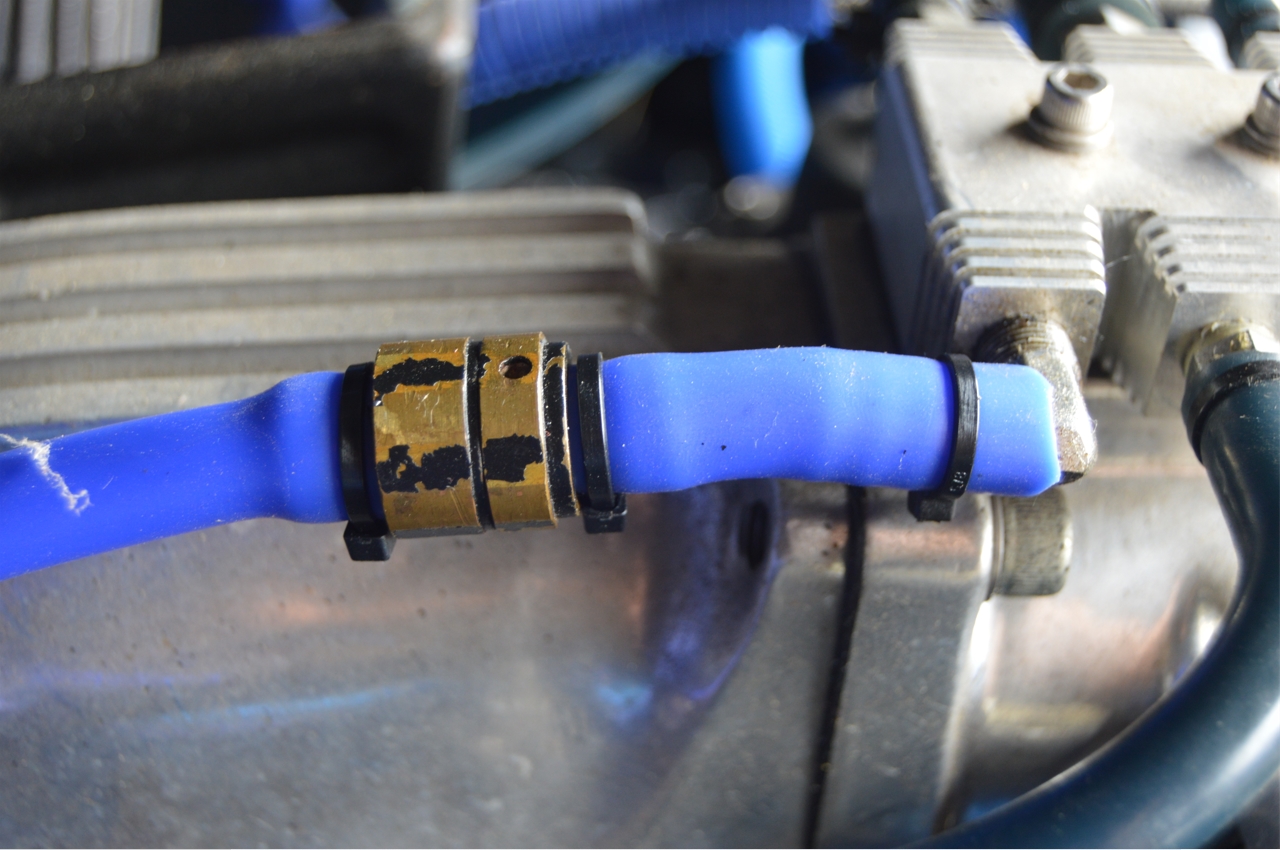
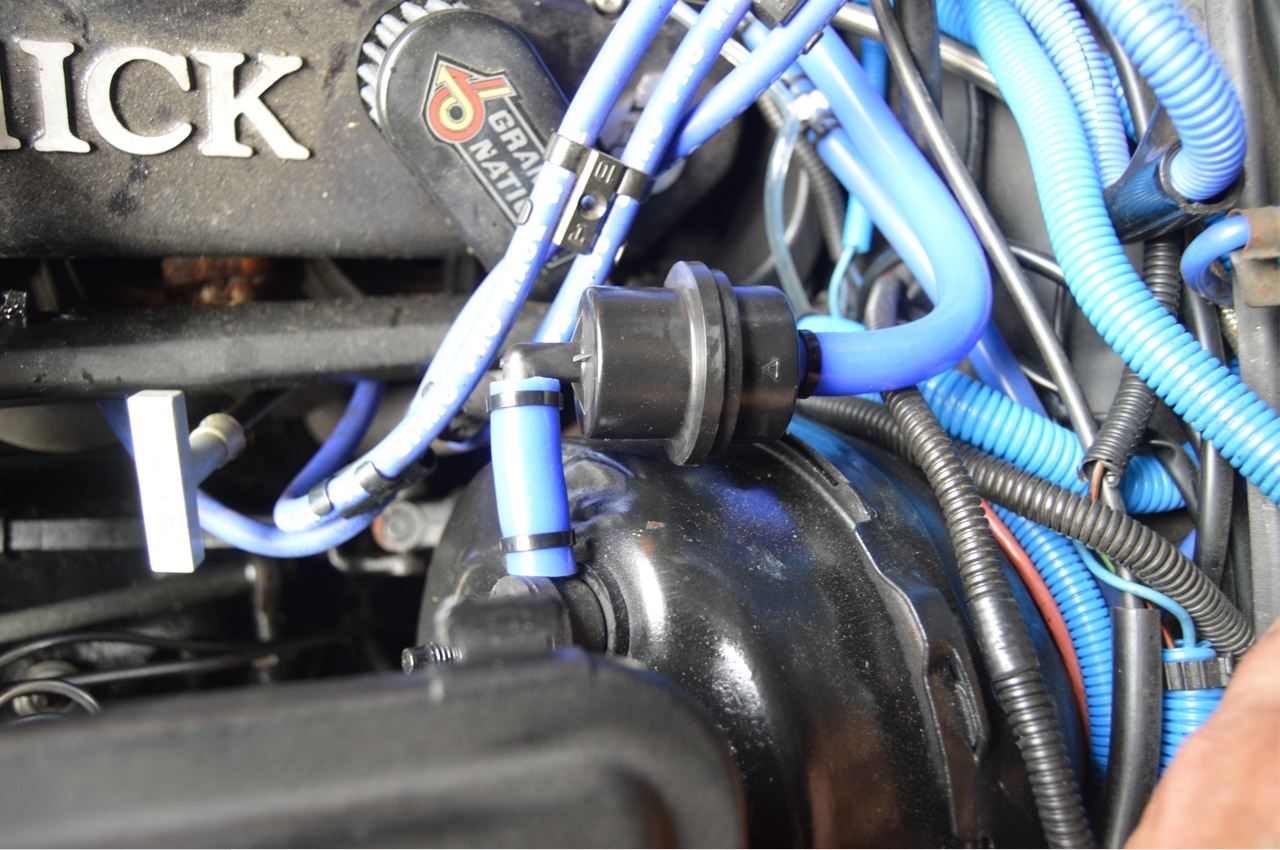
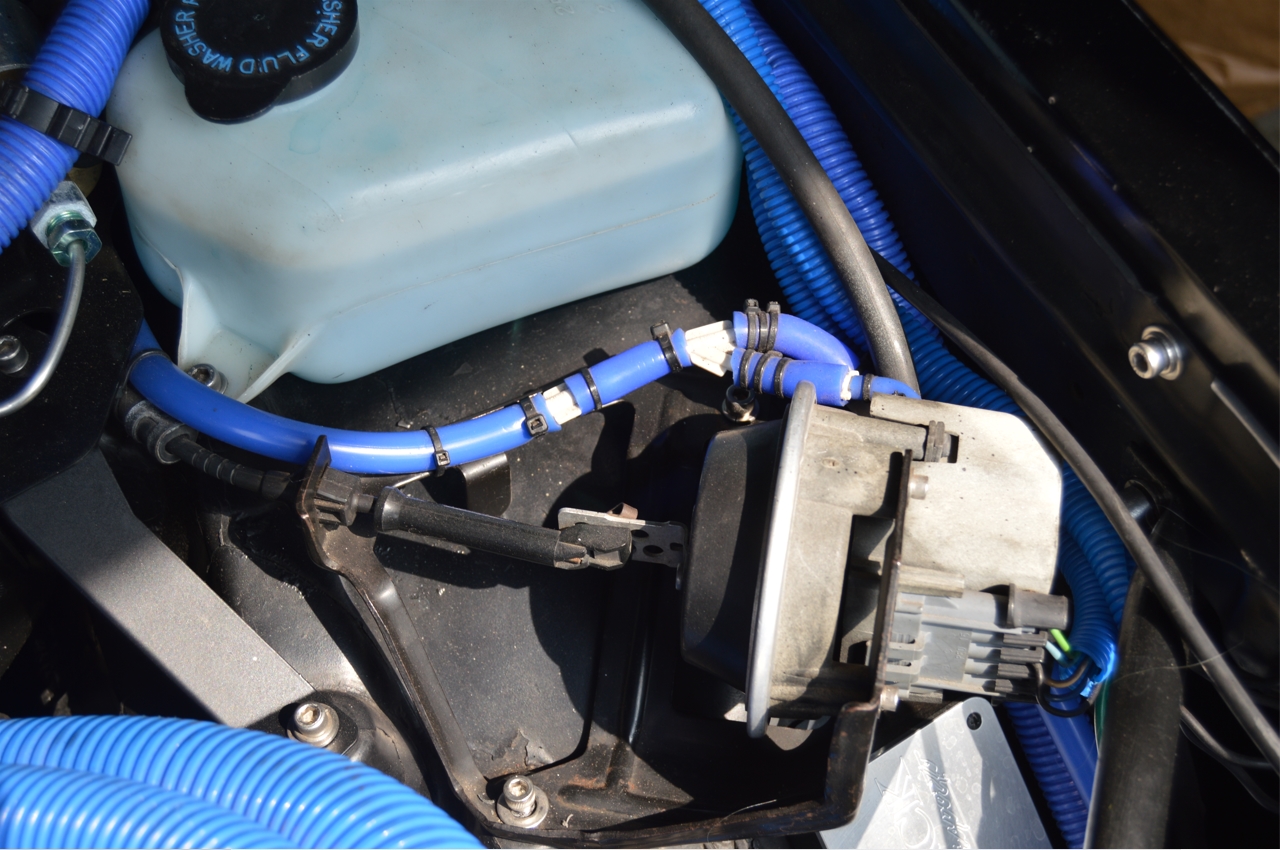
C. 2′ long section (+ a 2″ piece between filter & booster) for the vacuum brakes hose.
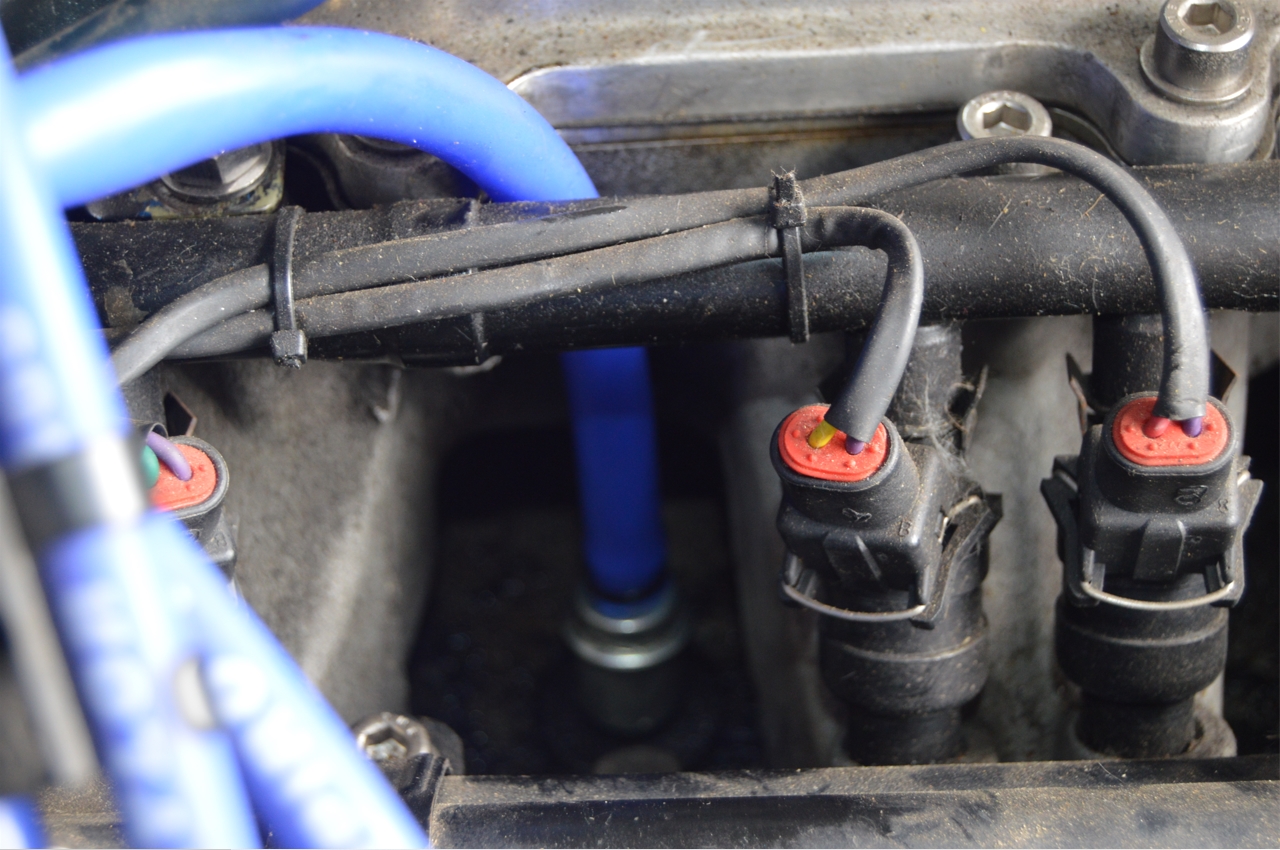
D. 16″ long piece for the vacuum line that leads to the 2 way check valve.
[this is a good time to inspect that valve, we found some oil inside ours, so we replaced it, $7 shipped off ebay; dorman 47150, Napa 730-1348, or GM 15-50568 – we chose the A/C Delco version]
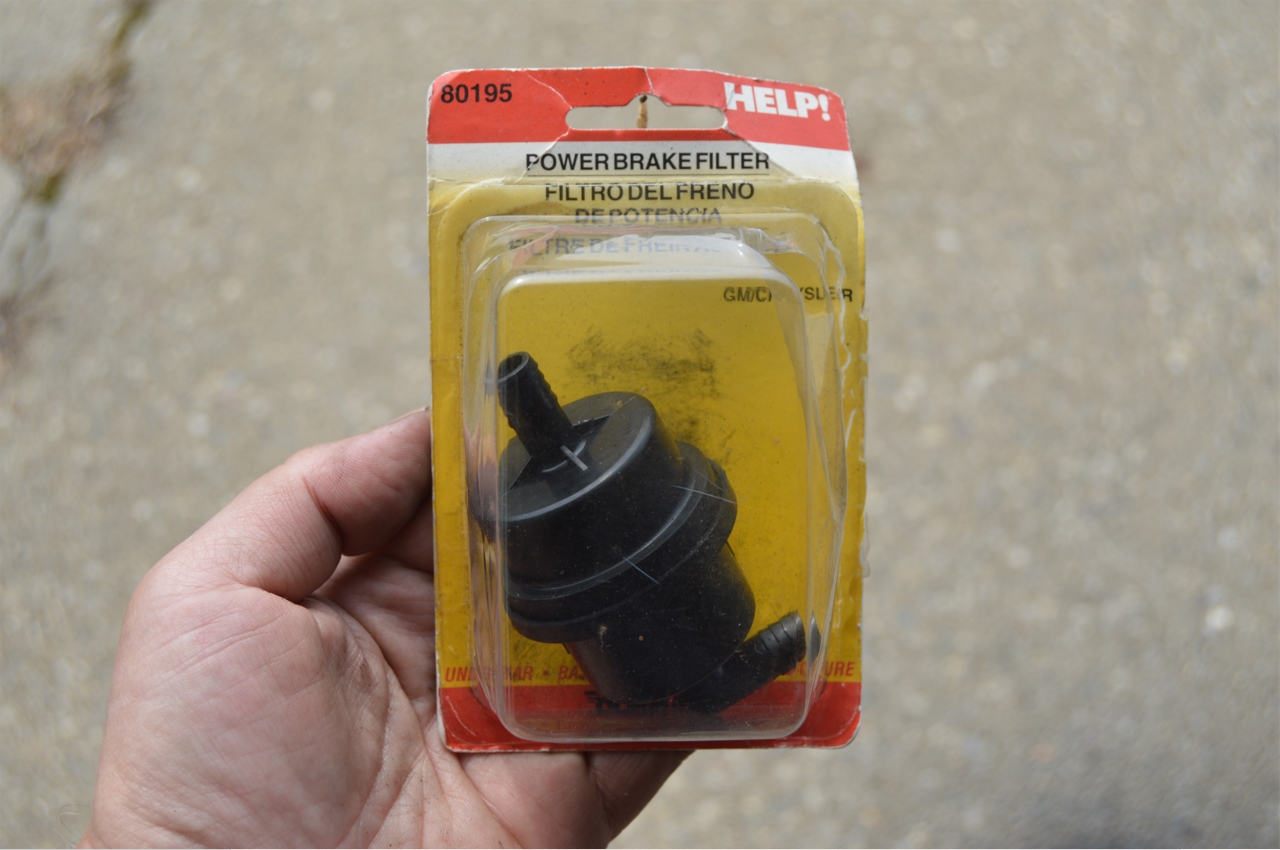
When we originally installed the vacuum hose for the brake booster, we never put on the filter, so we did that now since it was sitting on a shelf waiting to be put in.
To note, this specific filter is not a 1 way valve type, so you can just insert it into the vacuum hose however it fits best.
[we angled it in place so it looked ok in the spot its at, while being mostly out of the way in that area]
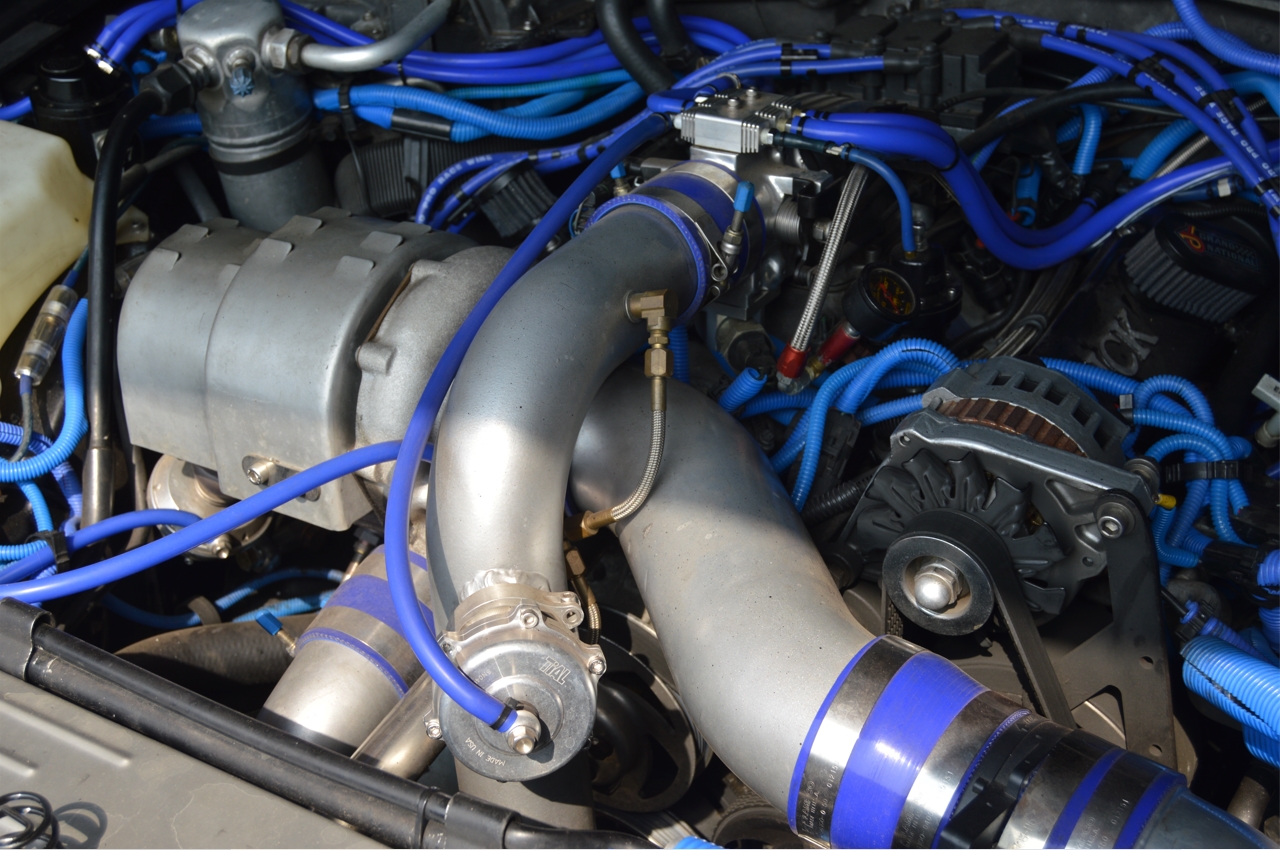
The rest of the vacuum lines were still doing ok (although we did wipe them off to clean them).
It took less than an hour to do them all.
Detach old one, size match, reattach.
Check off another project done from our list.
.
[just fyi, on vacuum hose lines, you should secure some of them down with a zip tie to make sure they don’t pop off!]
.
OIL CATCH CAN:
.
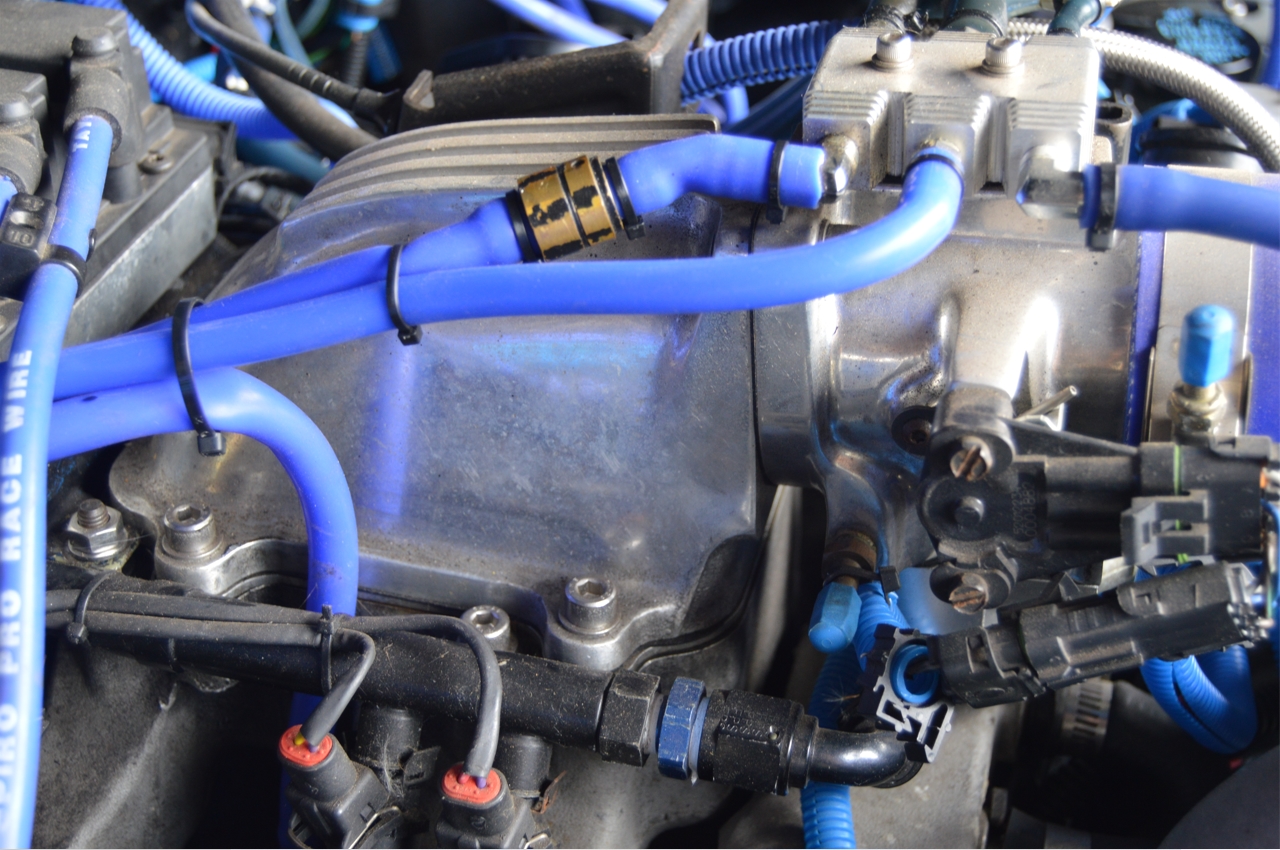
.
VACUUM BRAKES HOSE:
.
.
HVAC LINE TO 2 WAY CHECK VALVE:
.

.
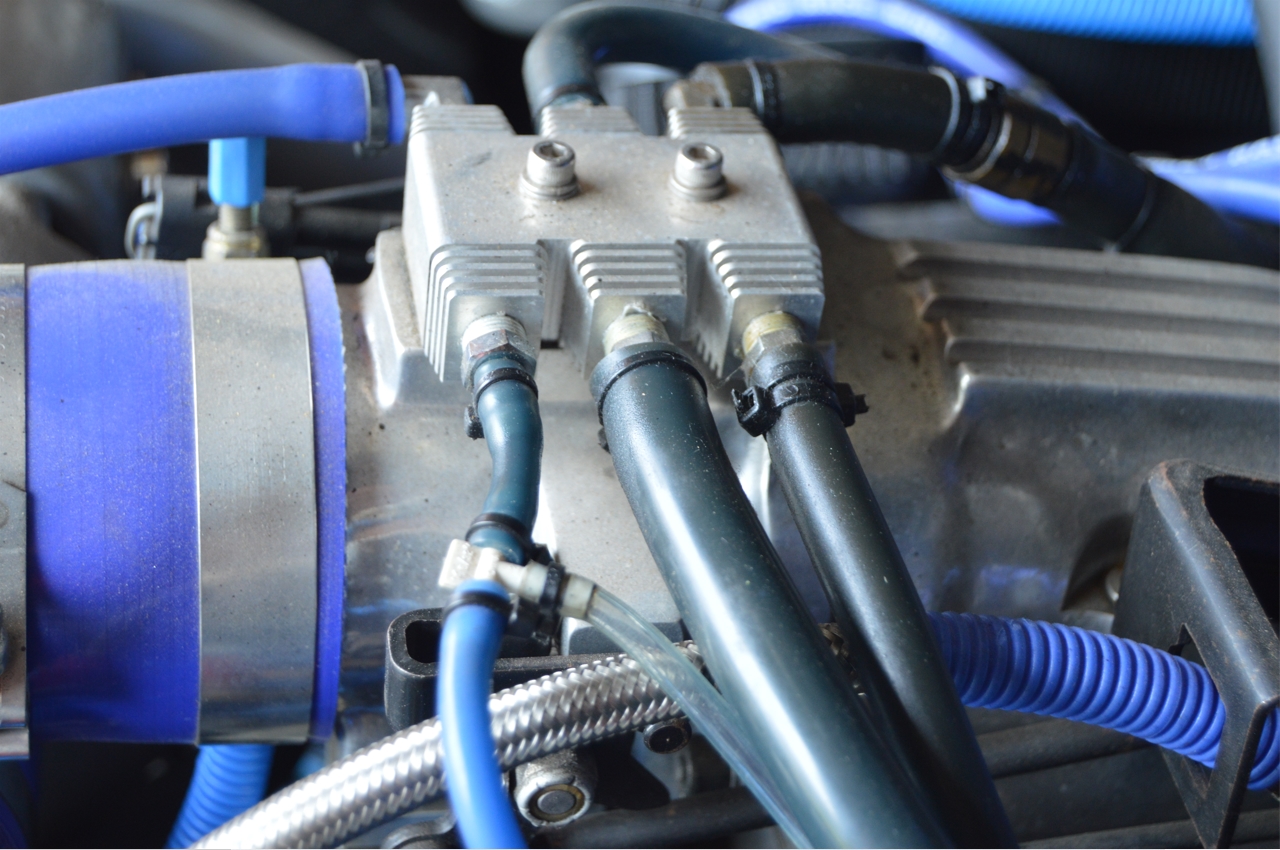
THE REST:
.
.


