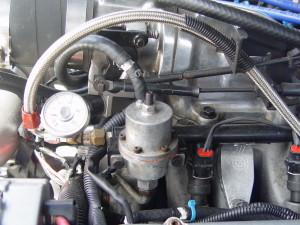
So after years of having a silver colored billet adjustable fuel pressure regulator on your Buick Grand National, Regal T-type or Buick Turbo T, and pretty much giving it no maintenance, or a cleaning/polishing it up either, it might be time to do an upgrade, so your engine compartment looks good again… Oh yeah, and so maybe your fuel system will work better, too…
Either that, or spend the time polishing up your old unit, but most owners usually just go out & buy new goodies for their TR’s. You know, any excuse to spend even more money on your pride & joy!
[and don’t worry, I won’t tell your wife/girlfriend/significant other that there really wasn’t anything wrong with your old one, you just really wanted some shiny new toy to put on your Turbo Buick! 🙂 ]
Or perhaps you still have the factory Bosch unit on your Gbody, and desire something better.
Whatever the case may be, here’s a how to do a replacement.
This time around, however, you should choose a black colored AFPR, because black is easy to keep clean… well, this specific part at any rate, as for the body on your GN, yeah, that’s another story.
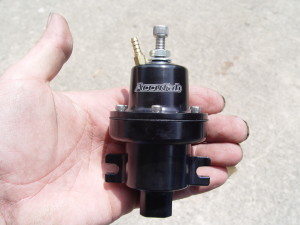
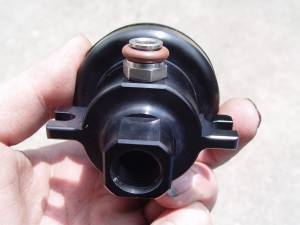
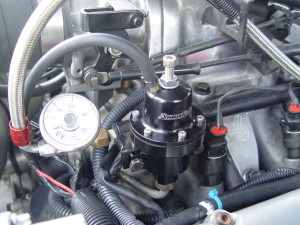
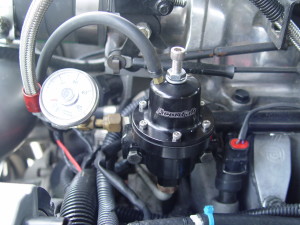
The Accufab adjustable fuel pressure regulator would be a wise choice if you’re in the market for said item.
It’s rebuildable, looks great in the engine compartment, and is the #1 choice of TR owners.
.
Replacement procedure:
1. Start by disconnecting the battery for safety.
2. Disconnect the vacuum line.
3. Depressurize the fuel system!
Use the schrader valve, etc., to let the pressure out, otherwise prepare for a big mess!
Even still, when you remove the regulator, be prepared for the fuel that will come out!
Put a rag under the return line & surrounding areas to catch the excess gas that will bleed out of the rail & FPR.
4. Use a 5/8 wrench to unscrew the fuel return line fitting, while using a 3/4 wrench to hold the regulator.
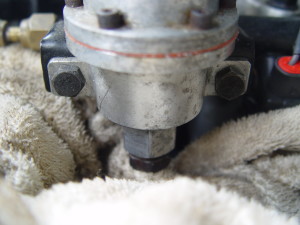
5. Using a 10mm socket, remove the 2 bolts holding the FPR to the fuel rail.
Hang onto these 2 bolts, as you will need them for installing the new part.
(new bolts are not included with the new regulator).
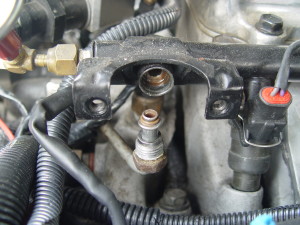
6. Pull out the regulator from the fuel rail by rocking it out left to right as you pull.
And then up to get it out of the return line.
7. Push the new FPR into the rail carefully, preferably straight in, so you don’t ruin the o-ring. (there is an extra o ring in the box in case you tear it or need it sometime down the road).
8. Put the 2 bolts back in & tighten.
9. Reattach the metal fuel return line.
10. Turn the key forward (but the engine off) and check for leaks. Fix if any are found.
11. Start your Buick Regal up & inspect for leaks again.
12. Readjust the fuel pressure if needed.
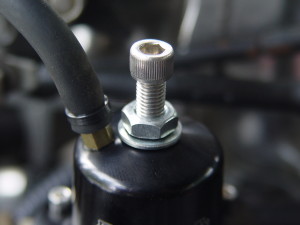
Loosen the 7/16″ nut, then turn the allen screw to adjust.
Turning it in (clockwise) brings the pressure up.
Most aftermarket ECM chips usually require 43 lbs with the vacuum line off.
When reattaching the vacuum line, the pressure drops (to around 37).
Tighten the nut down when you are finished adjusting the pressure.
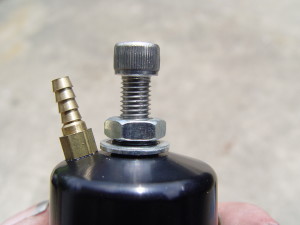
13. Everything look good? Great! Go for a test drive to make certain!
And to reward yourself for a job well done!
You can pick up one of these buick V6 regulators, like we did, at Full Throttle’s website:
.
.
.
.
The vendor shown above has supplied us with the parts we used in this project, per our request. If you are looking for similar parts, don’t hesitate to inquire with this specific vendor!
.
.


