


OK, after a few days of attending local car shows, we’re back at it on the rear disc brake conversion for the 1987 Buick Grand National.
.
While OEM rubber brake hoses attached to calipers work (mostly) well from the factory, they also suffer from swelling issues, as well as disintegrate over time.
There’s a better solution to cure that problem so your G-body Regal brakes aren’t are squishy.
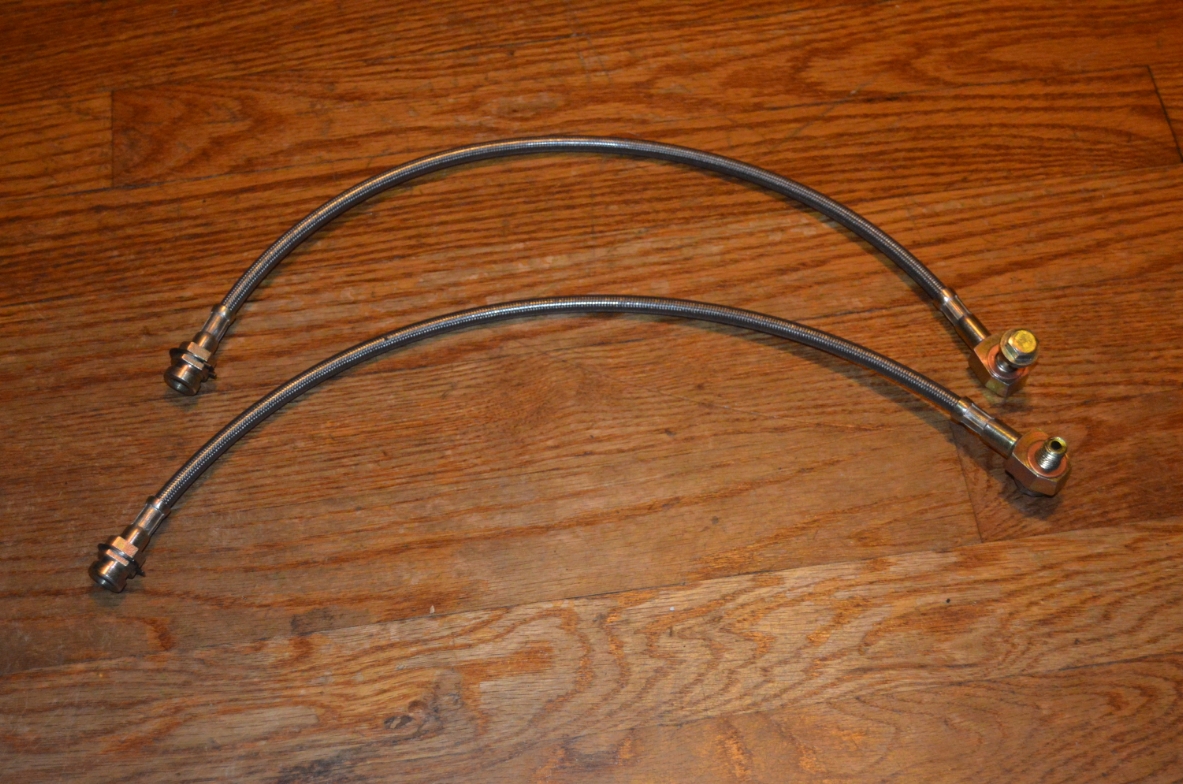
Braided line is available, and it’s not that expensive.
Less than $30 for a set of 2 for the rear calipers (and roughly the same price for the front caliper set).
20 bucks more will also get you the main rear connection piece (the one that has a Tee attached to it) as well.
You should feel an instant improvement in the stopping power from your Turbo Buick once this upgrade is performed.
So for about $80 (front & rear calipers + rear TEE piece) you will have much better braking (and confidence in knowing that the old rubber hoses won’t deteriorate, the stainless steel braided lines will last pretty much forever).
.
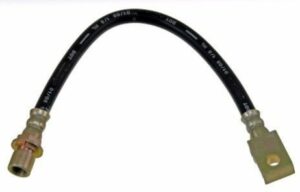 The rear disc brake kit we bought came with rubber hoses (as do most aftermarket kits).
Since we swapped the OEM rubber ones for braided hoses on the front calipers, we wanted to do the same for the rear.
.
This is an ongoing 7-part series:
1st, overview on rear disc brake setup, prepare axles.
2nd, paint brackets and calipers & add turbo 6 arrows on them! (same like we did up front).
3rd, removal & installing the new rear disc brakes setup.
4th, installing stainless steel braided caliper hoses on rear calipers.
5th, installing the main rear tee connecting braided hose (chassis to axle, with Tee).
6th, installing all new stainless steel brake lines from Inline Tube, complete, from the master cylinder to the proportioning valve to the calipers in front, and master cylinder to prop valve to the Tee on the rear axle housing to the rear calipers.
7th, remove & replace OEM proportioning valve with 4-wheel disc prop valve (also from Inline Tube).
YOU ARE ON PART 4 HERE.
.
COMPLETION TIME:
– less than 1 hour (to do the front calipers, rear calipers, and rear connection piece)
[best to do all 3 of these in one shot if you are able, since you have to bleed the brakes]
.
TOOLS:
– 7/16 (11mm) brake line wrench for banjo bolt, and bleeder screw, for front and rear calipers
(the hard brake lines also take the 7/16)
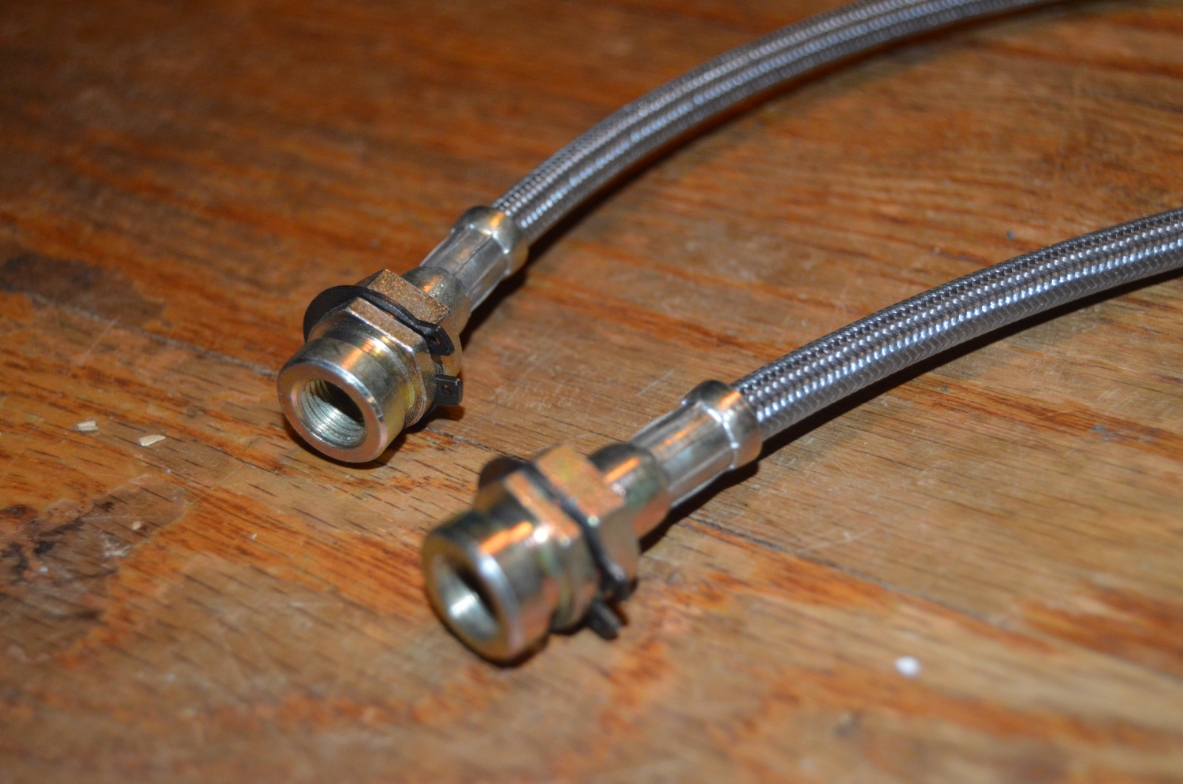
– pliers (removing/installing attachment clip that secures hoses to frame tabs)
.
PARTS:
* Set of 2 braided hoses (rear 3/8-24 & 10mm banjo 15″ long, $28 ebay)
(depending on where you want to put the hoses, depends on the lengths you acquire. For the scarebird setup we’re using, with a built in tab for the caliper hose on the front side of the main bracket, 12″ hoses would have been plenty)
(you should also be aware of where your hard lines end at, that factors in to where the new braided hose will attach, and their lengths)
(also note that the factory hard line will NOT reach over to where the tab is mounted on the main bracket for this kit we have, in the current stock location, unless you re-bend the brake line and position it over to where it needs to be. Since we are also installing all new brake lines from Inline Tube, we modified the rear lines to accommodate the needed location)
(the original brake line is positioned on the back side of the axle [nearest the rear bumper], so you will need to move it to the front side to be able to reach the mounting tab on the main bracket)
(for reference, if you prefer a brand name hose: russell 692100 [3-piece set, 2 caliper hoses, 1 rear tee], summit/jegs $86 – but you can price shop on ebay for about $55!)
.
.
HOW TO:
(even though we did this job during the rear disc brake swap, we are giving you instructions as if you already have rear disc brakes installed & are only changing out the brake lines)
.
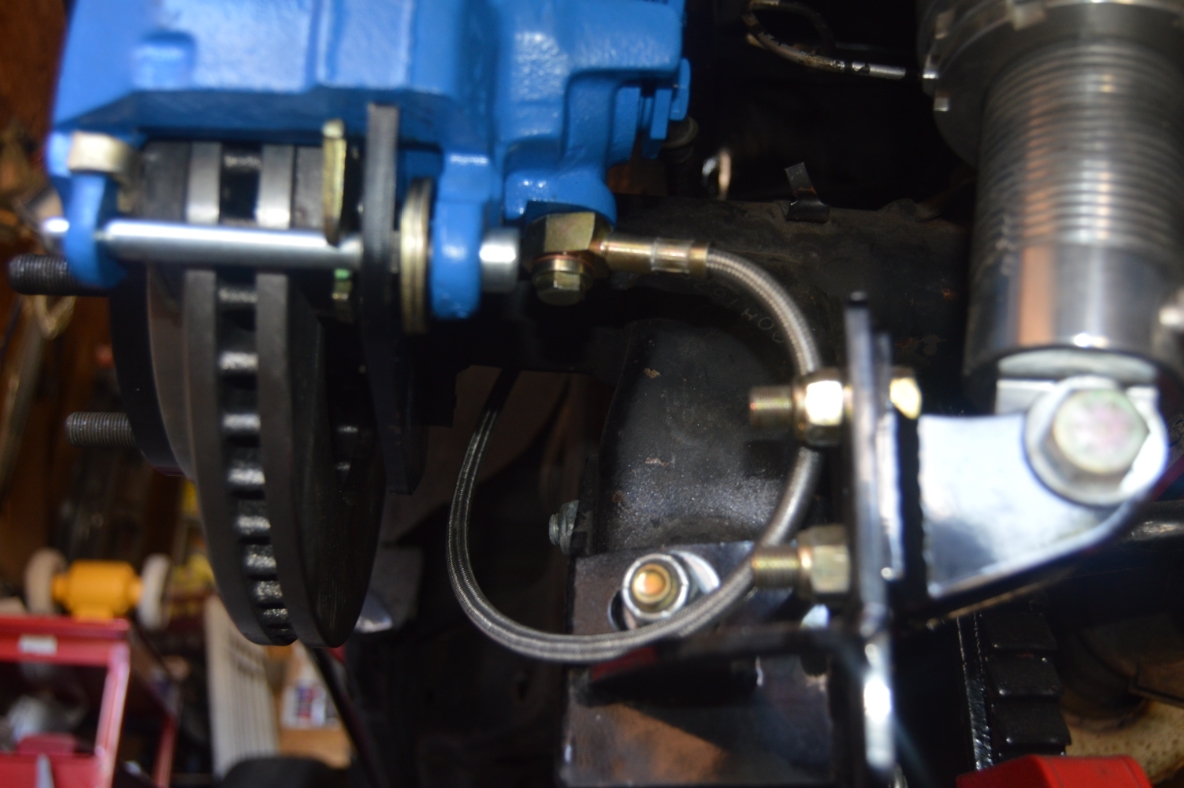
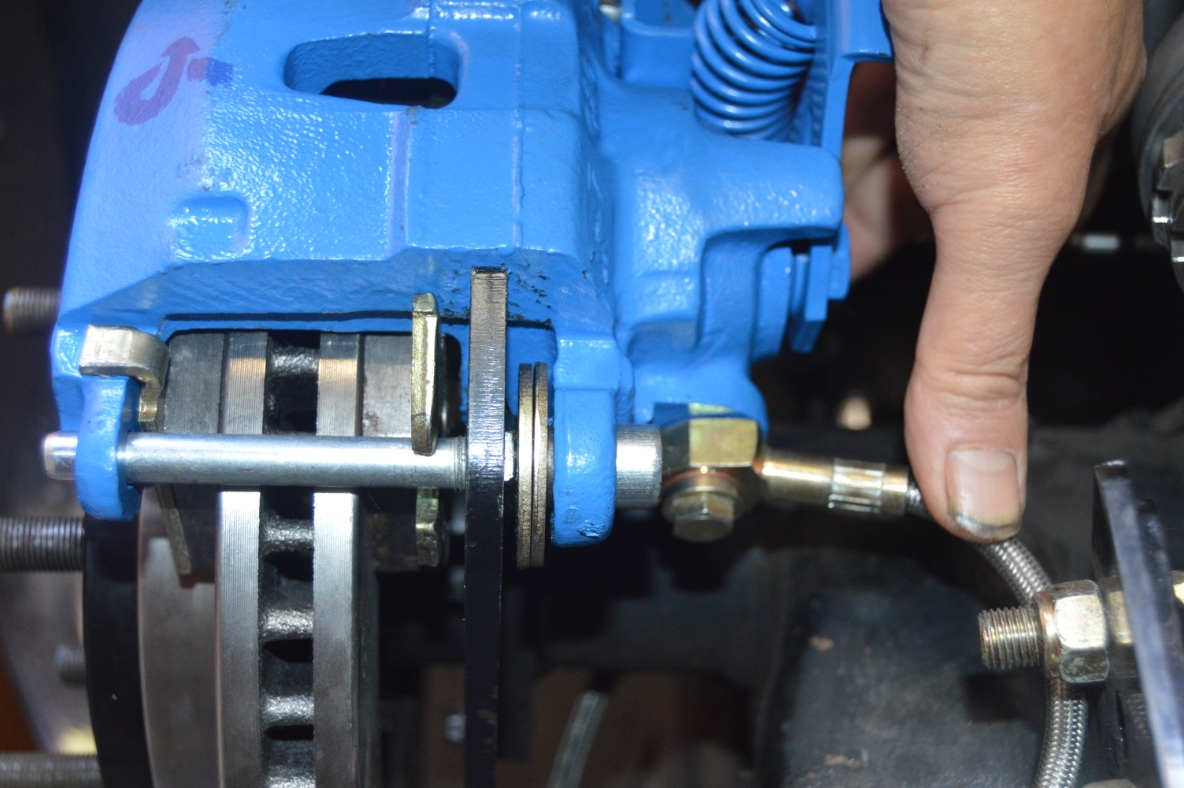
REAR CALIPERS:
.
1. Put your Buick Regal on jackstands.
2. It’s easier to do if the wheels are removed, but your call.
3. disconnect banjo bolt from caliper.
4. disconnect (hard line) nut from the other end (that’s attached on the frame).
5. remove securing clip that keeps the rubber hose line in at the frame.
6. attach new braided line with securing clip on the tab.
7. reattach hard line from axle housing.
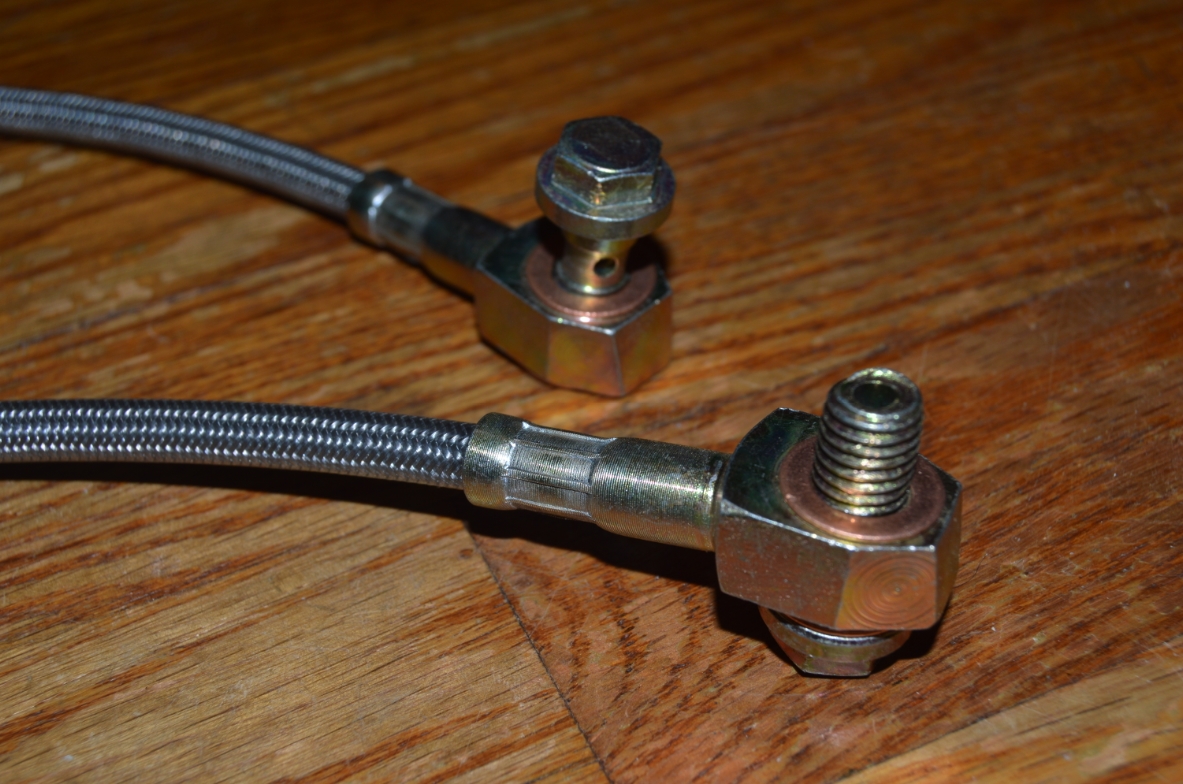
8. attach banjo bolt to caliper. use 2 copper crush washers on each side of hose.
(1 washer goes on top of the caliper, then the hose, then another washer, then the bolt).
9. repeat for other side.
10. bleed all calipers, as well as the entire system.
11. put your wheels back on.
12. remove jack stands.
13. TEST your brakes CAREFULLY before driving! bleed again if necessary!
.

.


