.
While we are waiting for our axles to get turned down to fit the rear disc brakes setup, it’s a good time to prep the other stuff for the ’87 Buick GN.
.
This is an ongoing 7-part series:
1st, overview on rear disc brake setup, prepare axles.
2nd, paint brackets and calipers & add turbo 6 arrows on them! (same like we did up front).
3rd, removal & installing the new rear disc brakes setup.
4th, installing stainless steel braided caliper hoses on rear calipers.
5th, installing the main rear tee connecting braided hose (chassis to axle, with Tee).
6th, installing all new stainless steel brake lines from Inline Tube, complete, from the master cylinder to the proportioning valve to the calipers in front, and master cylinder to prop valve to the Tee on the rear axle housing to the rear calipers.
7th, remove & replace OEM proportioning valve with 4-wheel disc prop valve (also from Inline Tube).
YOU ARE ON PART 2 HERE.
.
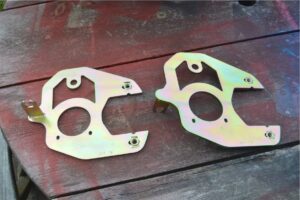
The main brackets from the rear disc brake setup come with a gold plated finish.
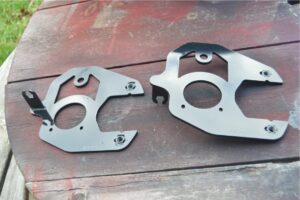
We scuffed them up a bit and gave them a few coats of gloss black paint.
(keeping them in theme with the stealthy black look of the rest of the parts under the Gbody Regal)
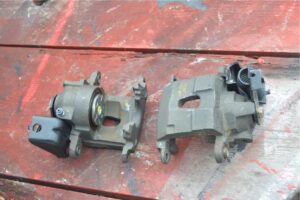
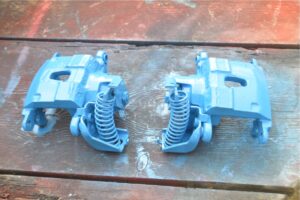
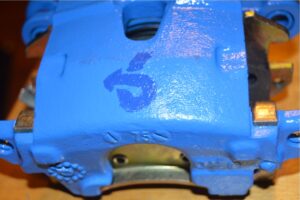
After taping up the pistons, the cast iron calipers got several coats of blue paint.
(we had some leftover paint in the spray can from when we did the fronts)
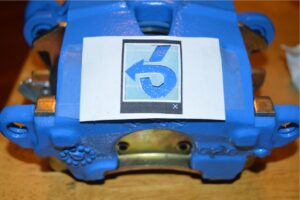
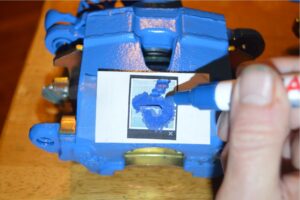
Then we added a turbo 6 arrow on each one, the same way that we did to the front calipers.
Since none of the parts for the rear disc brake conversion have been installed yet, it doesn’t take too long to finish todays job.
We had to wait for the blue on the caliper to dry before adding the power 6 symbol.
That was as simple as taking the template we made for the front calipers, taping them to the rear caliper, then using the dark blue paint pen we previously bought and filling in the holes for the turbo 6 arrow on the template.
(you can see the process here, from the fronts: paint turbo 6 arrow on caliper)
About 2 hours was spent completing this task.
(20 minutes for actual prep / paint work, but having to wait for the paint to dry took some time)
.
MAIN BRACKET, before / after:
.
.
CALIPERS, before / after / after adding power 6 logo:
.
.
Be sure to come back tomorrow to see more progression on this 1987 Buick GN!
Thanks for following along…
.


