


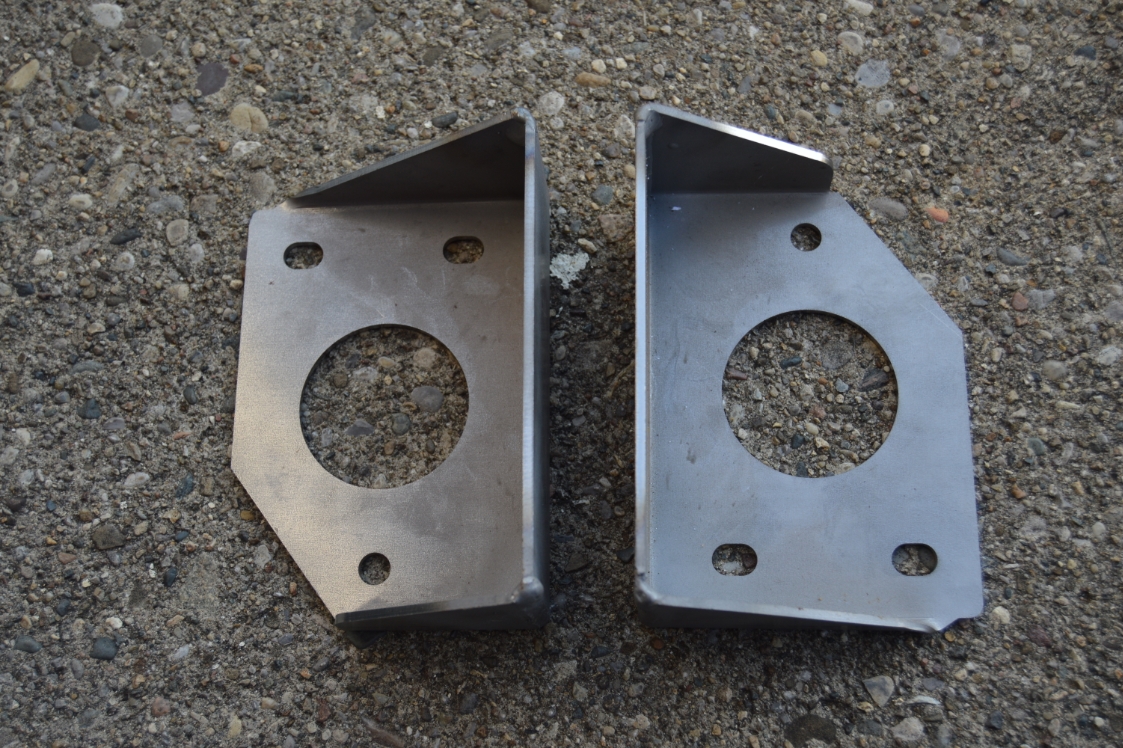
GNS makes these mounts (in sets of 2) for the rear frame section.
They fit Buick Grand Nationals, as well as most other G-body vehicles.
[they cost about $100, but you could always make your own if you’re capable of actually figuring out all the bends and angles. we chose the easy route & just bought these]
They can be used for rear frame support, as a parachute mount, or as a safety measure if you’ve switched to a fiberglass bumper (and deleted the inner bumper reinforcement bar).
For our purpose here, it was the latter.
[yes, we realize adding this new unit kind of defeats the purpose of a light-weight fiberglass bumper, but we wanted the styling look that the FG bumper affords, while keeping the safety aspect somewhat intact, since this Turbo Buick is driven on the street]
Whatever your reasoning is, these premade brackets make creating the entire unit a bit easier.
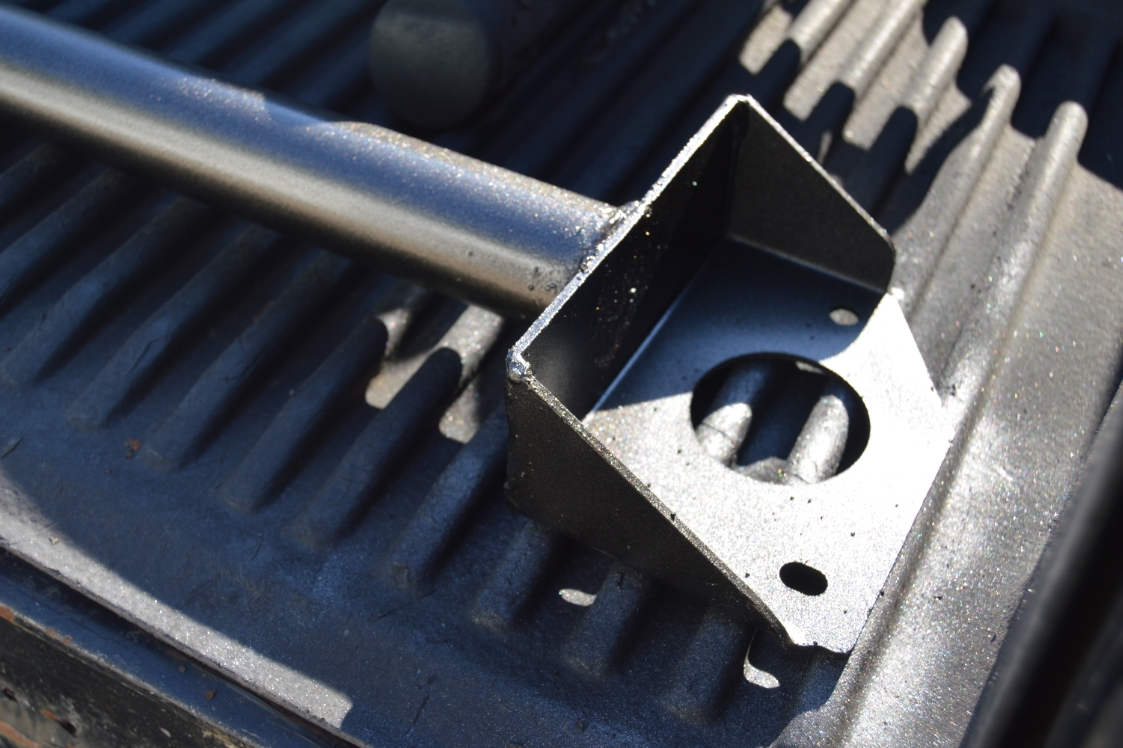
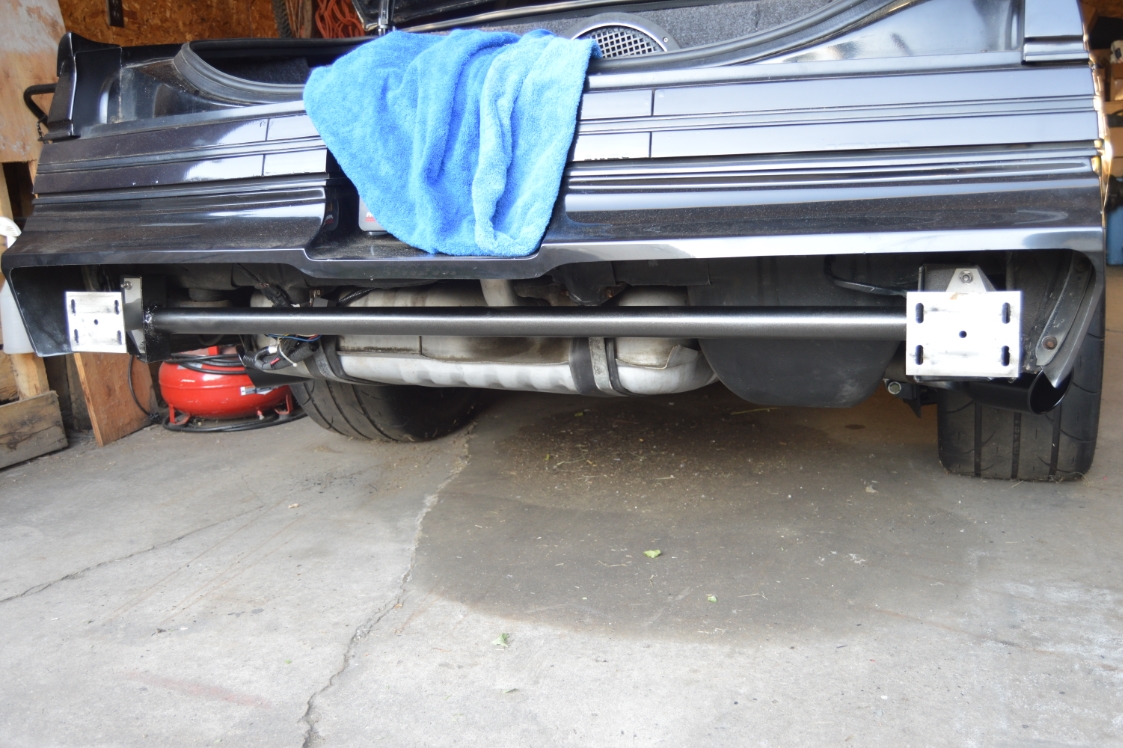
You take the 2 supplied mounts, attach them to the rear frame horns (before the bumper supports), then add a crossbar to them. That’s basically it and you’re done.
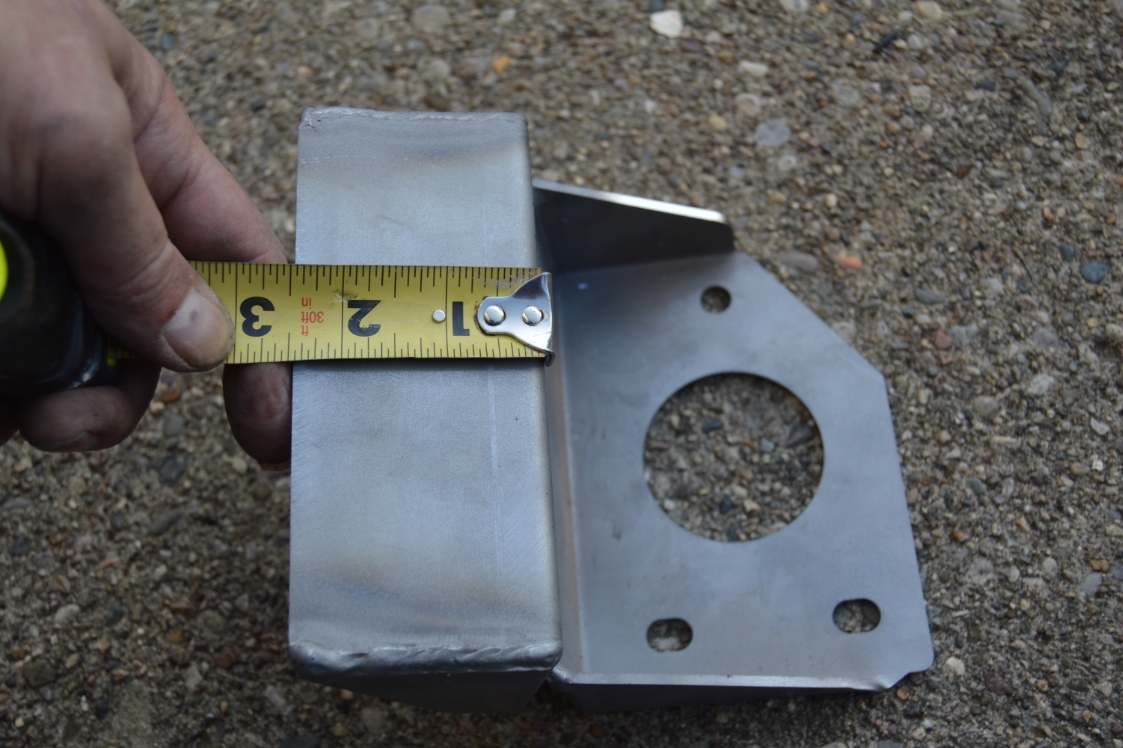
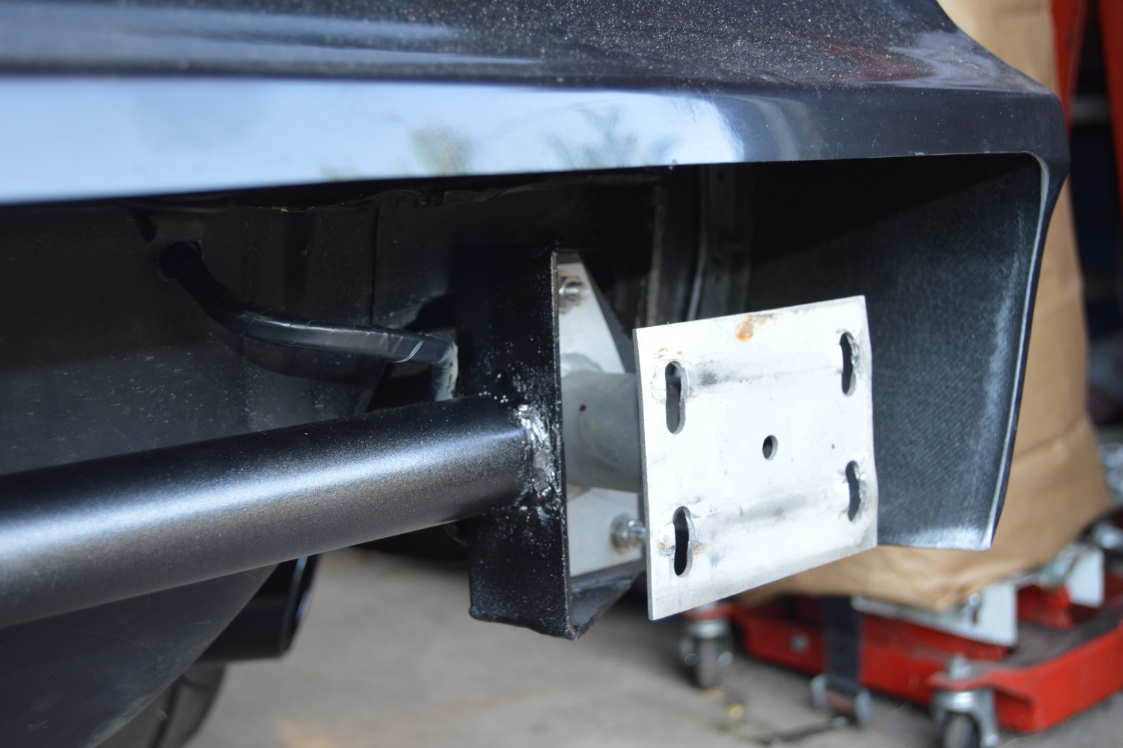
The mounting point for the crossbar, on the brackets, as shown in the pics, is 2.5″ wide, enough to use rollbar tubing, or whatever your choice of steel happens to be.
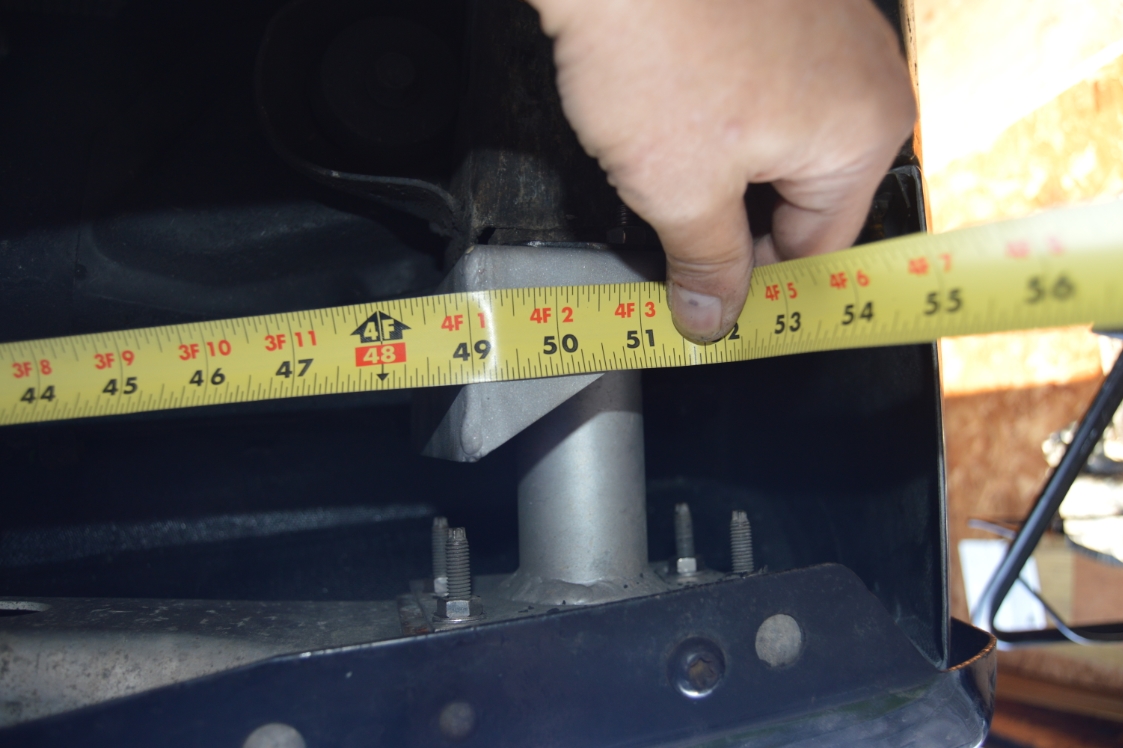
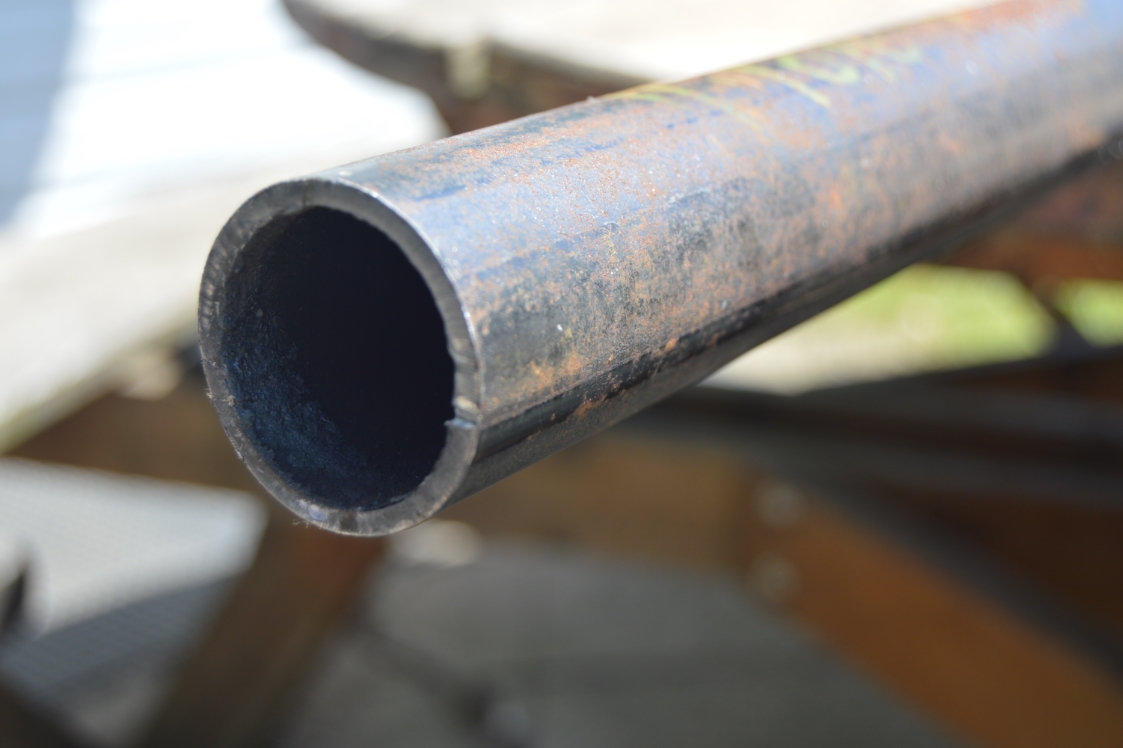
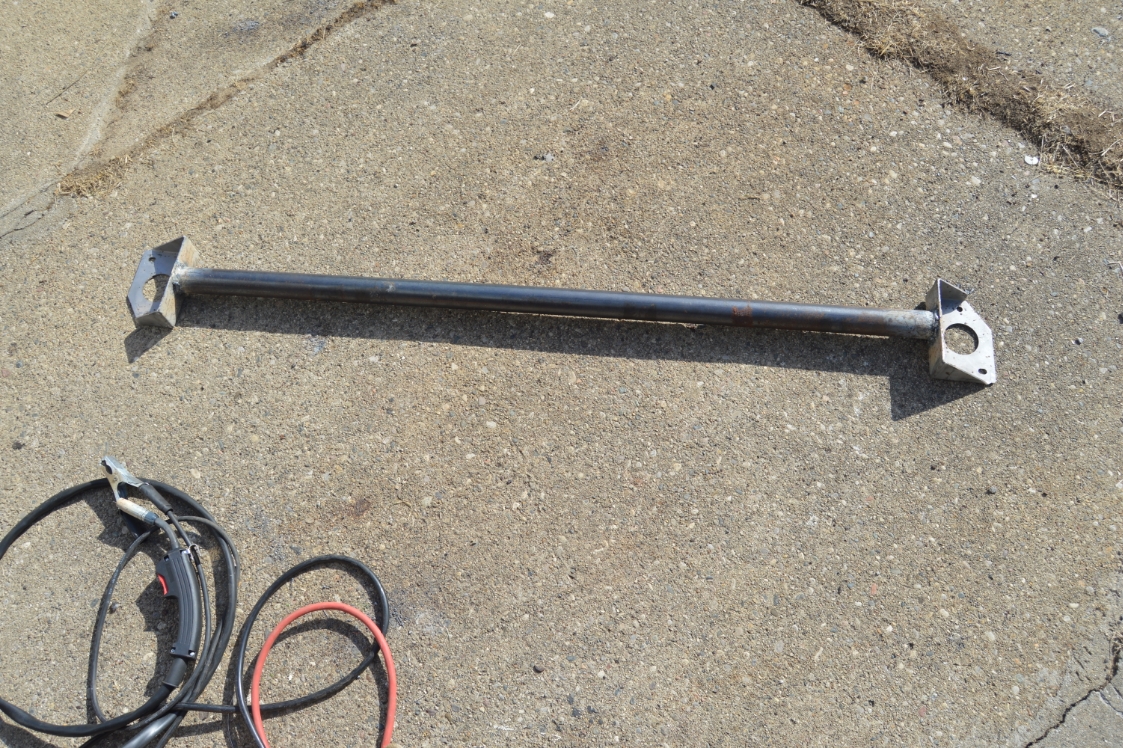
We used mild steel rollbar tubing (2″), and cut the cross bar to 49″ to fit in between the brackets.
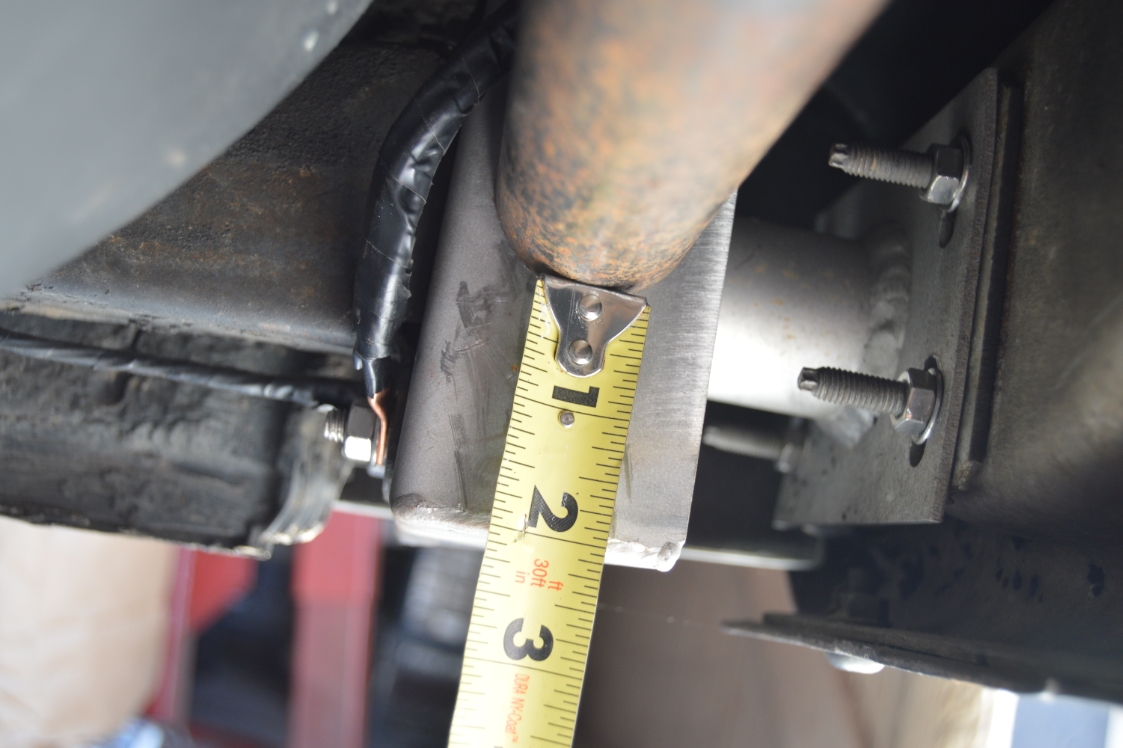
We placed it 2″ up from the bottom, which puts it roughly in the middle of the frame.
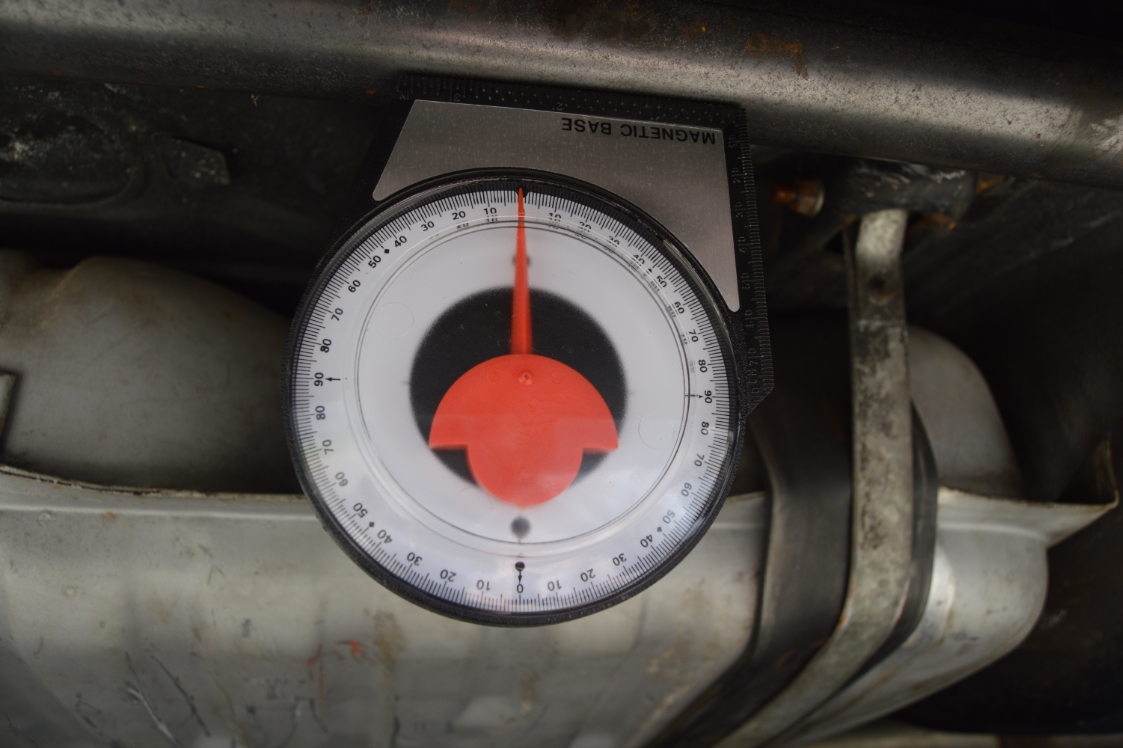
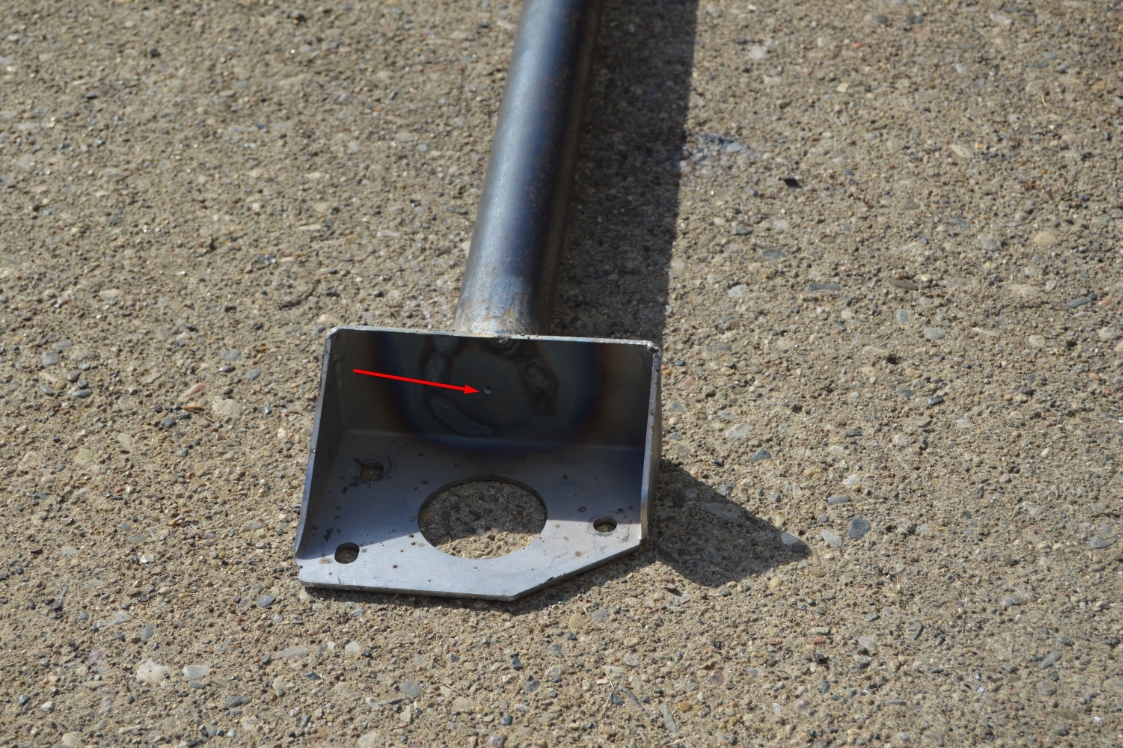
We made sure the bar was parallel using an angle gauge, then tacked it into place.
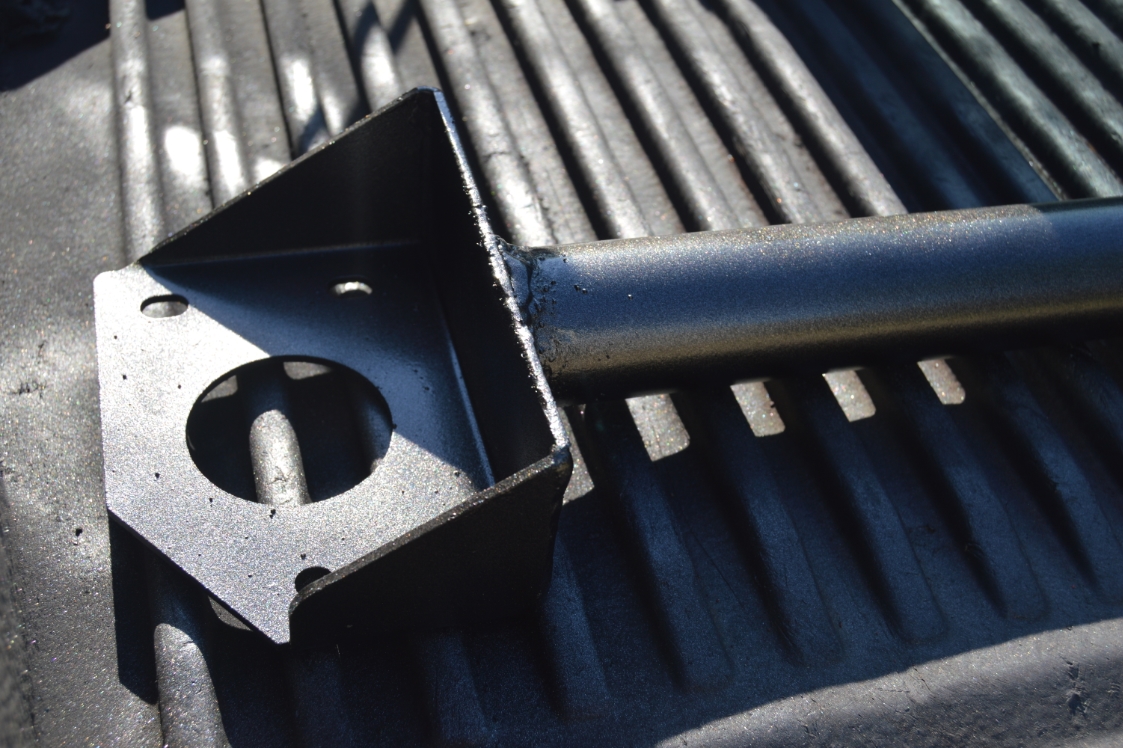
After removing it from the car, it was fully welded around the rollbar tubing onto the brackets.
[be sure to drill a small hole in one bracket end for a vent hole before welding]
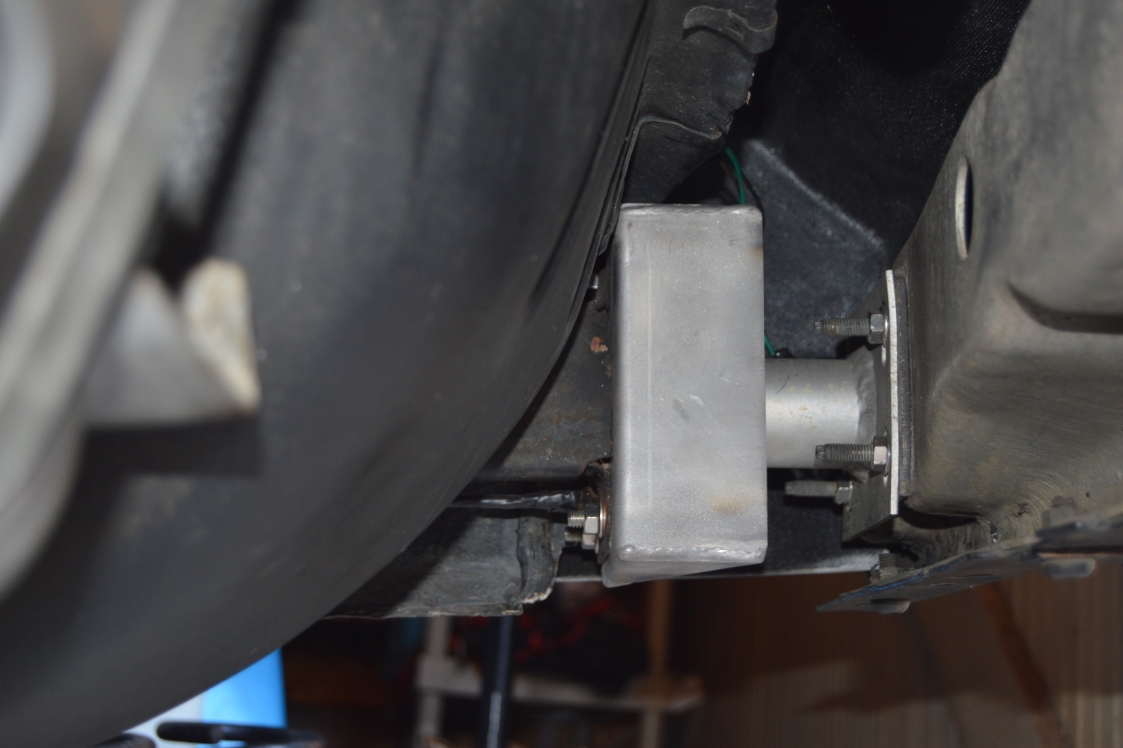
The next steps are primer, paint, then reinstalling it back on the Buick Grand National.
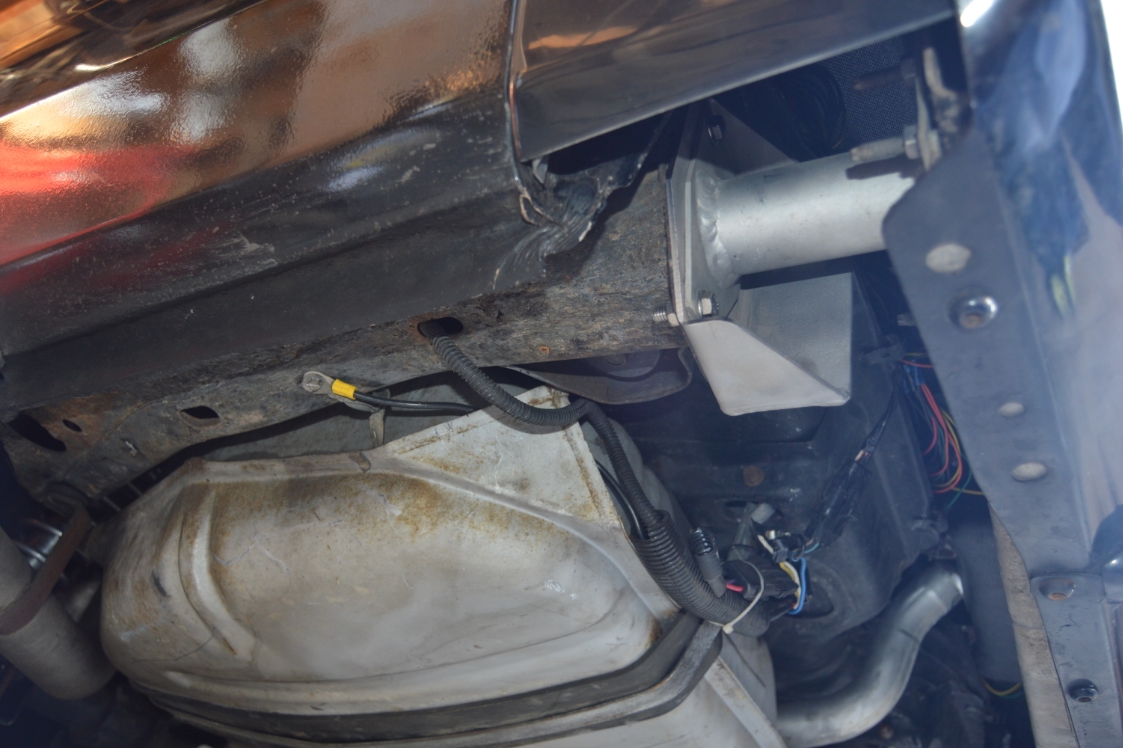
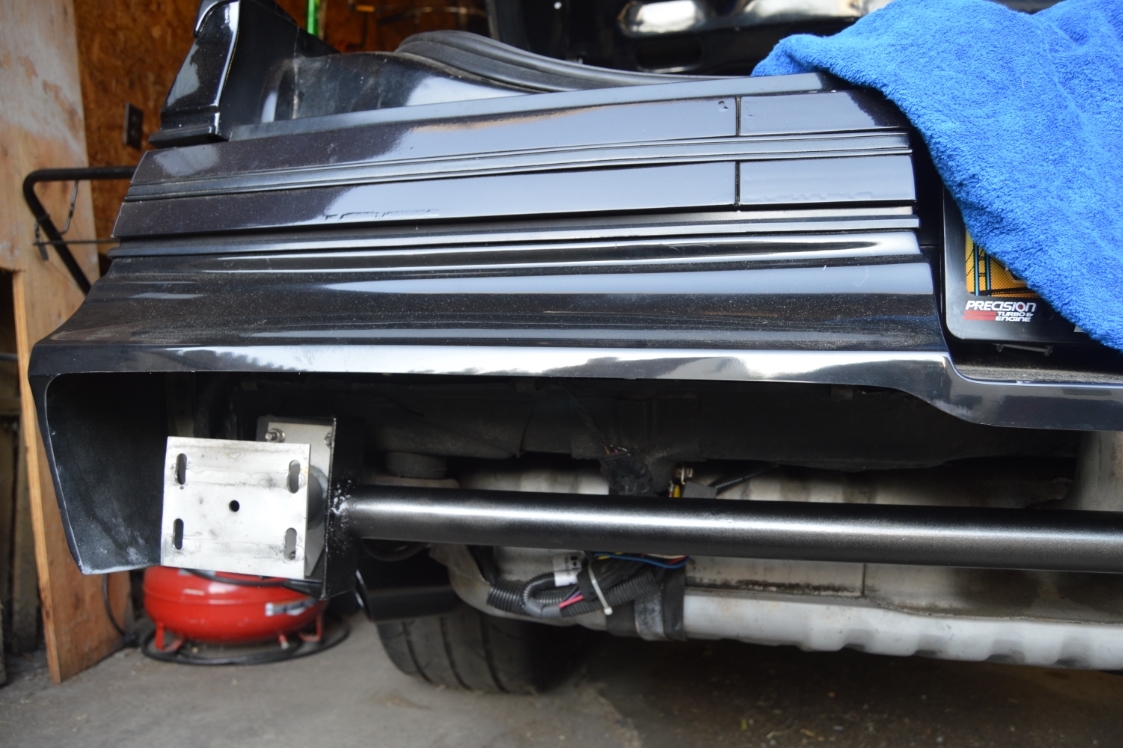
This new piece mounts directly on the frame end, then the bumper supports go on, then the bumper gets attached.
Positioned as above, looking from the rear, you won’t even see this bar once the bumper is on.
.
[The brackets as placed on the frame ends: drivers side has the 2 bolts on top; passenger side has the 2 bolts on bottom.]
[Note: GNS is now selling the crossbar that you can use with these brackets]
.
You can get the brackets & crossbar HERE:

.
INSTALLATION PICS:
.
.
This is a 4-part story:
A= create rear frame brace – YOU ARE HERE
B= install rear fiberglass bumper
C= create front frame brace
D= install front fiberglass bumper
.


