


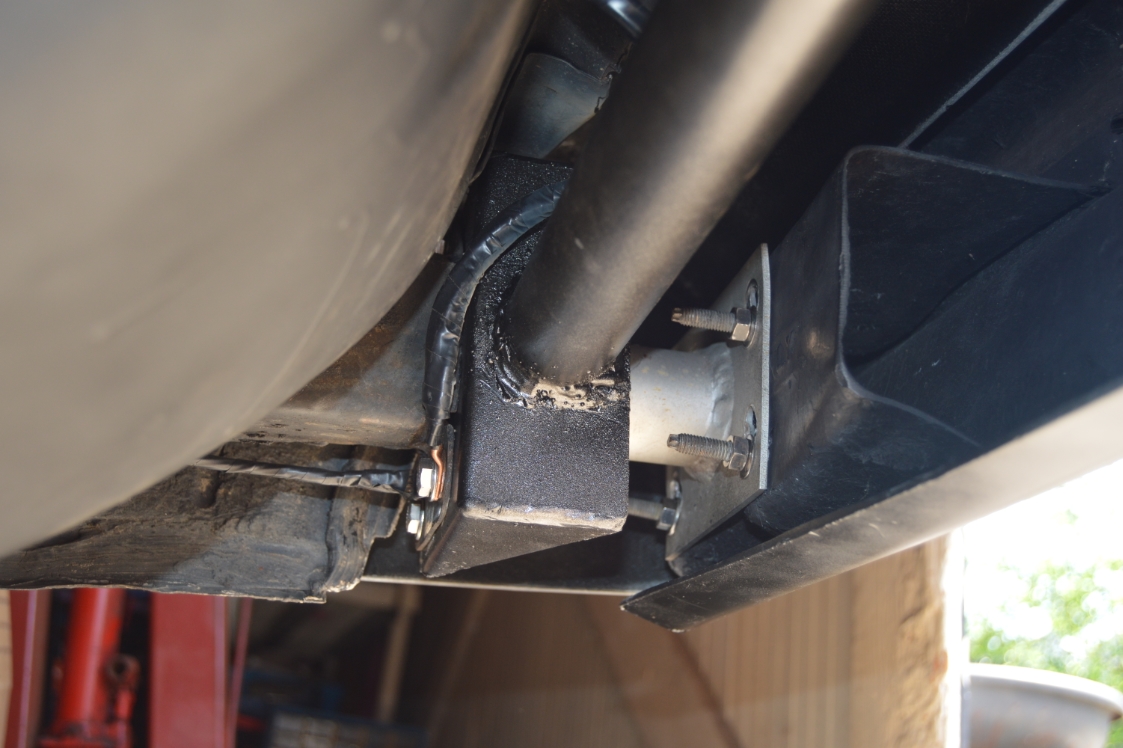
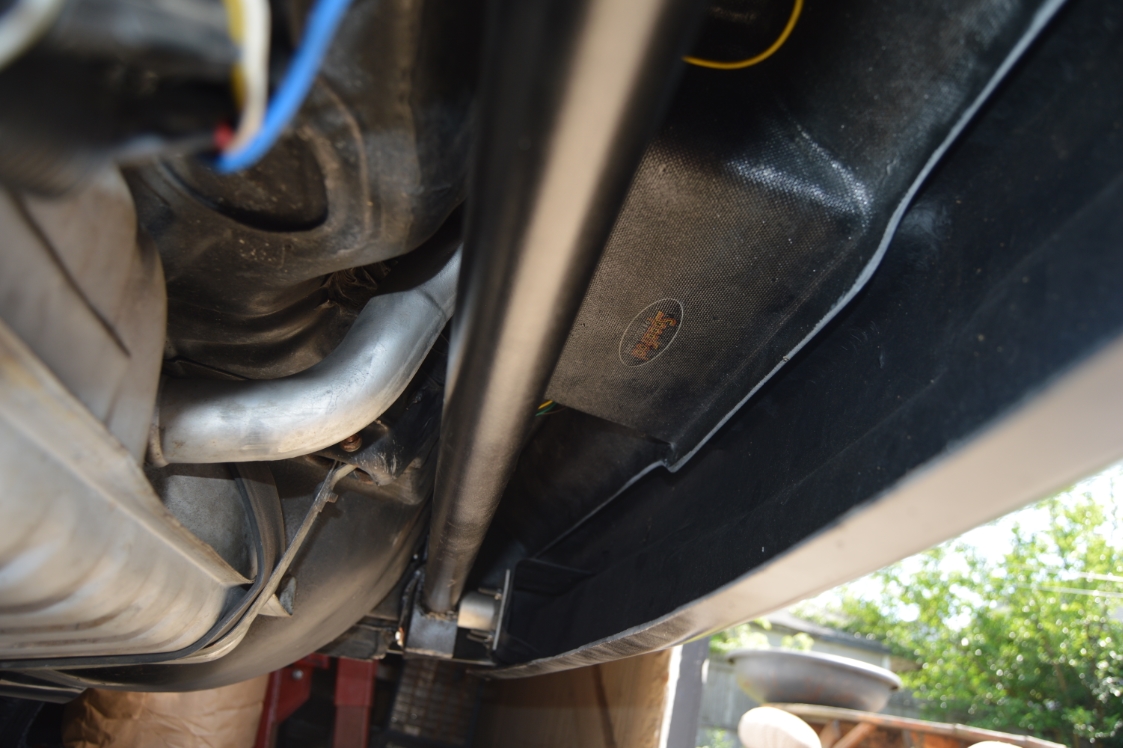
Yesterday, we finished up making & installing the rear frame brace (a necessary safety piece in our minds when switching over to a FG bumper since this is a street driven Turbo Buick).
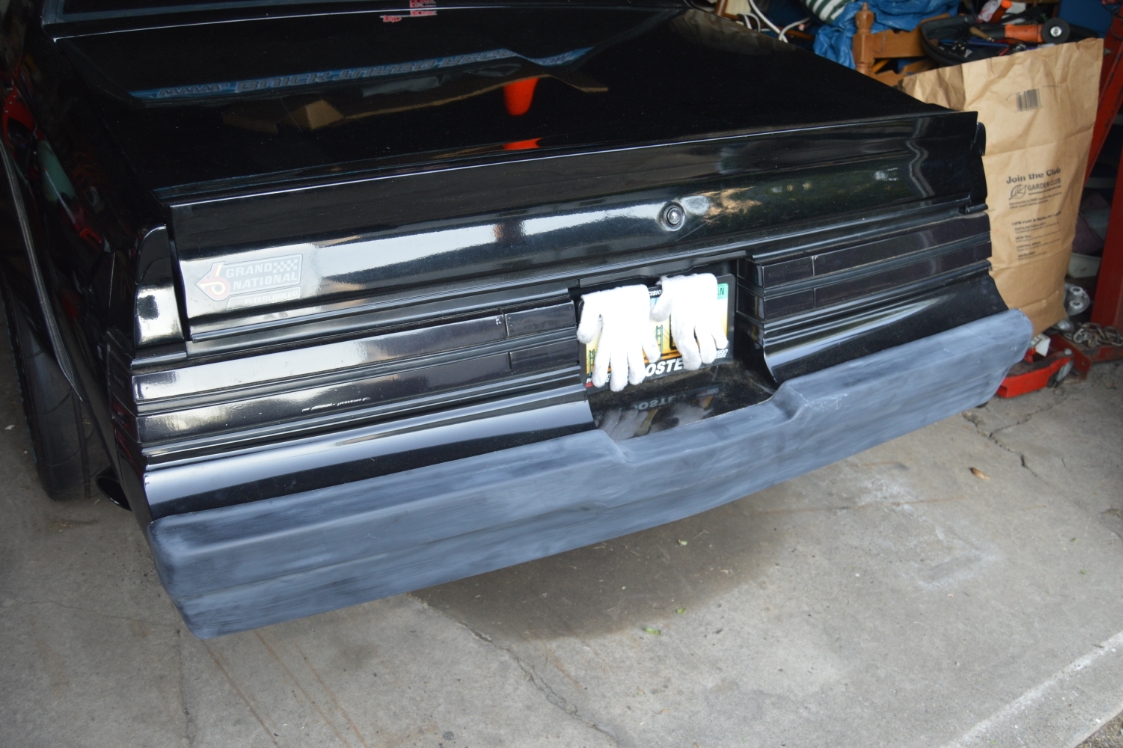
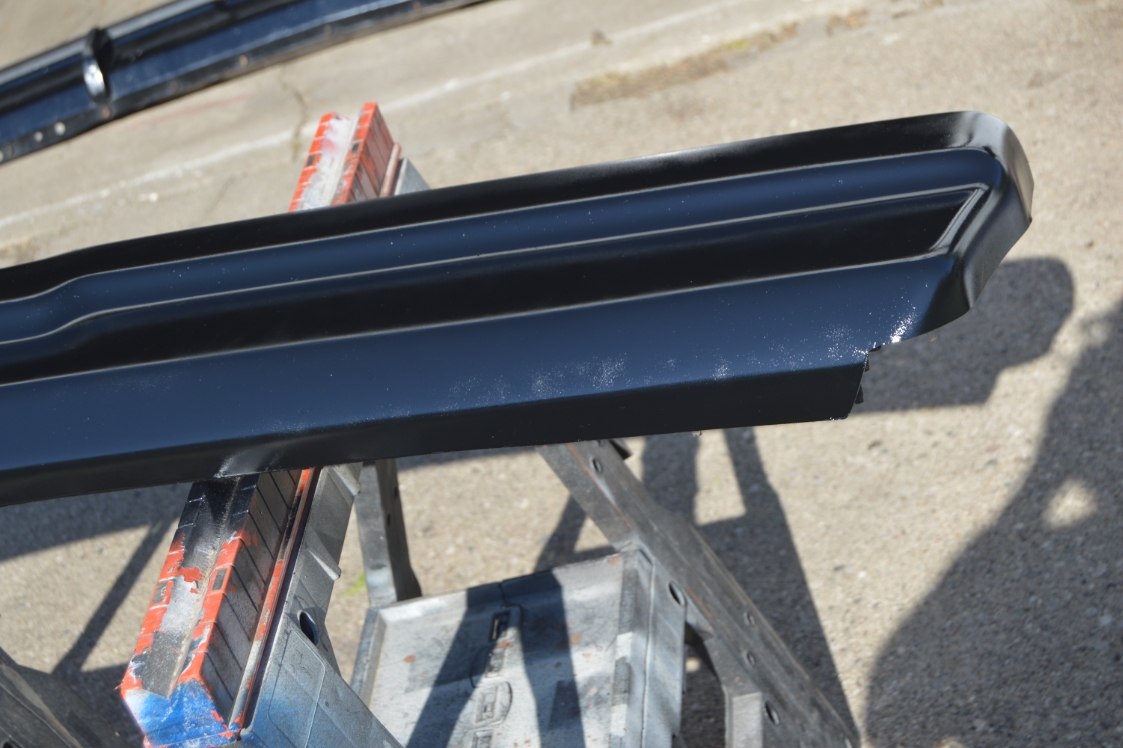
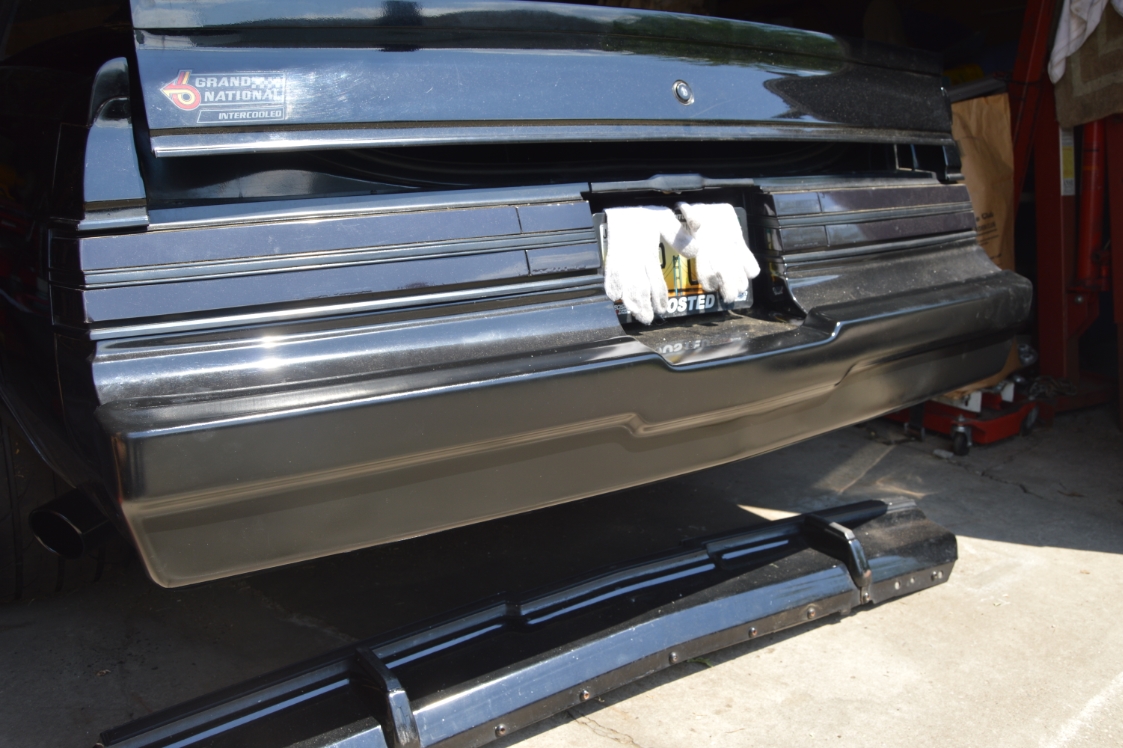
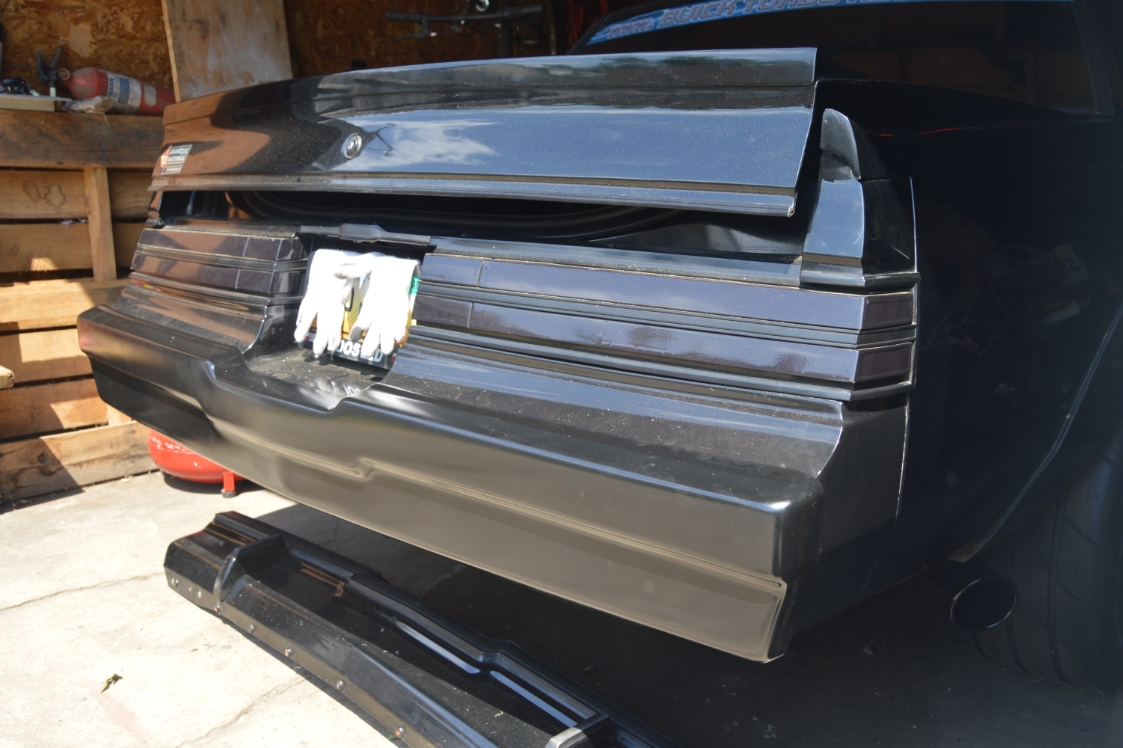
Today, we’re installing the rear fiberglass bumper.
[sometime soon we are going to install the front FG bumper and the front frame brace (made from modified GNS brackets) as well, stay tuned!]
Advantages of lightweight fiberglass bumpers:
- Save about 80 pounds switching to fiberglass bumpers & aluminum mounts.
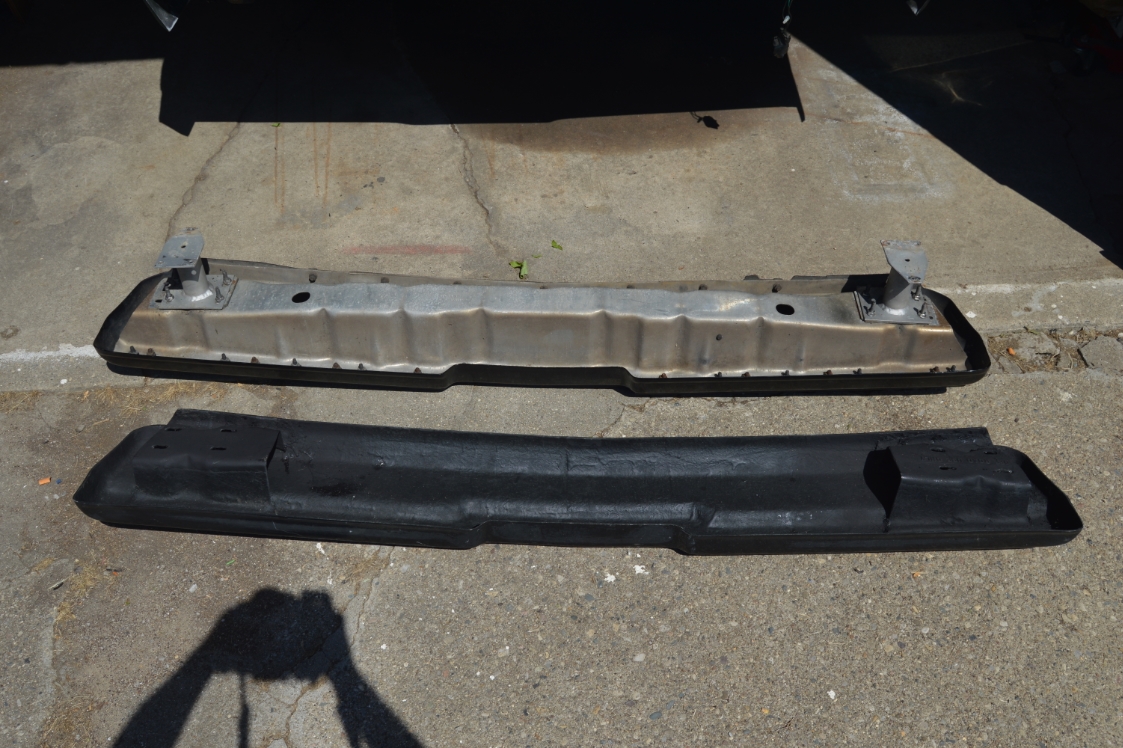
- full set (both F&R) of OEM bumper supports saves 15.5 pounds total.
- front bumper = OEM 40 pounds vs Fiberglass 4.7 pounds.
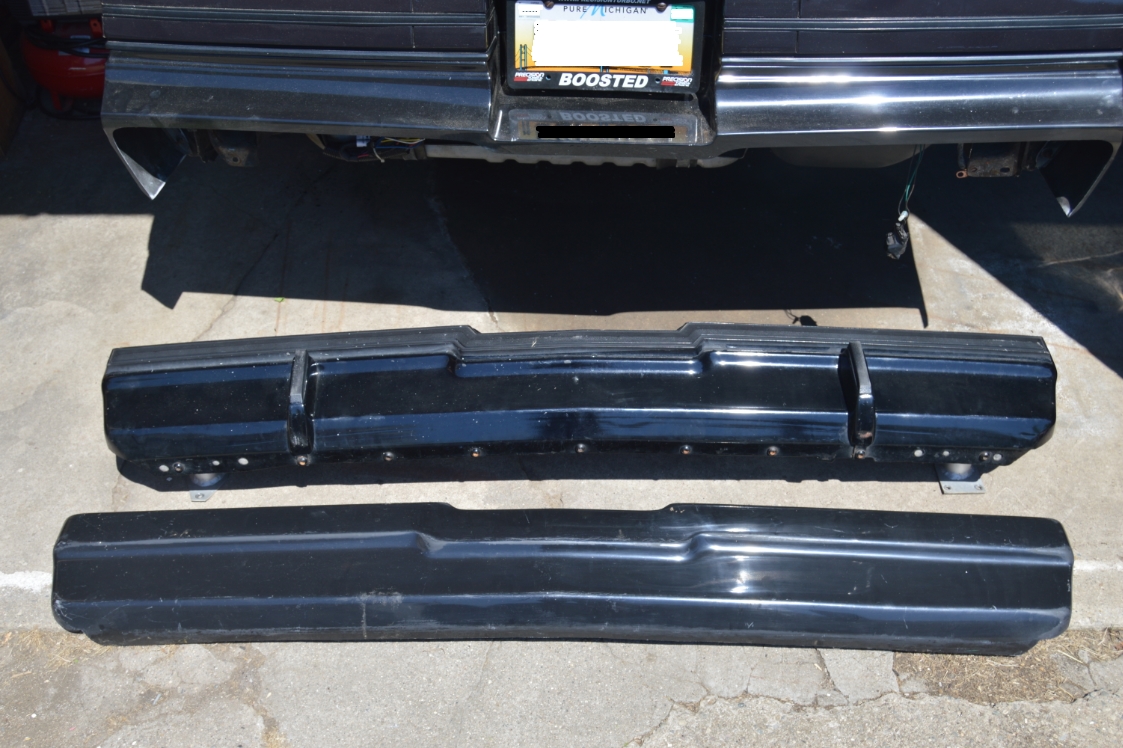
- rear bumper = OEM 36 pounds vs Fiberglass 4.5 pounds.
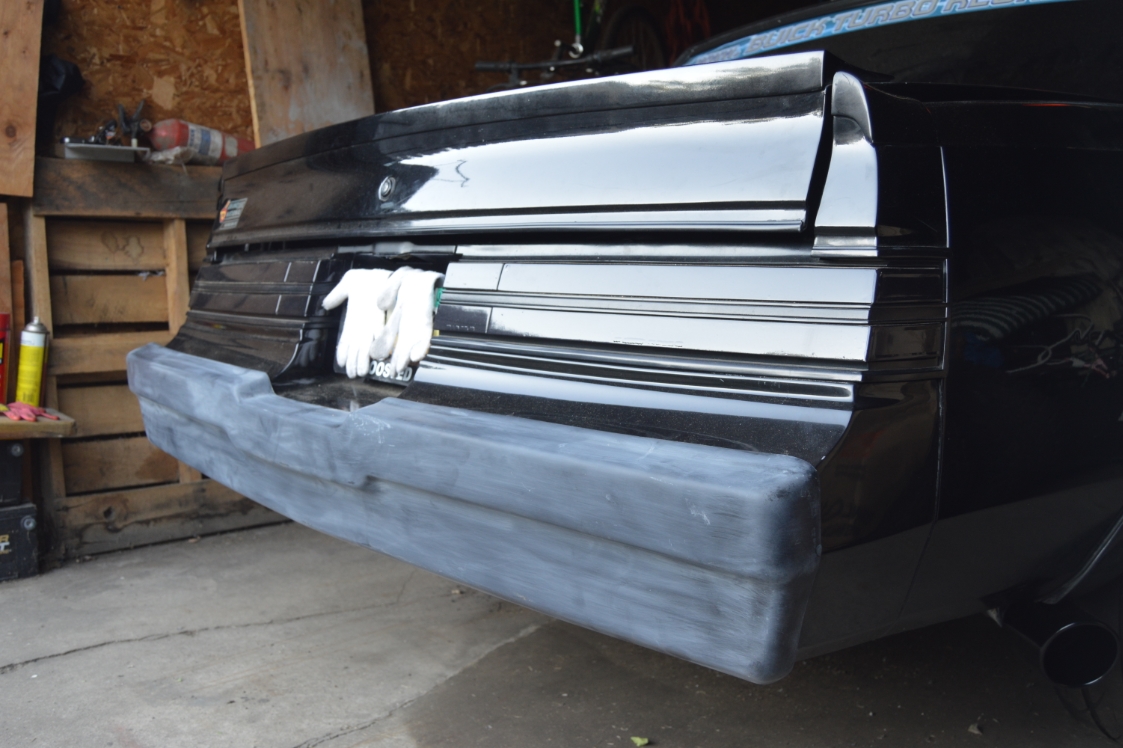
We love the look of a fiberglass bumper vs the OEM bumper.
Not to mention that doing both front & rear saves about 80 pounds!
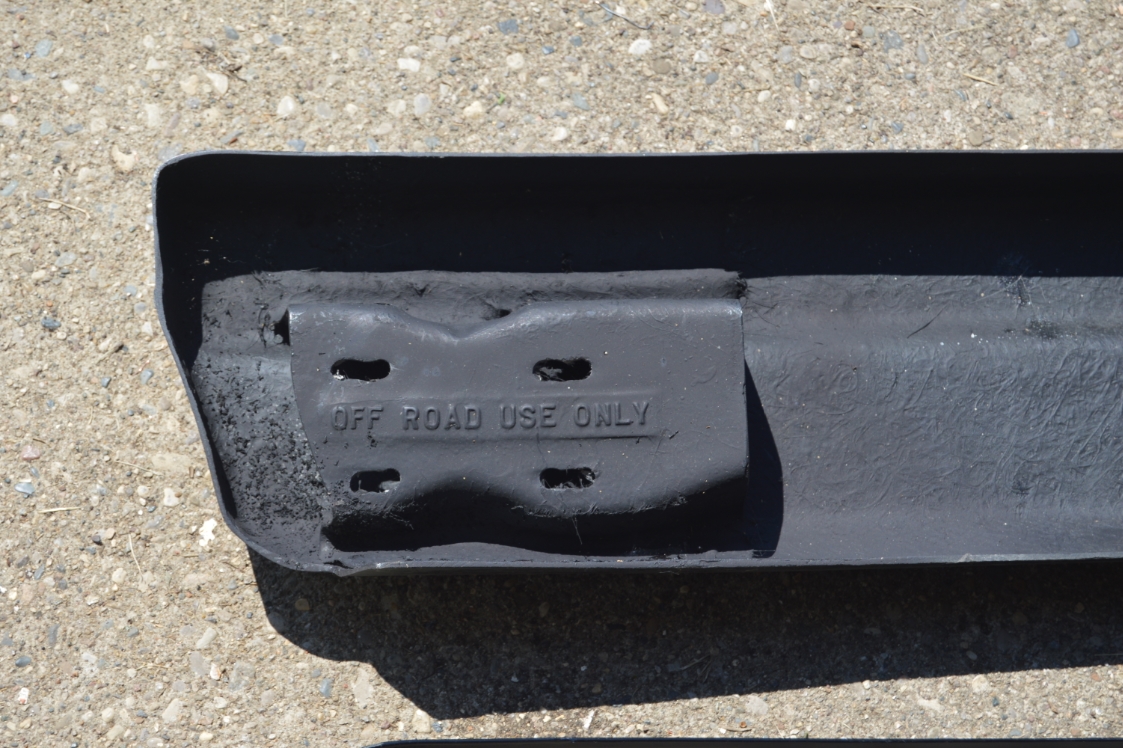
The drawback however, is if you street drive your car, you need to be extra careful, since there’s nothing behind that fiberglass bumper (if you were to get in an accident)!
You could do what we did, by adding a rear bumper brace, which, sure, takes away from the total weight savings (but does keep most of it), however, on this Buick Grand National, we switched to fiberglass mainly for the looks, not the weight savings.
.
You can get the GNS brackets & crossbar that we used to make the brace HERE:

.
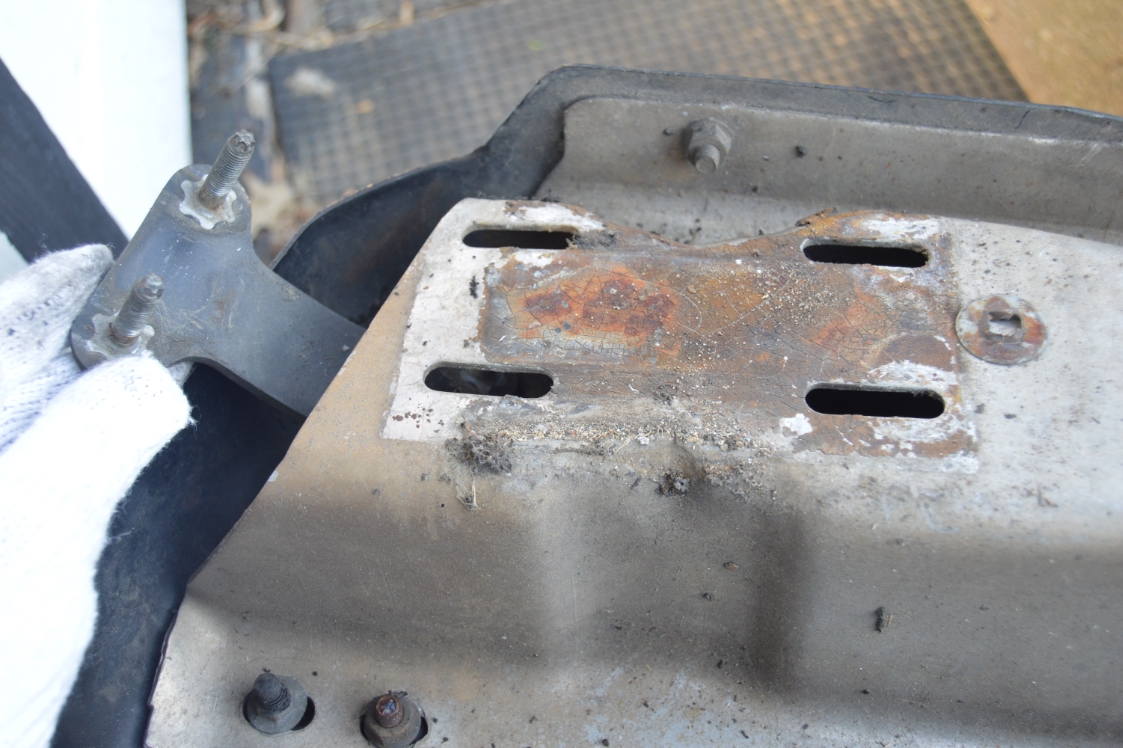
[you’ll notice we have the aluminum bumper supports already in place]
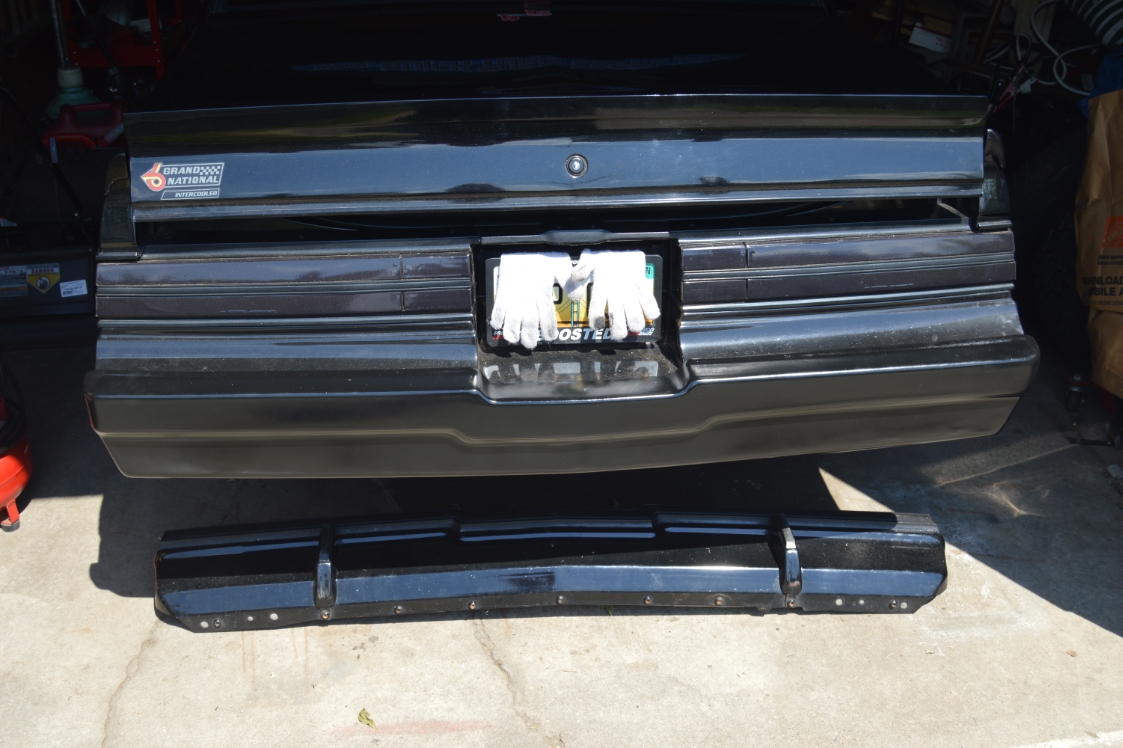
The fiberglass bumper unit we’re installing is the one sold from Kirban Performance.
Current cost for a rear bumper like this is about $250.
[apparently, Kirban no longer sells these bumpers according to my searching his website today]
[you can buy these used for less, also, there’s other places that sell FG bumpers for Turbo Regals like GbodyParts & Hartline, etc.]
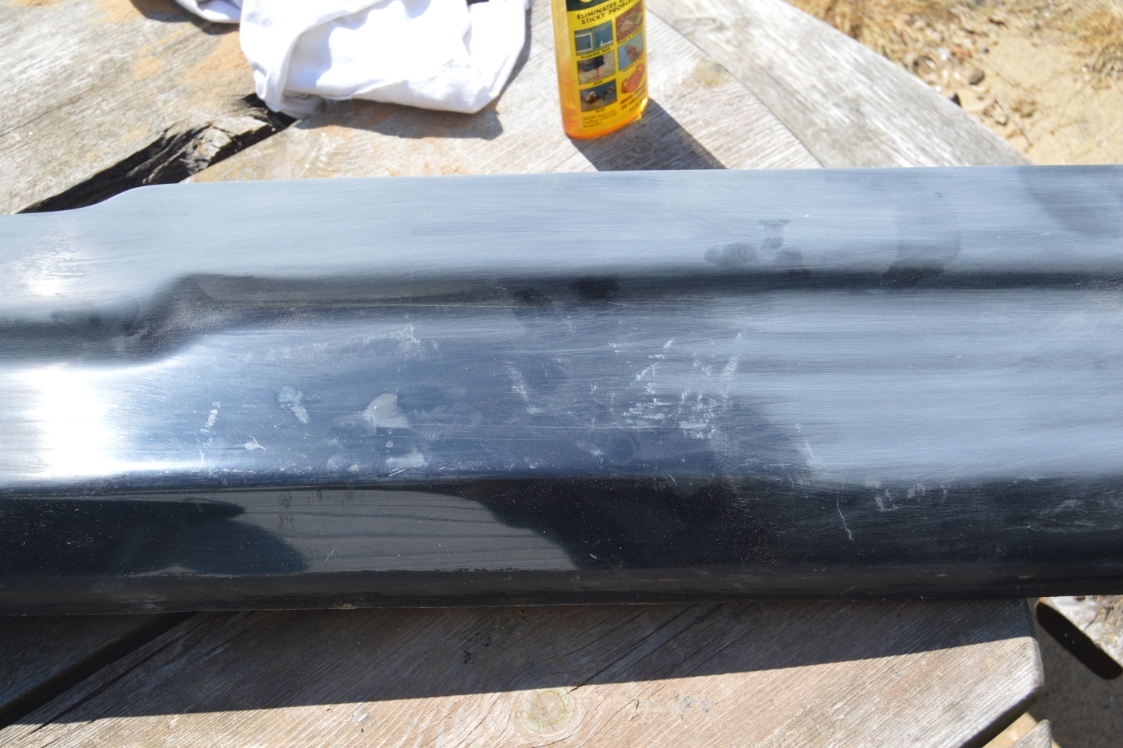
As with most fiberglass pieces, you’ll have to prep and paint.
[we scuffed ours up with a red scotchbrite pad, which is the equivalent of 400 grit sandpaper]
Other than that, it’s mostly a remove the old bumper & install the new one simple type of project.
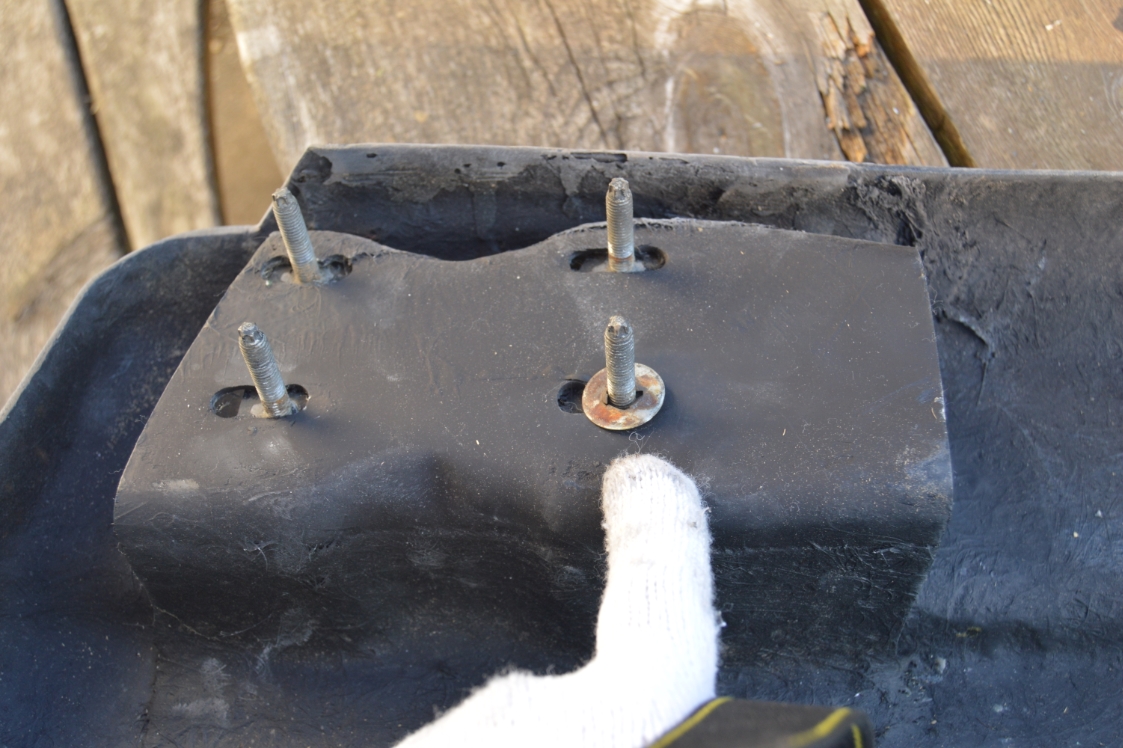
You will have to reuse the nuts/bolts, from the OEM bumper to reinstall the new FG one.
You may or may not need the spacers, check how it fits to determine that.
[we didn’t need them]
[if your old hardware is rusty or wore out, now is a good time to replace them! we replaced them all with stainless steel nuts & bolts so no worrying about them in the future]
.


.
This is a 4-part story:
A= create rear frame brace
B= install rear fiberglass bumper – YOU ARE HERE
C= create front frame brace
D= install front fiberglass bumper
.


