


So in yesterday’s post, we mentioned how we figured out the correct coilover spring rate to use on the front coilovers for our Buick Grand National.
This R&R Coil Spring story is the next part in this 3-part series.
1. introduction. (yesterday)
2. how to on changing the front springs. (THIS article)
3. how to on changing the rear springs. (tomorrow)
.
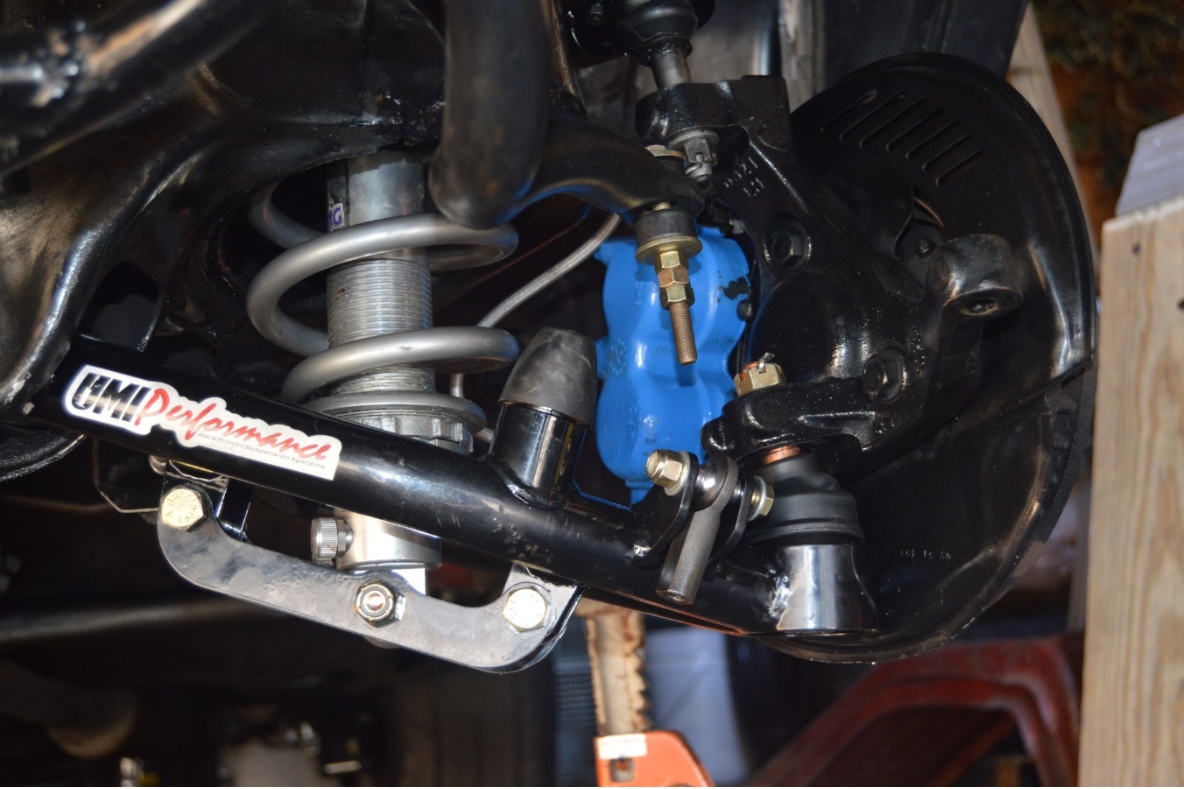
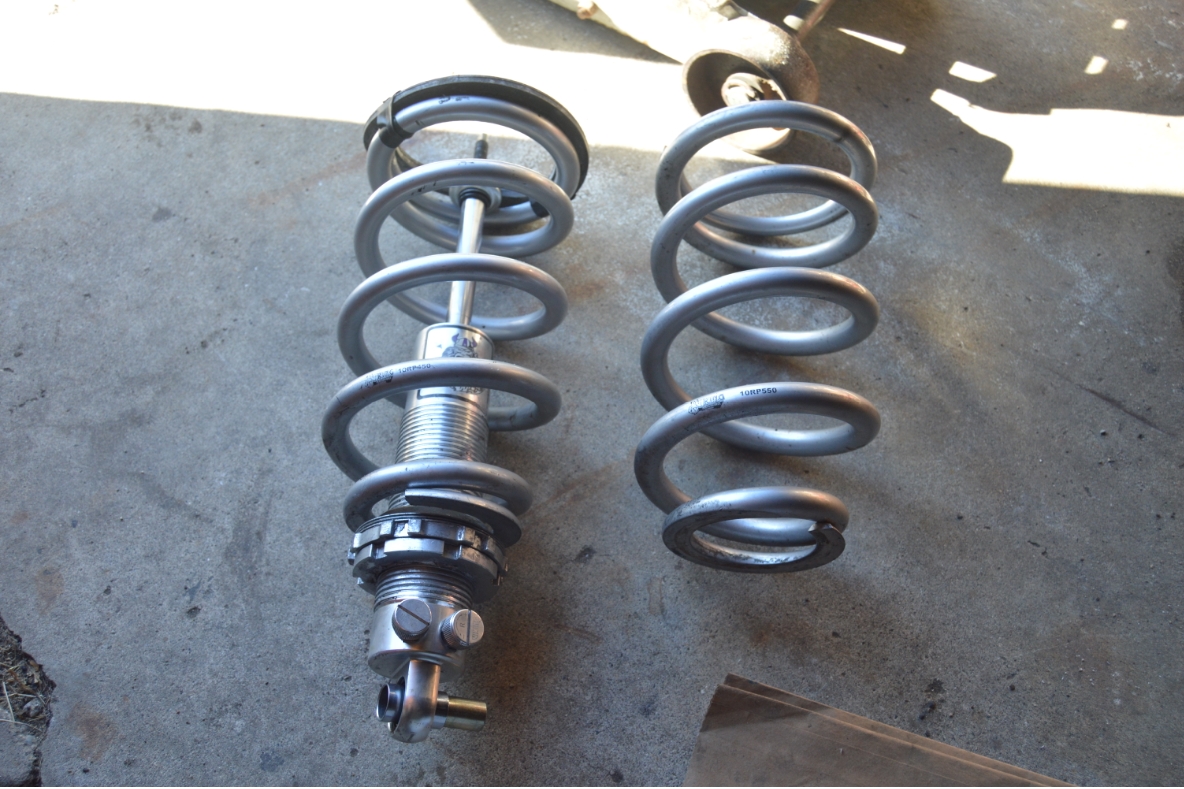
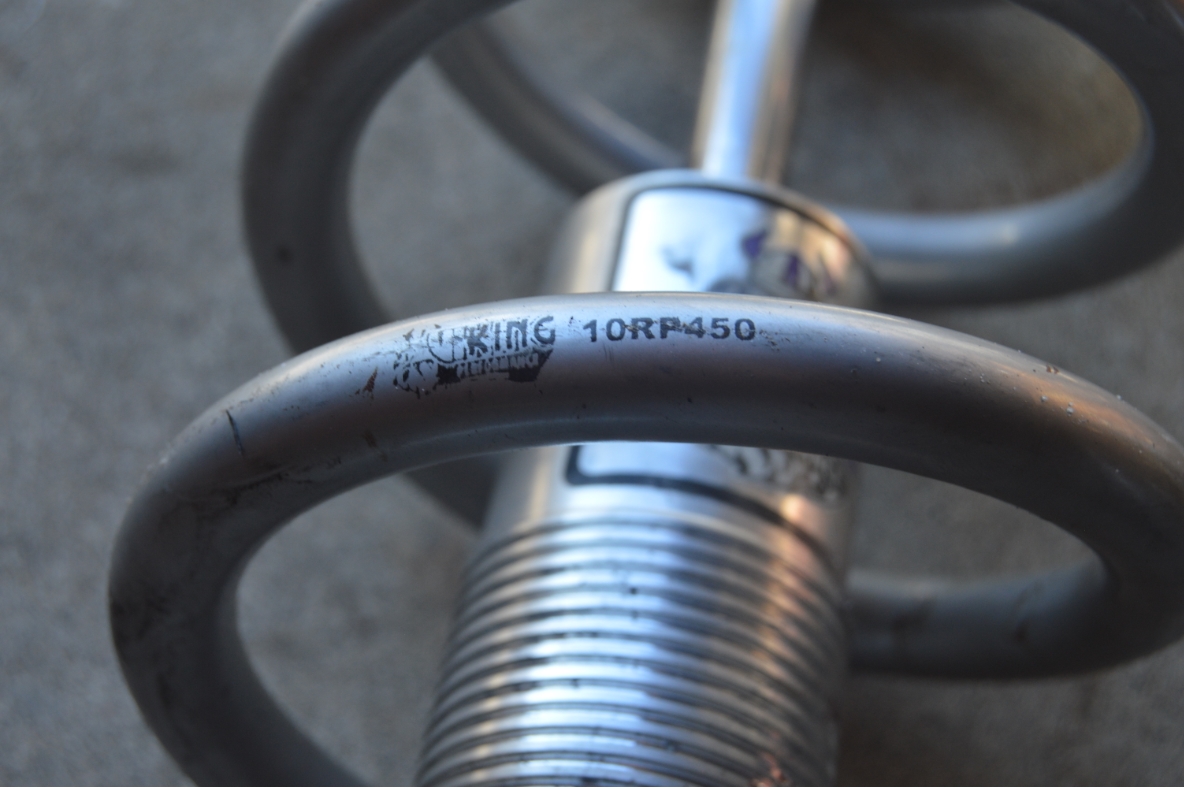
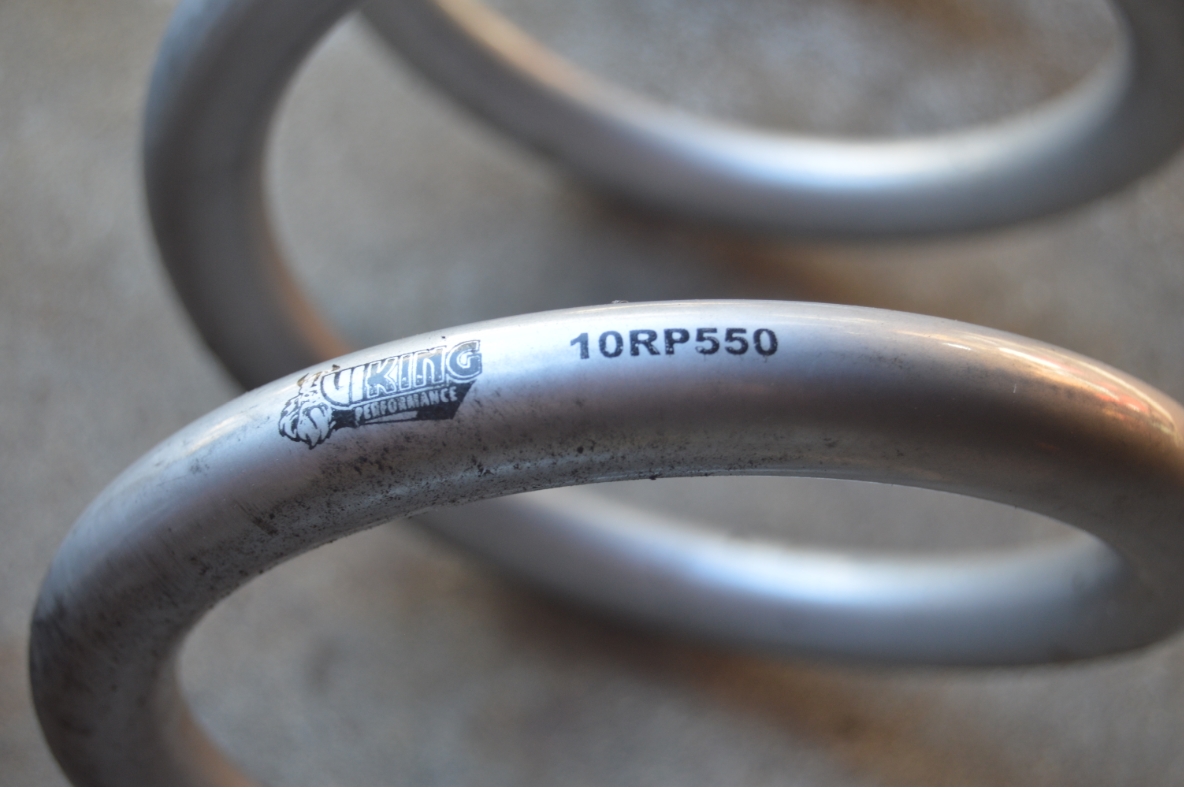
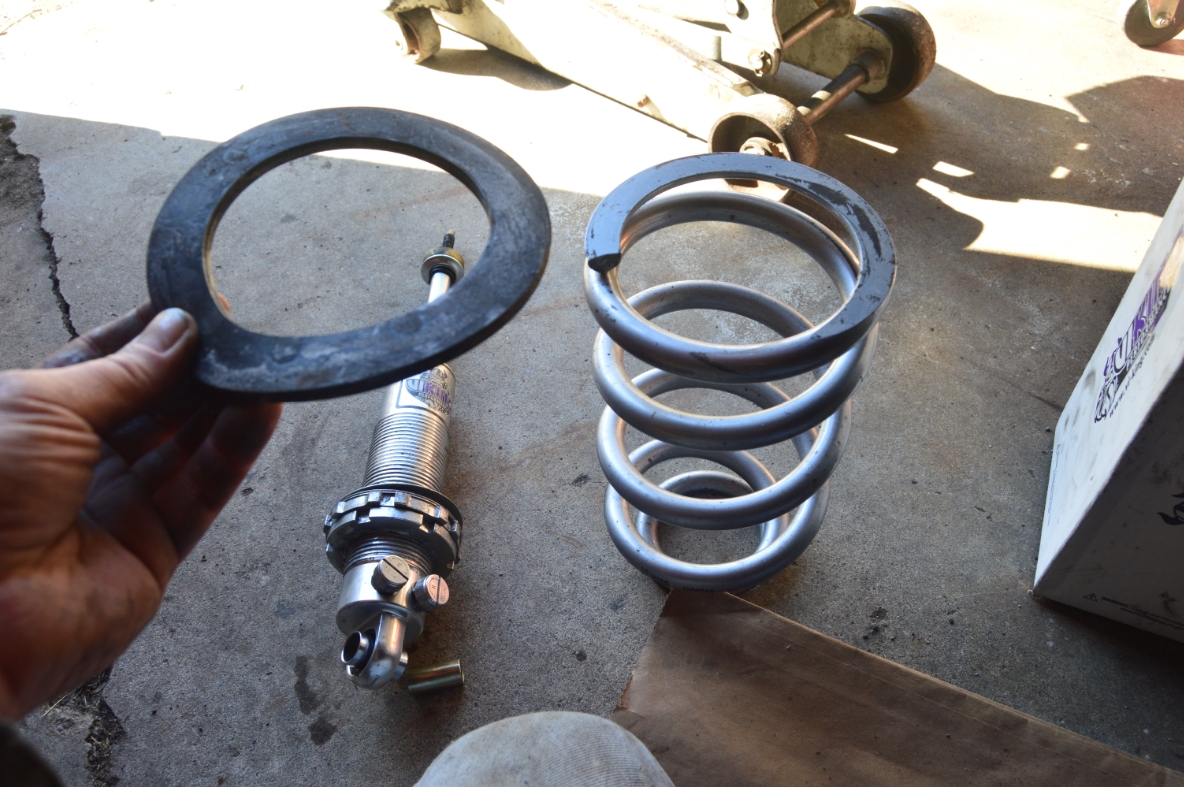
There’s 450 pound springs installed on the aftermarket upper & lower tubular a-arms currently, to which we plan on swapping out for the 550 lb springs we acquired.
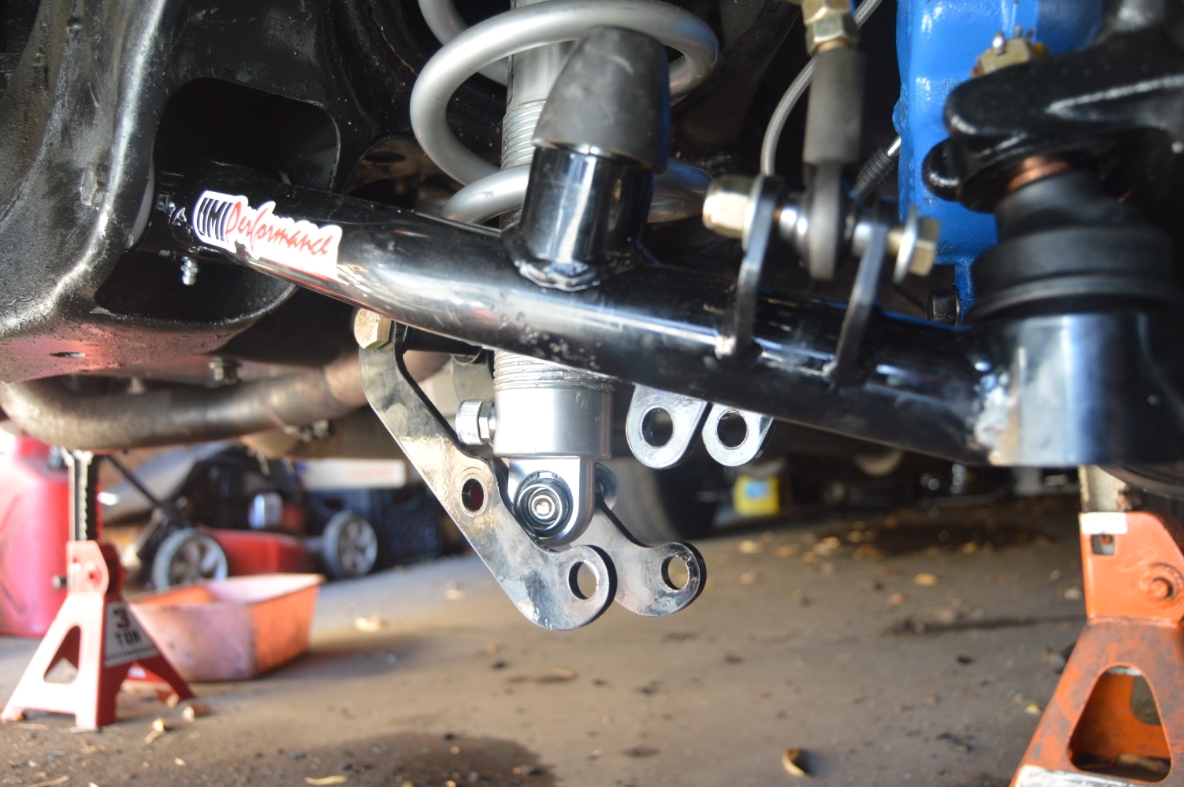
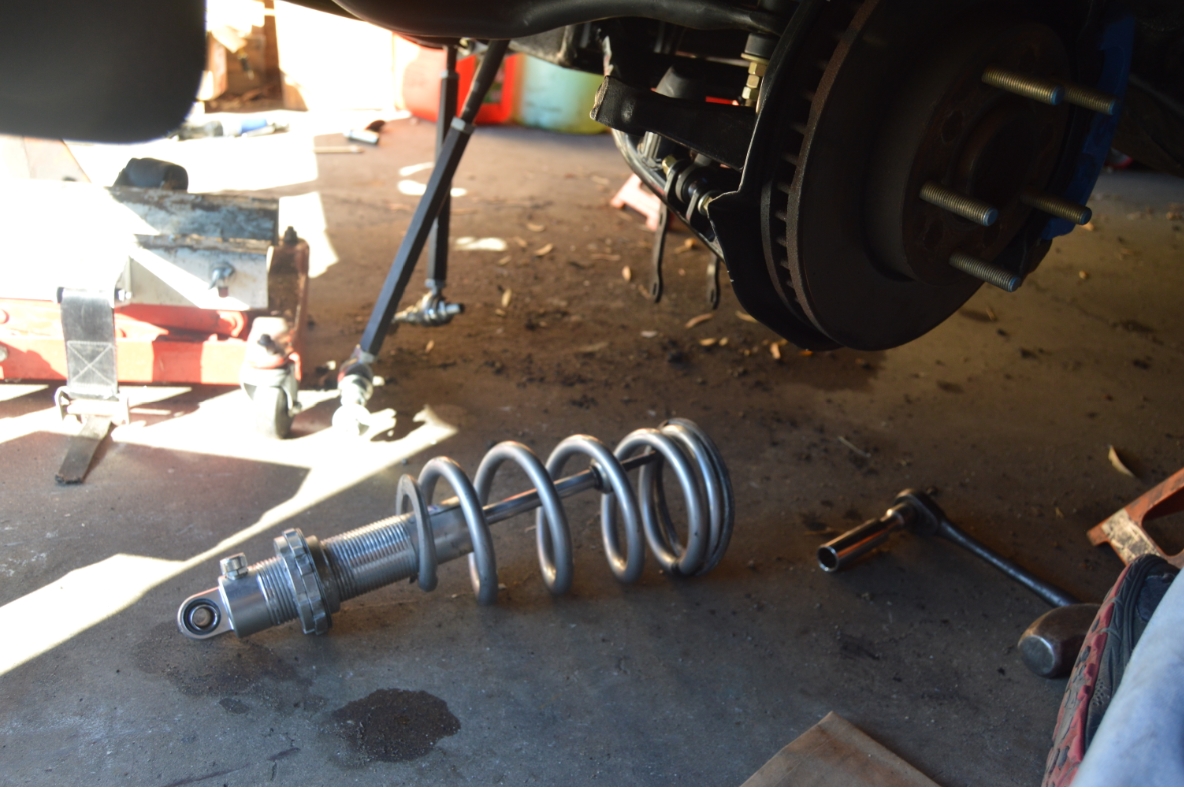
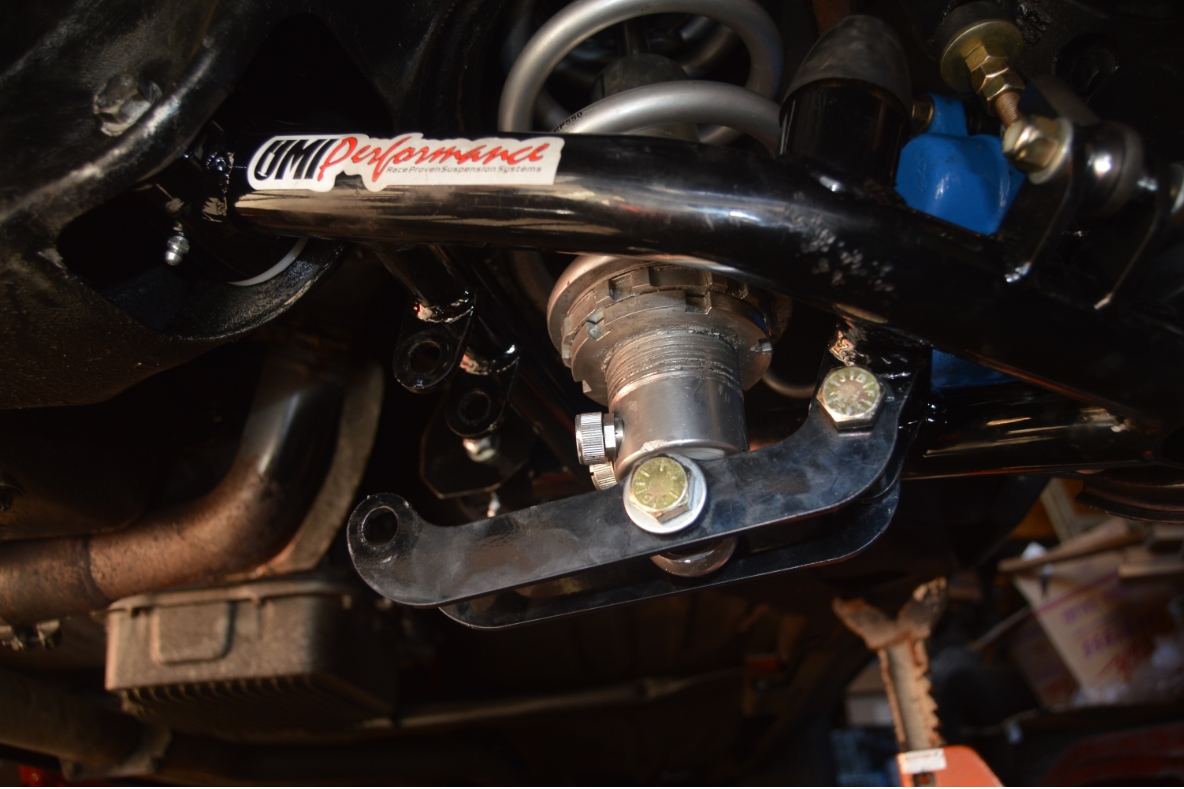
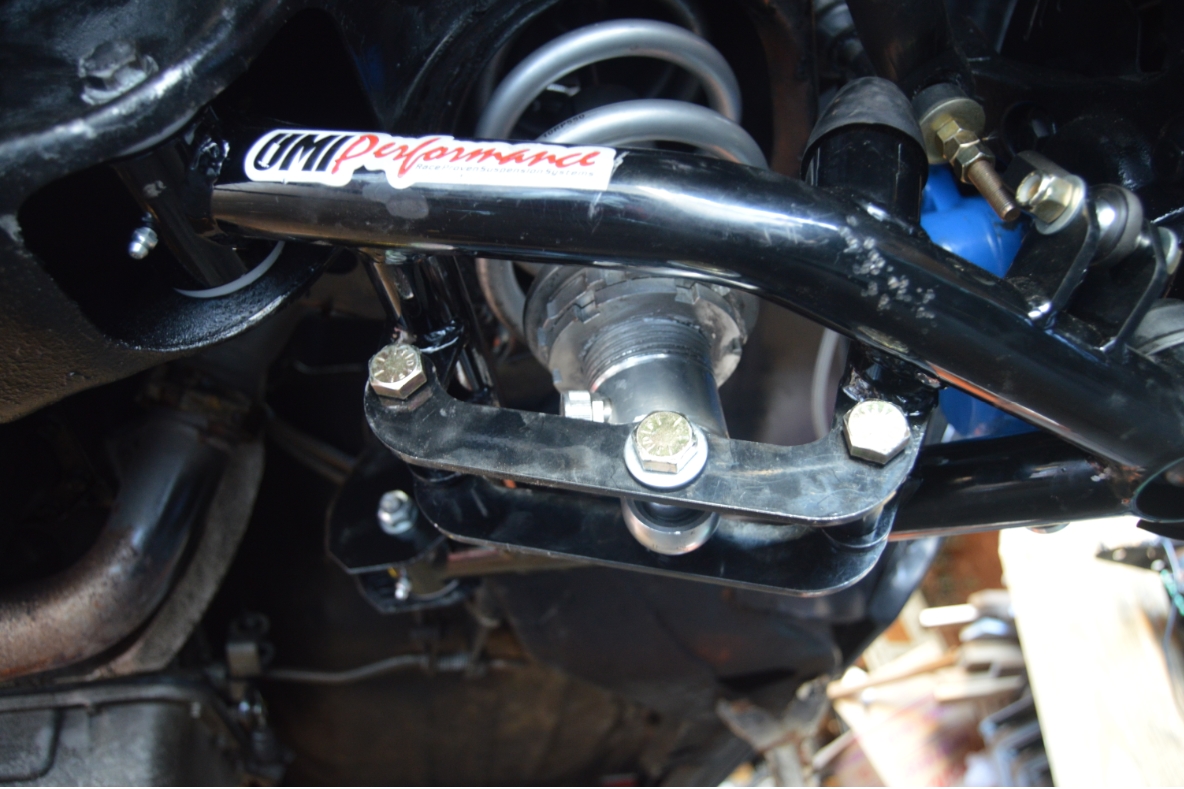
Conveniently, the lower a-arms have double shear bars on them (a la racing style; as opposed to the normal “cup bases” found on most arms), so changing out the new springs is relatively easily performed in a few steps (instead of having to deal with balljoint removal, etc.).
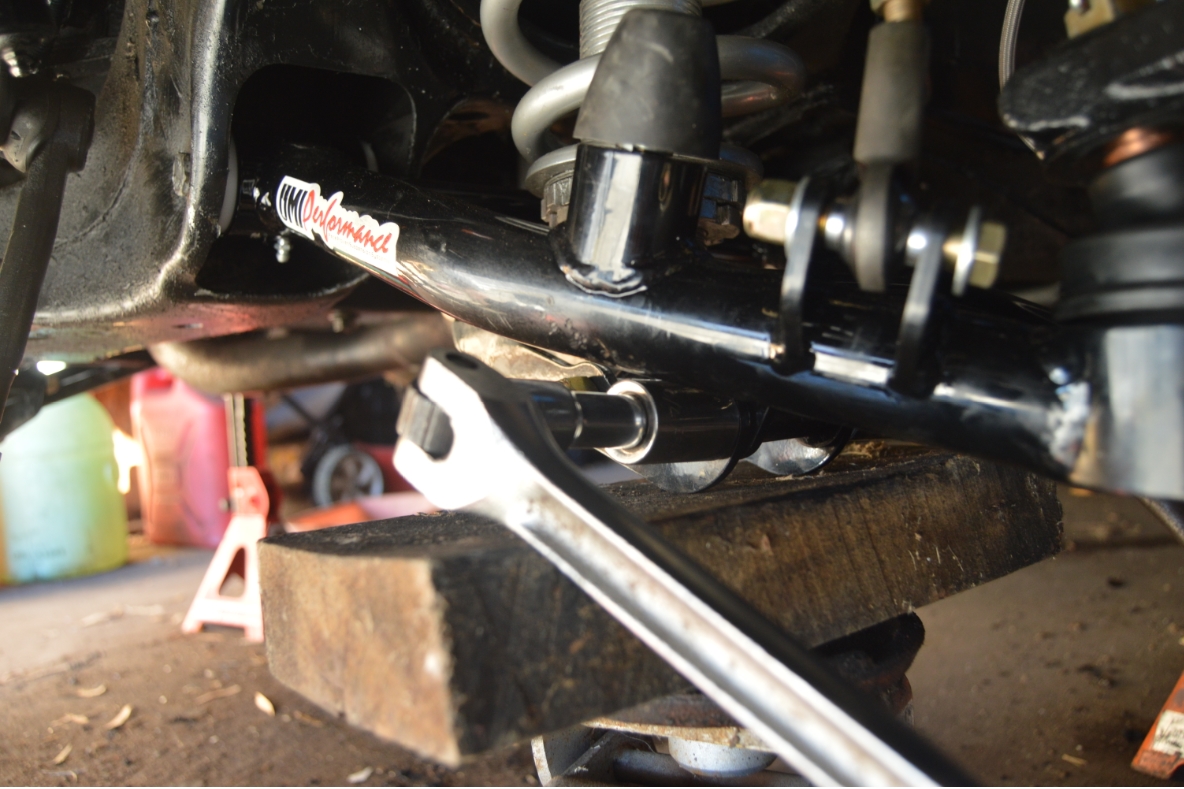
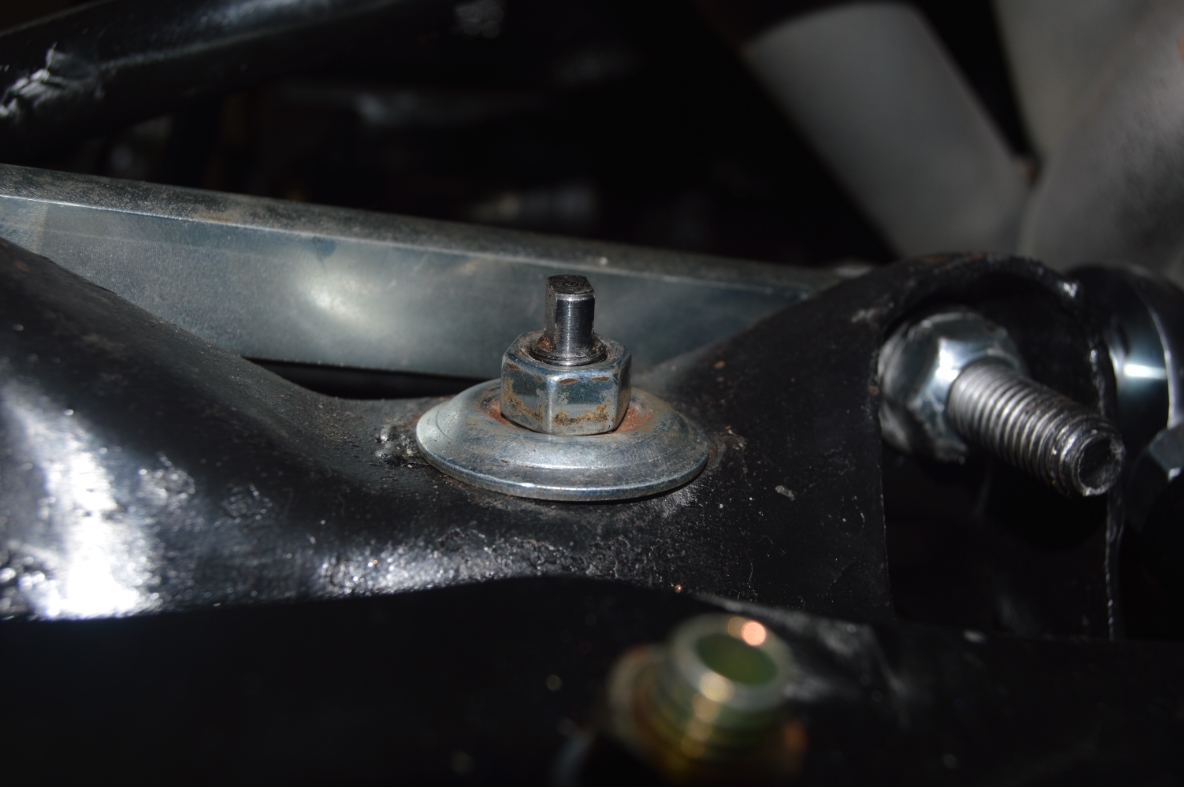
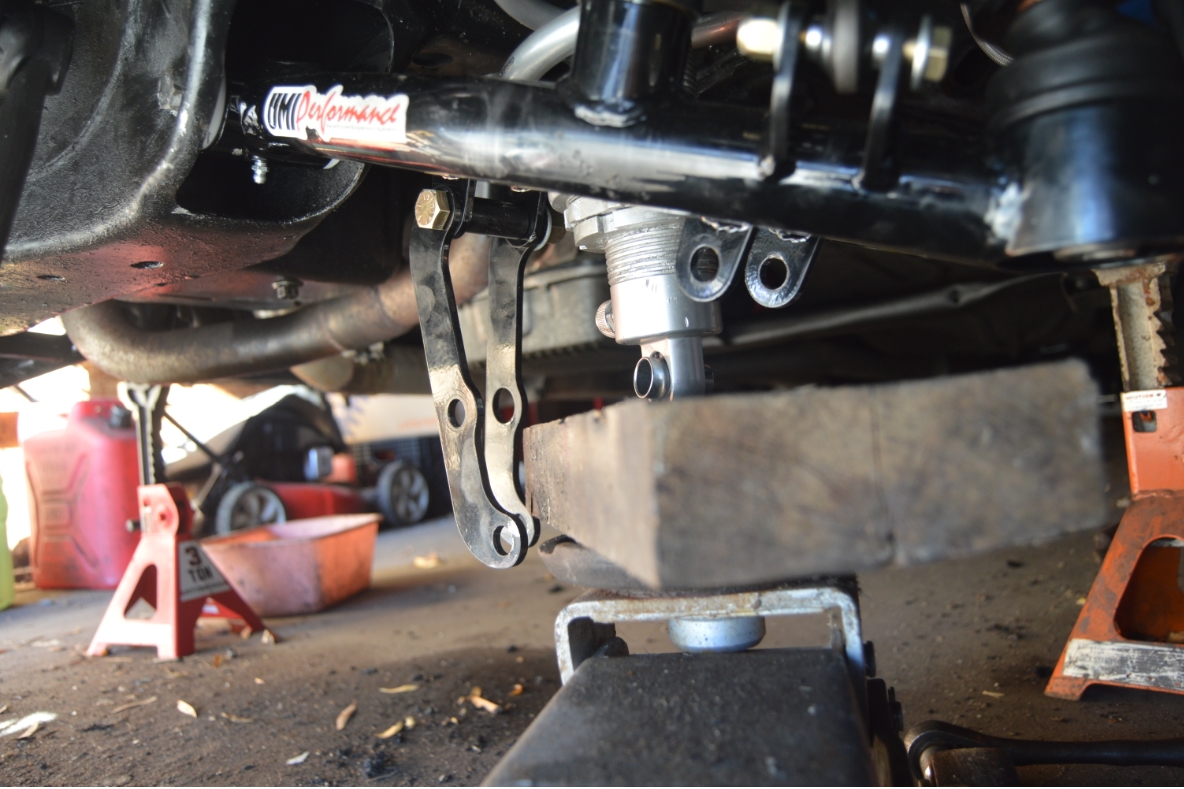
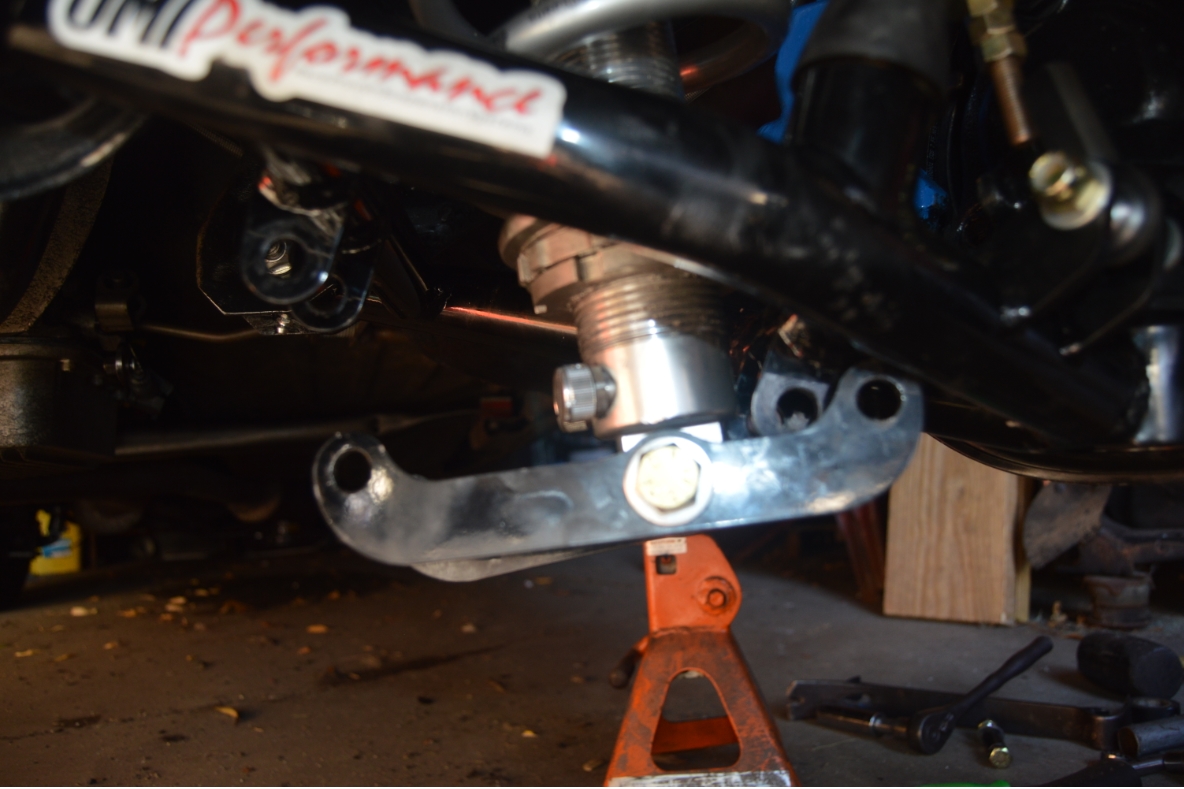
A 3/4″ socket / wrench is used to remove the 3 bolts that hold the coilover and the shear bars onto the arm.
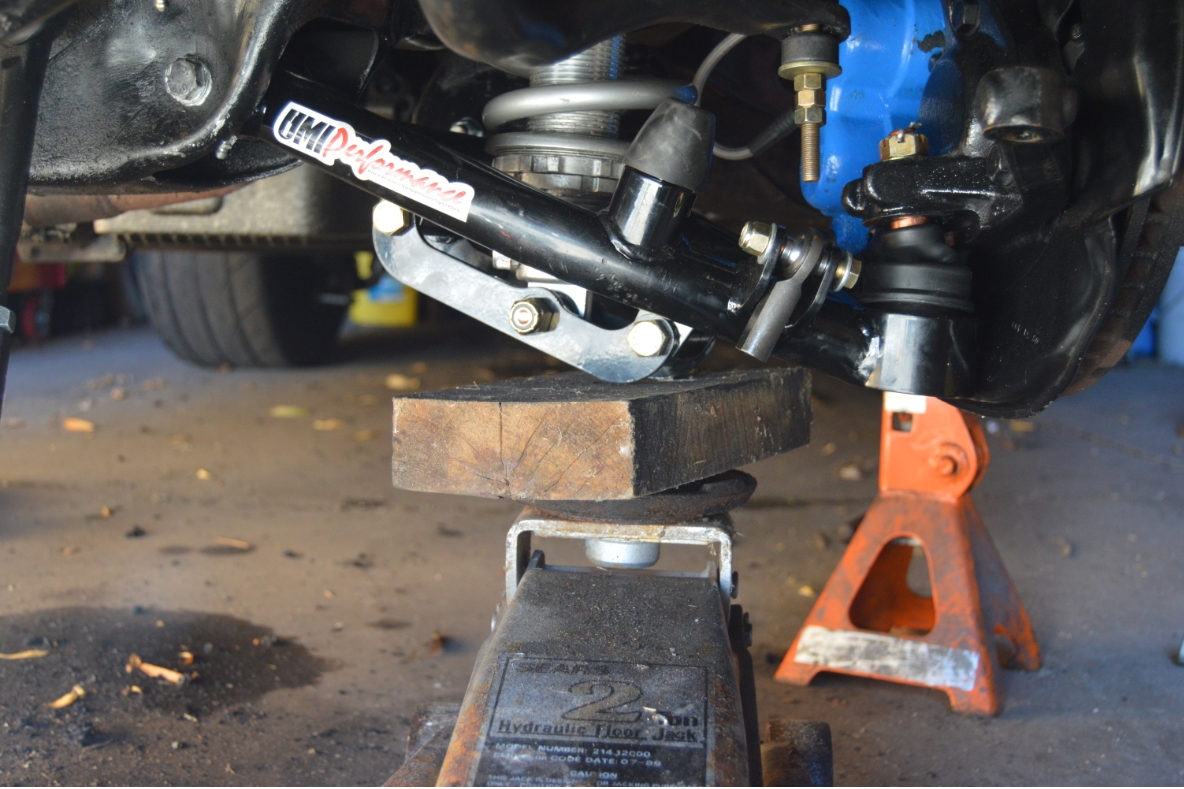
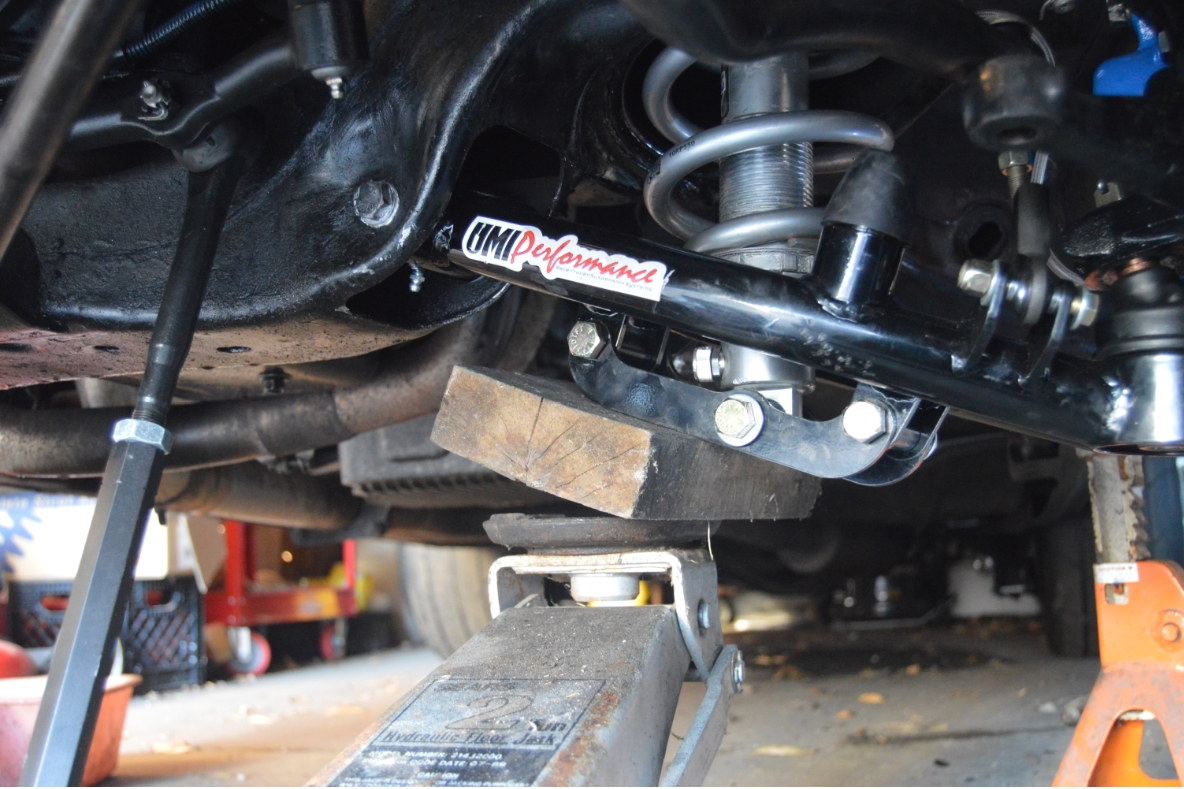
IMPORTANT! we put a floor jack underneath the coilover to keep it in place while we removed all the bolts! Otherwise the entire assembly will go shooting downward! And that’s not a good thing!
(we put a 2×4 on the floor jack cup to keep a flat surface, so that the bottom of the coilover isn’t buried down in the cup, making removing the bolt impossible)
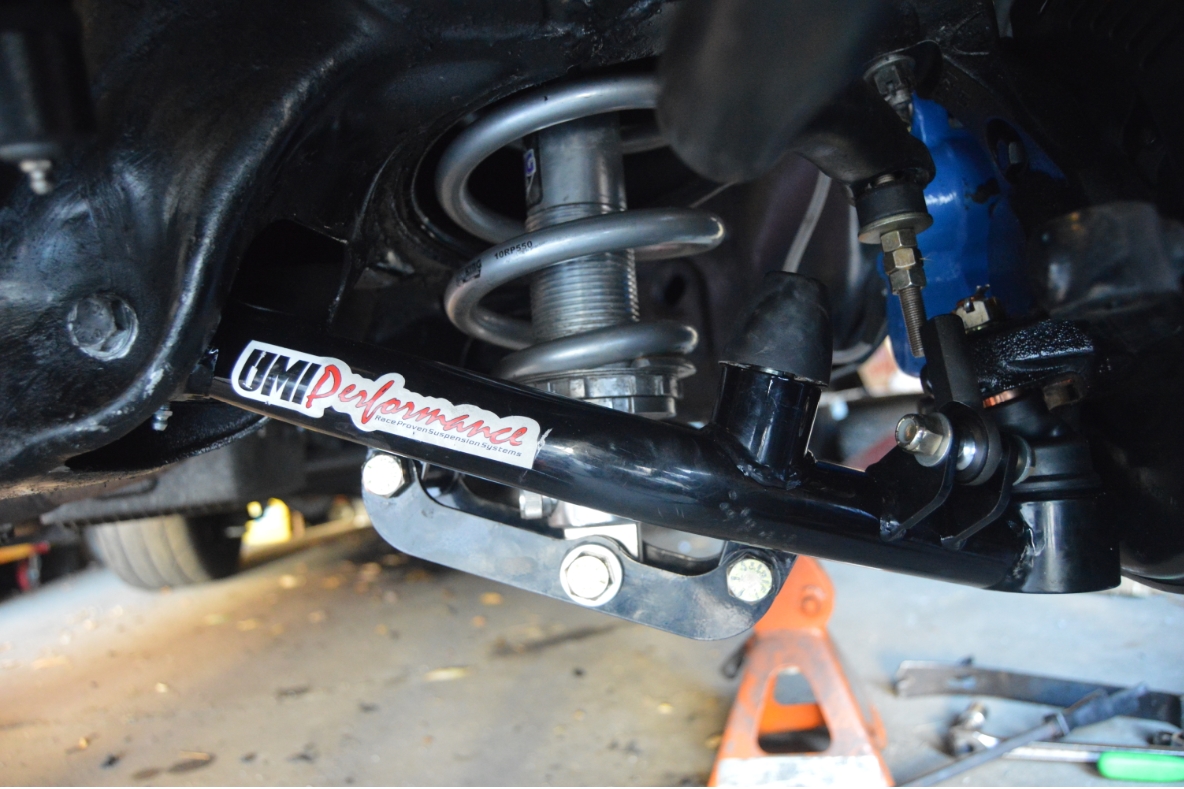
(with these style arms that we have, you can do a spring change without removing the lower a-arms / spindles or ball joints. You don’t even need to remove the wheels! All those details played a big part when we initially chose which brand of a-arms to purchase)
(if you have the regular type tubular arms or OEM control arms with the cup spring base, you’ll have to disconnect the spindles, etc., to get to the springs, but this info here should guide you in the right direction)
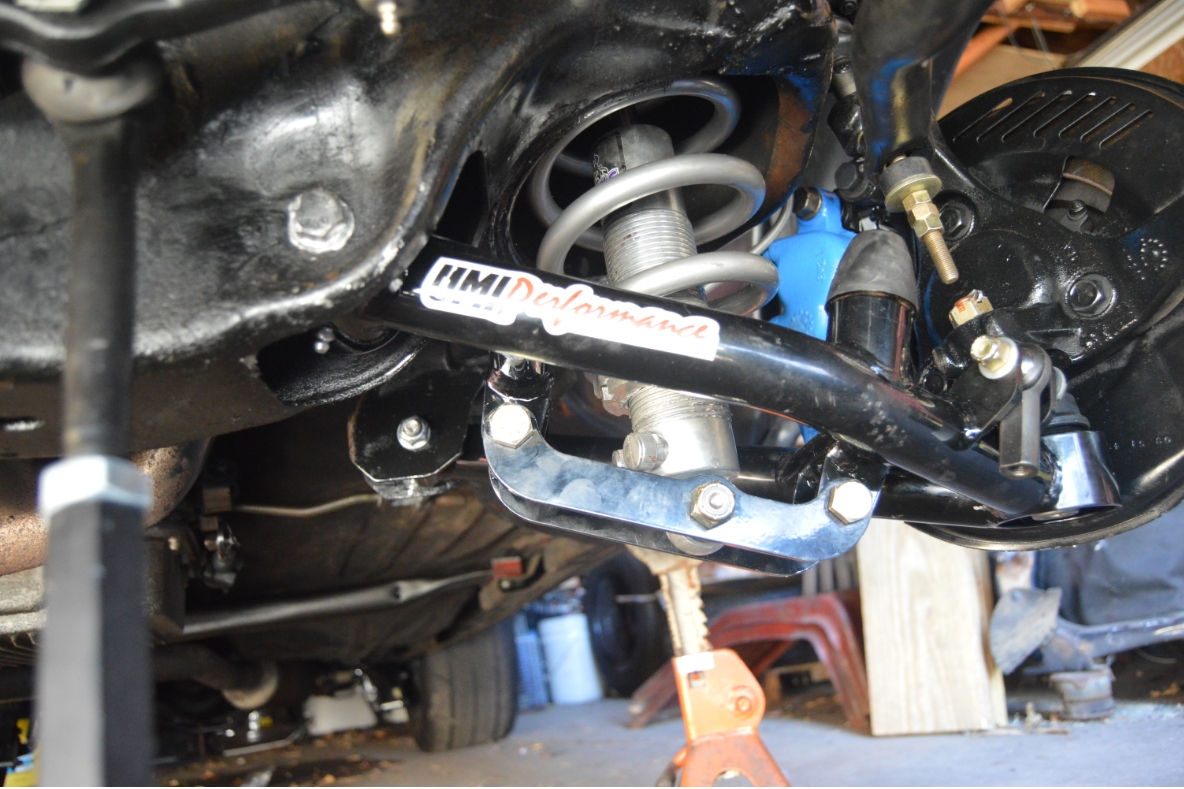
You should have the G-body Regal frame (in front of the doors) supported up by jack stands, enabling you to have enough room underneath to perform this task.
Note that once you support the frame and remove the wheels, the entire front suspension will drop, so everything is on a downward angle pointing towards the outside of the car.
.
.
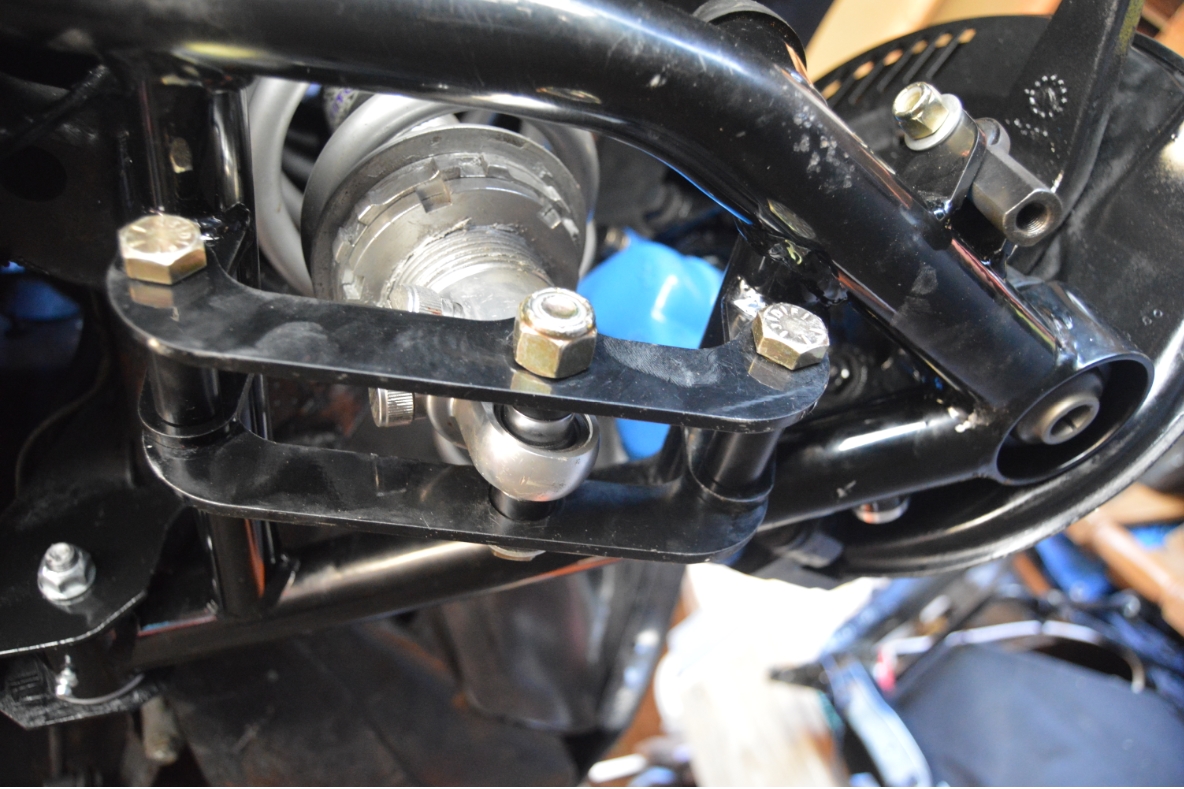
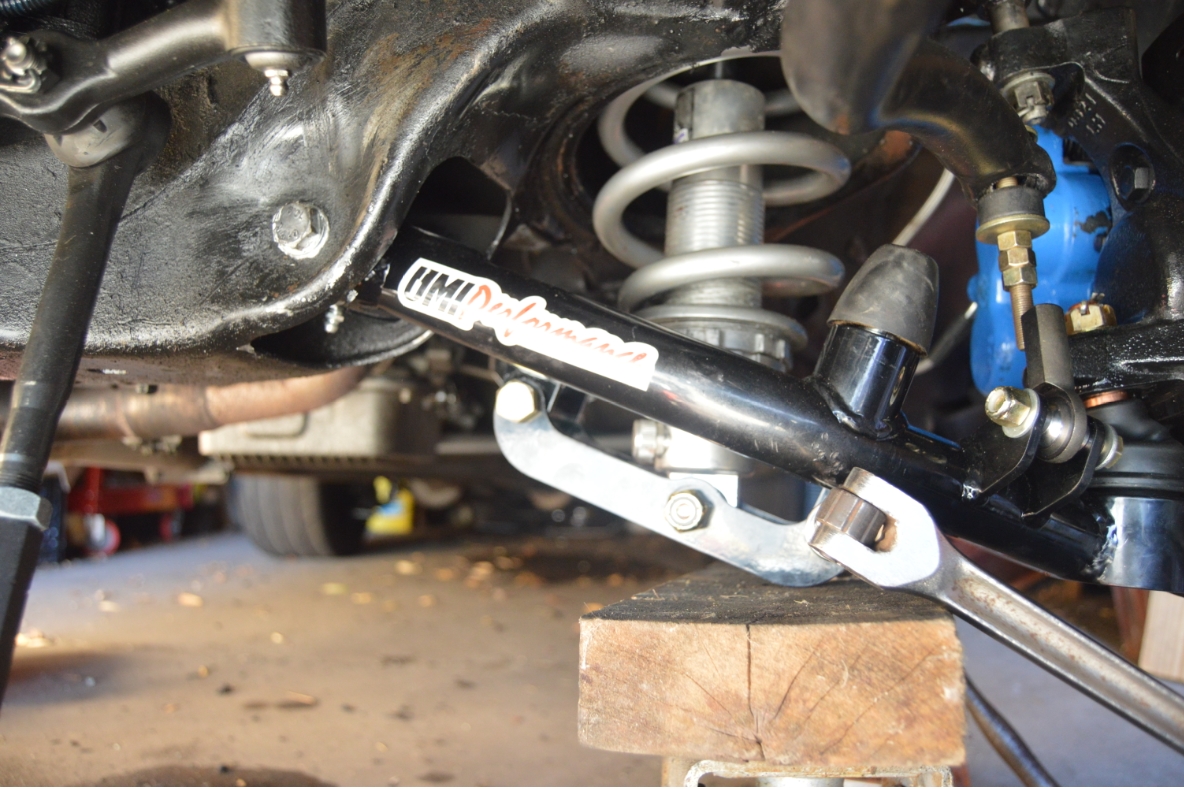
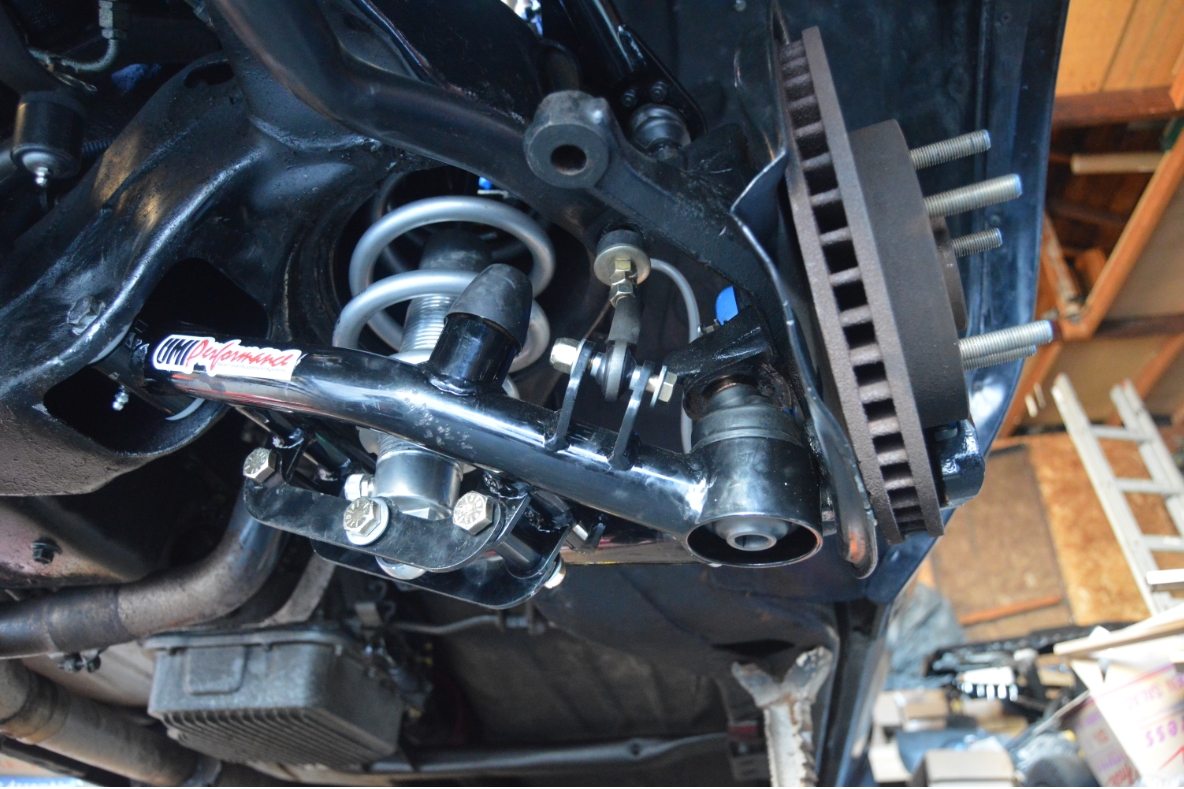
1. remove the outer bolt that holds the shear bars onto the arm.
2. loosen the top shock bolt (but don’t remove yet).
(at this point, you may want to lower the jack some to relieve some of the spring pressure. By keeping the top shock nut attached temporarily, the coilover should stay basically in place)
3. remove the center bolt that holds the coilover onto the shear bars.
4. swing the shear bars out of the way.
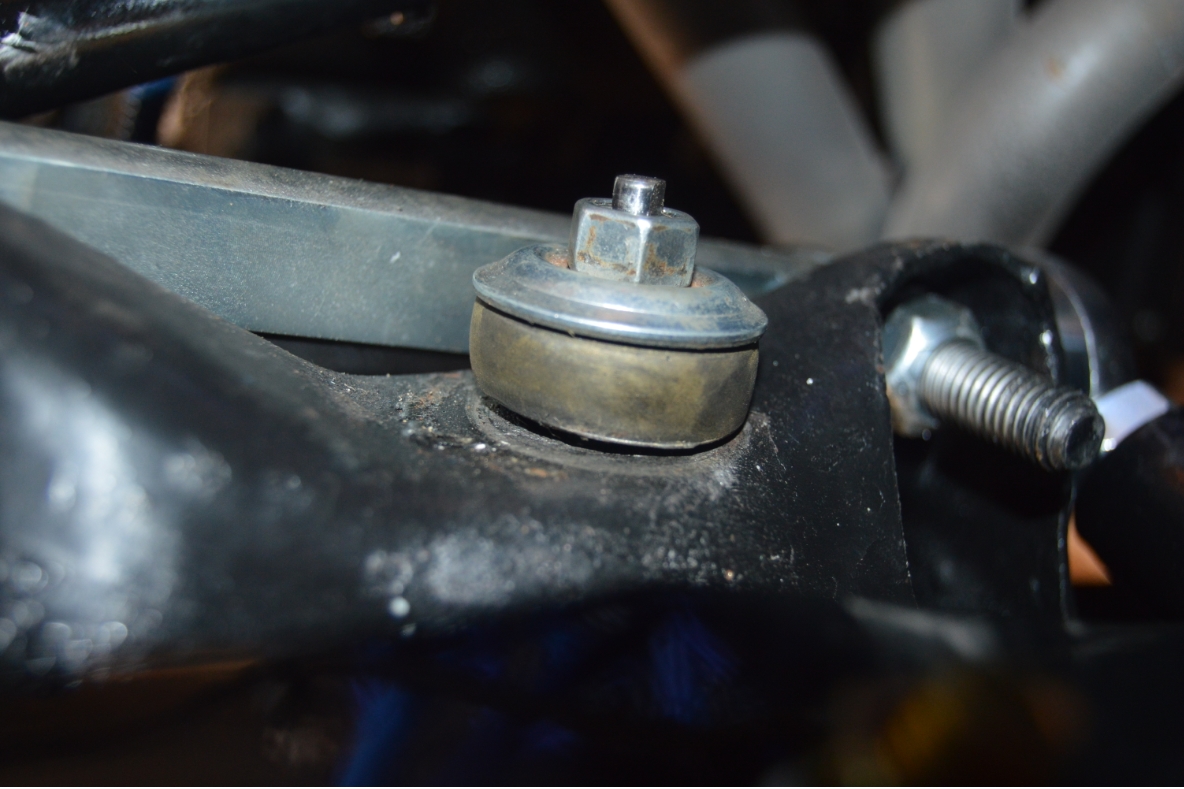
5. remove the top bolt on the coilover shock that holds it onto the frame.
.
.
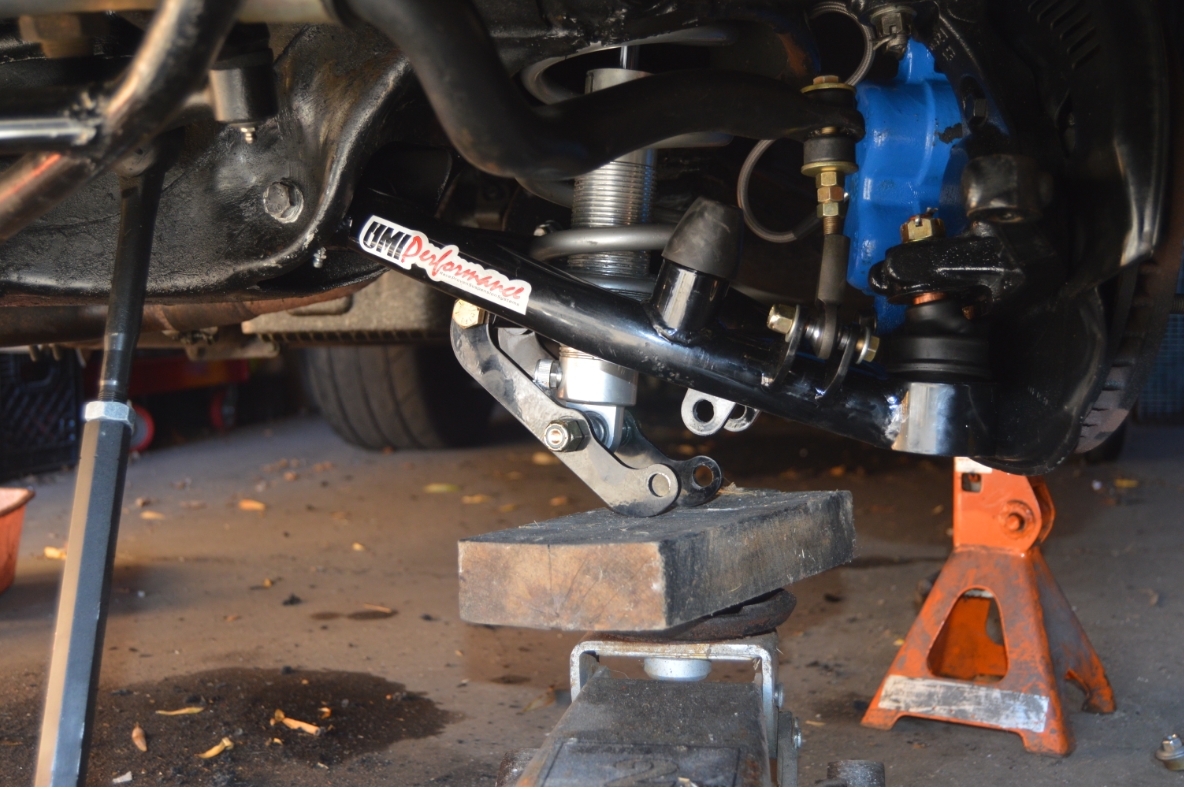
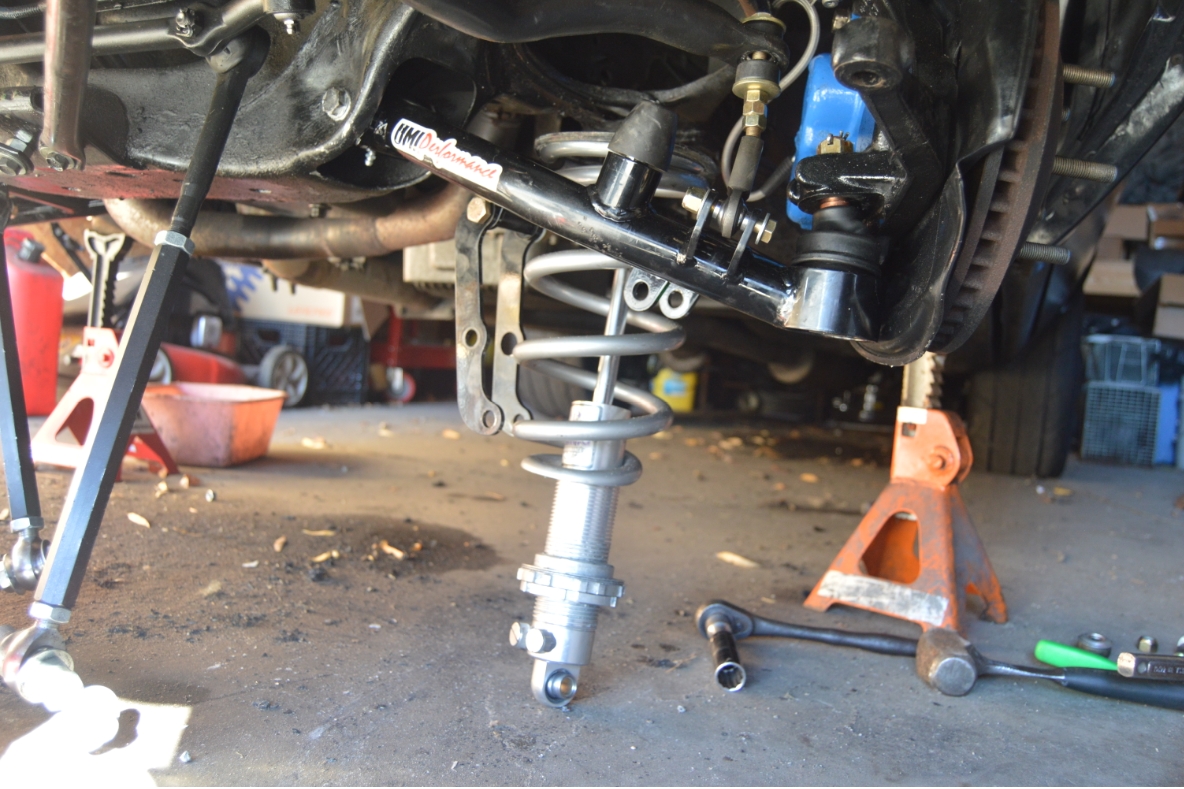
6. lower the jack completely & the entire coilover simply drops out of the bottom.
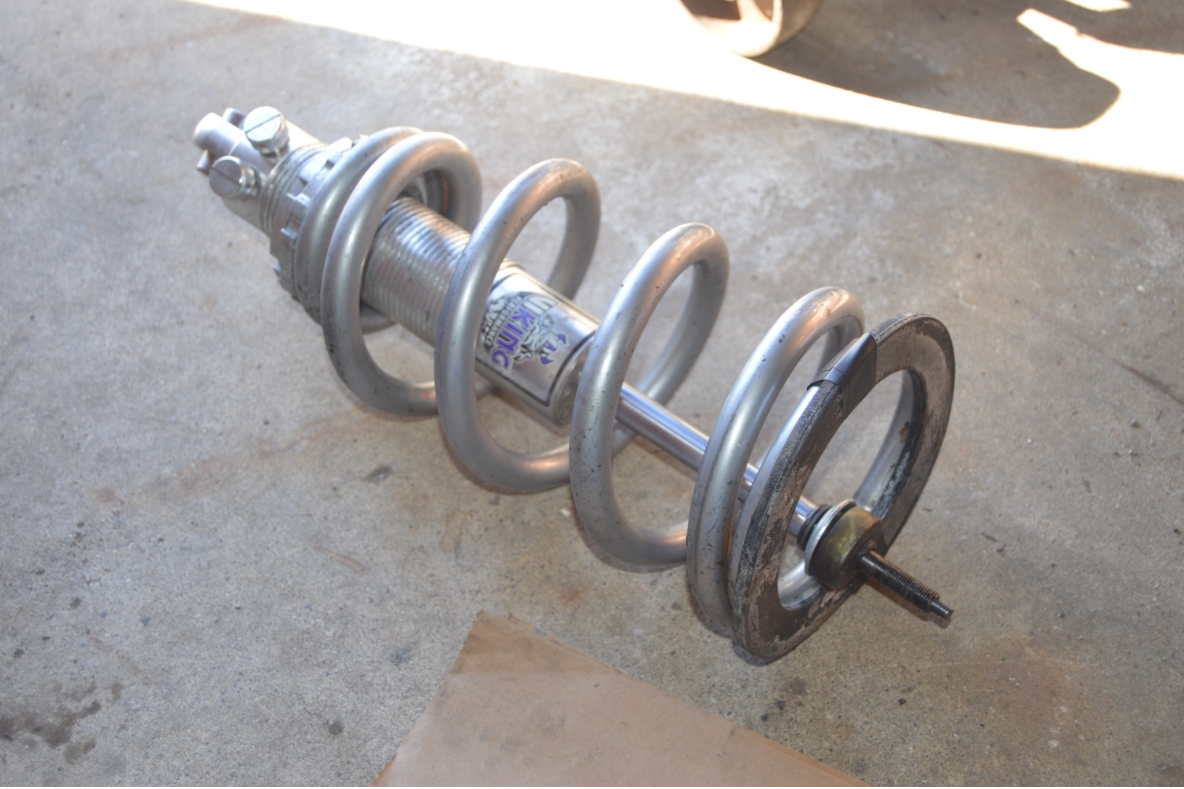
7. remove the old spring, replace with new spring.
8. reattach the spring isolator if you are using one.
Reinstalling everything IS NOT in the reverse order from above!
Since the assembly is dropped at an angle, there’s a different procedure for reattachment.
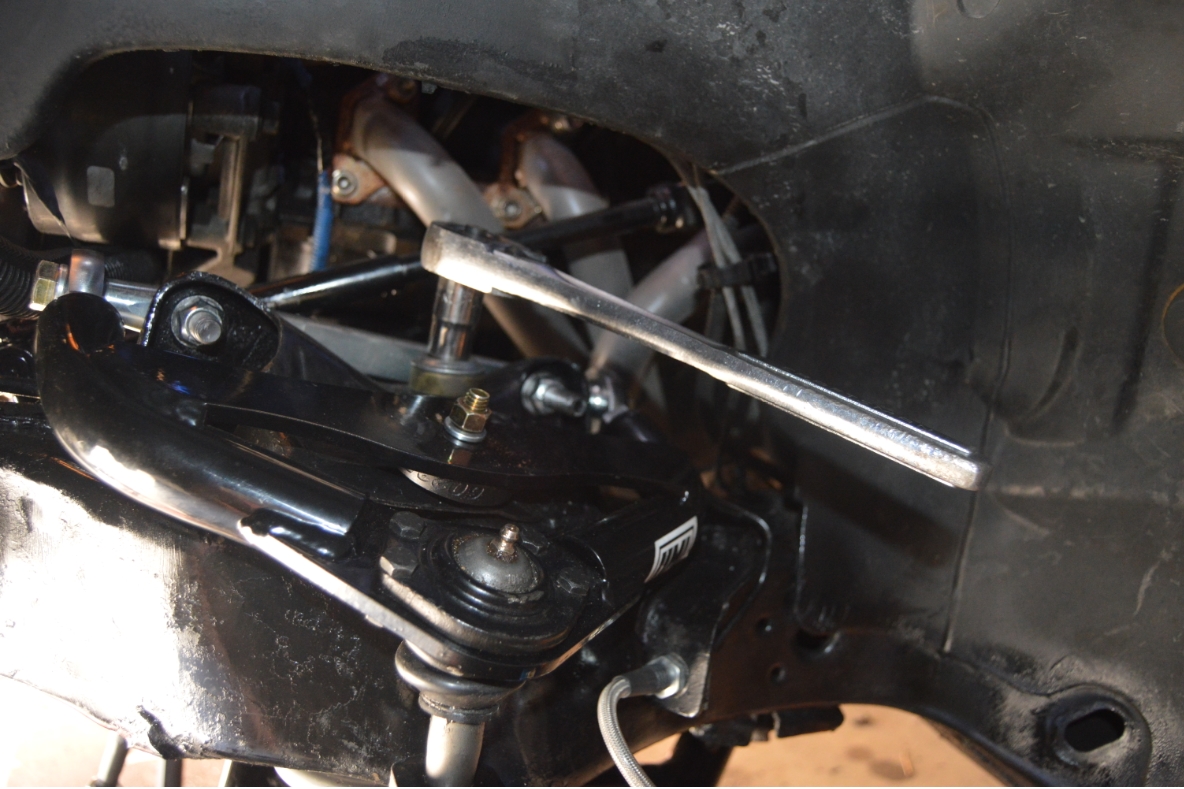
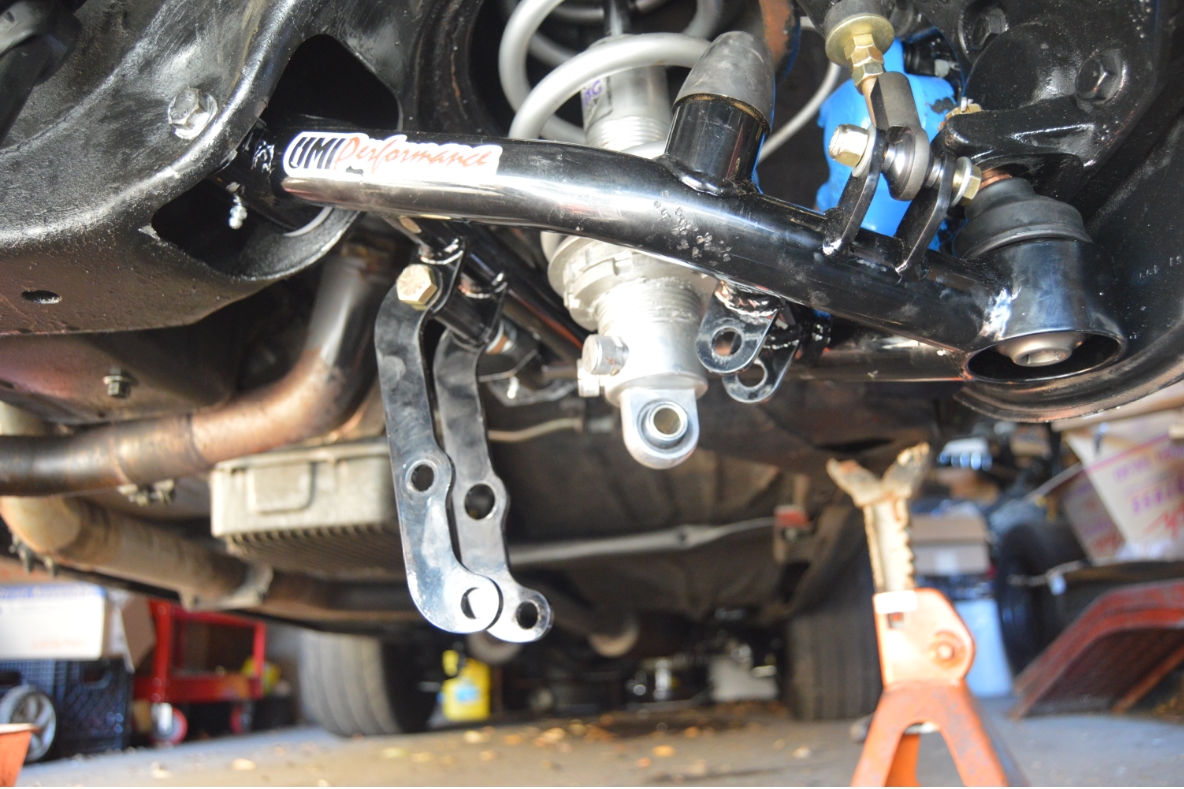
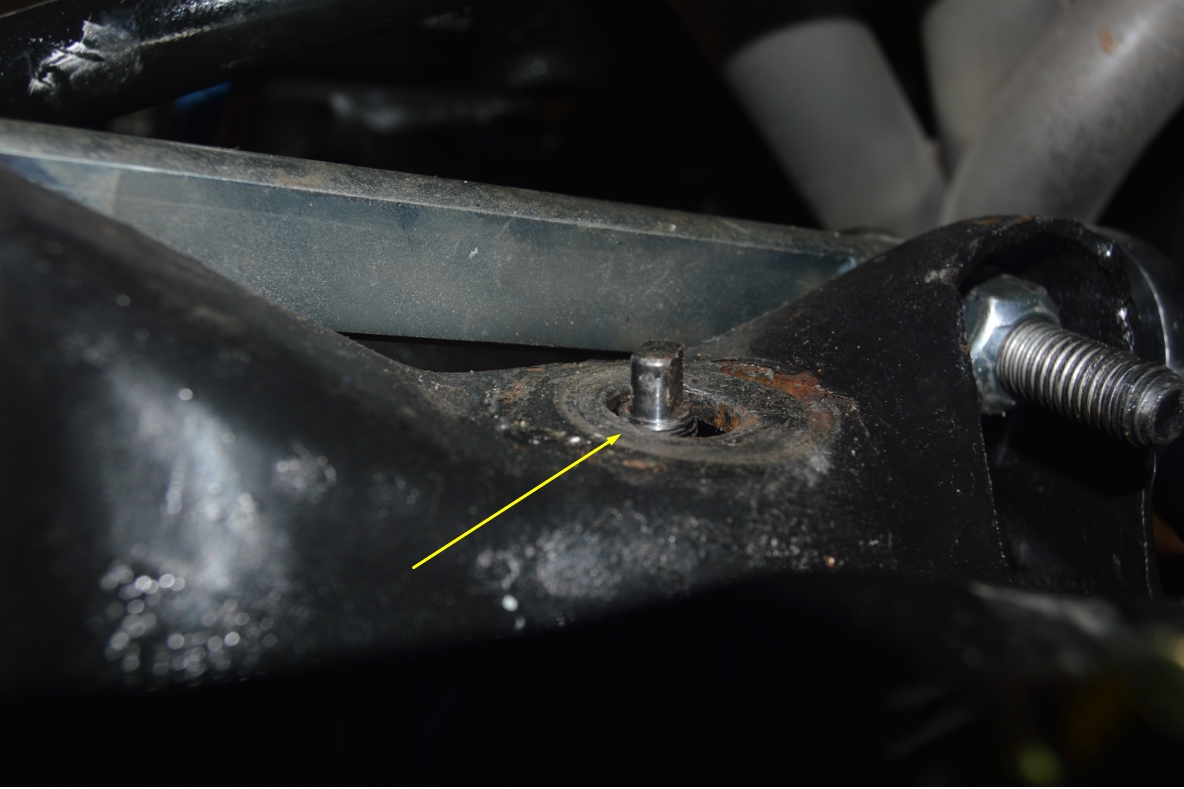
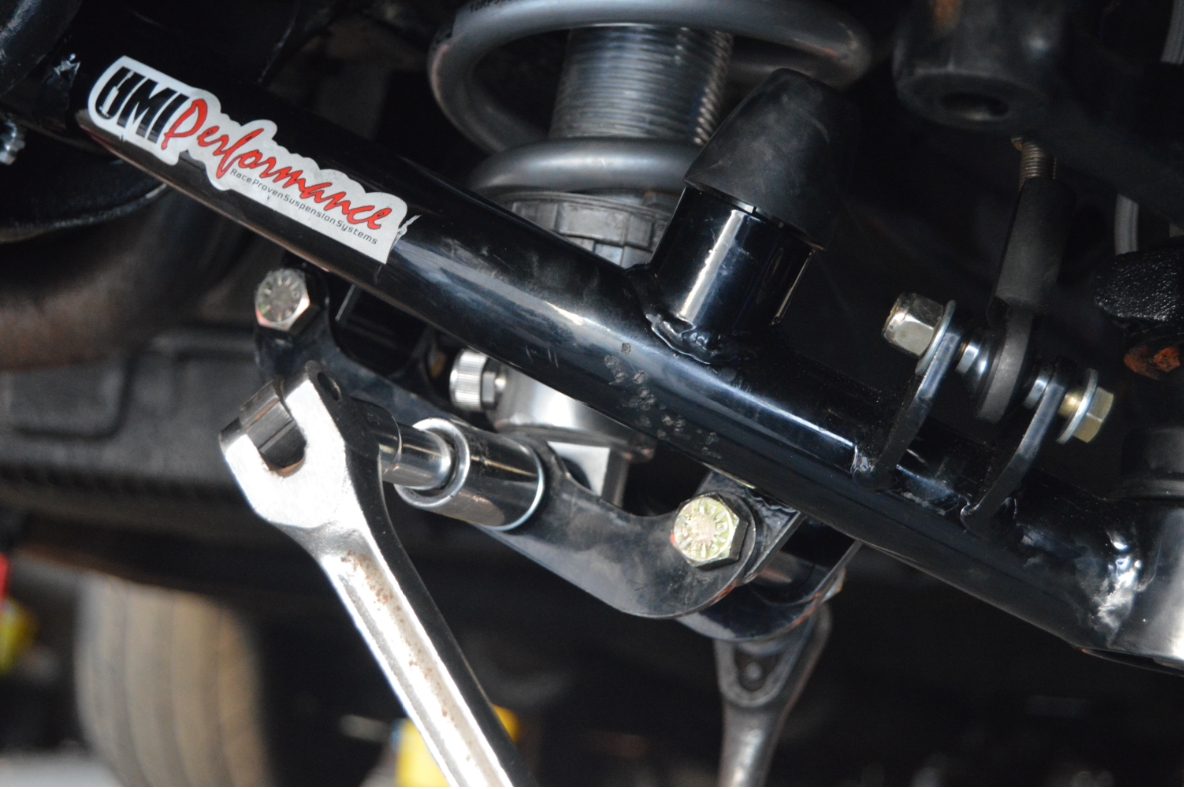
9. remove the inner bolt from the shear bars that are still attached to the arm.
10. connect the lower shock bolt to the shear bars (center hole on the shear bars).
Make sure you put all of the spacers back into the same place from where you removed them!
They go on in a certain way (to keep the shock centered)!
11. attach the outer bolt of the shear bars to the arm.
12. put the floor jack under the coilover shock (& shear bars) and jack upwards until you can get the inner bolt attached to the arm.
13. tighten all 3 shear bar bolts to the proper specs.
14. reattach anything else you removed in the process.
.


.
Once that’s completed, remove the jack stands & place your Turbo Buick back on the ground.
Check the height, you may need to readjust where the spring sits on the shock (by raising/lowering the bottom nut on the shock).
You may also need to adjust your shock settings now with these new springs.
(we didn’t need to move the nut position, the new springs provided more strength in holding up the frame without moving where the body sits)
After the swapout, there’s no visual clues revealing the change, but the ride is much better than it previously was, for the purposes we intend on using this ’87 Buick Grand National for.
We’re definitely happy campers now, and there’s absolutely no worries about the tires smacking the wheel well at all (unlike before that it would occasionally slightly scrape on big dips in the road).
Well worth the $75 and an hours work.
Come back tomorrow to read the story where we swap out the rear coilover springs!
.


