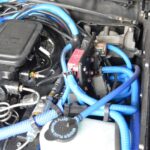
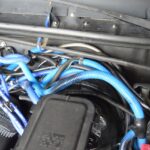
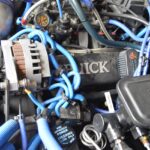
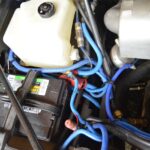
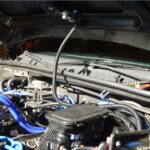
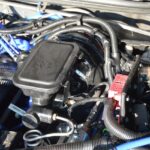
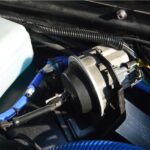
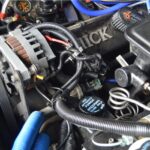
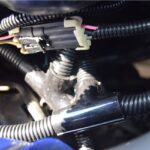
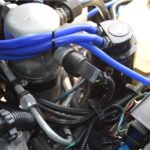
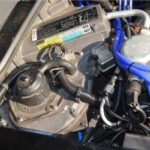
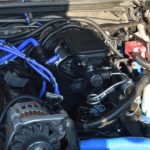
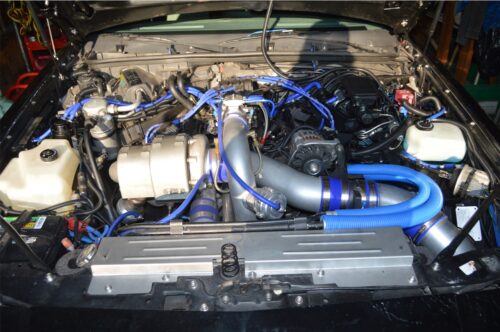
You can probably tell we’re a big fan of the color blue.
It’s all over our 1987 Buick Regal Grand National.
The interior LED lights and some trim pieces, (center console, package shelf, etc,), disc brake calipers, along with all of the blue details under the hood and other parts on the Gbody Regal.
We really liked all of the blue components sitting in the engine compartment, but admittedly, it was a bit much (which we only really discovered after the fact of installing it all).
There’s (almost) too much blue, so nothing quite “pops” in there.
The vacuum hoses are blue, the spark plug wires are blue, we have heater hose & radiator hoses that are blue (but haven’t even been installed yet), and the majority of the wire looms are blue.
We still want to keep “some” of the wire looms blue (like the ones that run on the a/c lines) but that’s about it.
The rest we’re going to change them all back to black like the stock version.
We thought it was a good thing we kept all the original ones that we removed when we turned them all to blue in the first place, but after seeing them in the box, some were faded, dirty and whatnot.
Since we’re prettying up this section of the Turbo Buick, we decided to just acquire some new parts, they’re not really that expensive if you shop around.
 [20-25 foot pieces are about $10-12 (shipped) in every size except 1″, which is the same price for 10 feet, so in total, it cost about $50 to replace all of the looms]
[just fyi, all the different colored plastic wire looms runs about the same price, so if you have the factory black versions now, and want to change them to red, blue, etc., it’ll set you back about 50 bucks]
[the blue colored heater & radiator hoses we have will be getting installed as well, making another future post in this series]
[and the existing blue 10mm Taylor spark plug wires are staying in place, since there’s nothing wrong with them, albeit they are almost a decade old]
Today’s project is we are replacing the wire loom on a Buick Grand National.
Previous to actually doing this task, we “think” cutting down on the blue wiring looms (since they go around the entire engine bay) will make things look better, and will have more of that pop effect we mentioned for the remaining blue items, even though we will eventually be adding more blue items (the heater & radiator hoses).
.
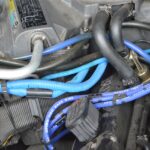
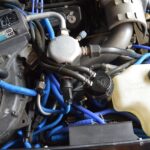
EXISTING BLUE WIRE LOOMS:
.
.
.
This is part of our “Buick Grand National Engine Bay Cleanup.”
(a multi-part series we’re doing for assorted things under the hood)
(eventually the entire thing will look as pretty as the rest of the Turbo Buick does)
.
There’s a few different sizes for the wire looms that are used on the engine harnesses:
1/4″, 3/8″, 1/2″, 3/4″, and 1″.
(some factory sized, and some we added in to have an assortment that would fit where needed)
[we’re not counting the ones surrounding the air conditioning hoses, as those are staying put, one of the looms is 1.25″ and the other 1.5″ diameter]
This isn’t a difficult task, just a time consuming one.
You don’t even need to measure anything, it’s as simple as just replacing whatever is blue there now with black versions, and use whatever size (diameter and length) is existing in that spot (or fits the wires in that specific area).
Starting on one side of the car, making your way over to the other (just like doing the replacing vacuum lines task).
We literally originally switched almost every single loom that was under the hood.
That’s A LOT of wire looms!
So it took about 3 hours to switch them all back!
(remove/install them, as well as zip tieing them all in place, etc.)
In the process of swapping them back over to black, we tried to combine some of the electrical wires that could fit together all in 1 loom (that ran towards the same areas), in hopes there wouldn’t be so many of them. We succeeded to some extent.
You might not think this is that big of a job, but not only is there the factory installed wiring and looms, there’s at least 10 other new (aftermarket) electrical items that have been wired through the engine compartment!
(alky system with transducer [for the powerlogger], fuel gauge sender [for in car gauge] and transducer [for powerlogger], dual fans, upgrades for fuel pump hotwire kit + fuel injector hotwire kit + ccci setup hotwire kit, the underhood relay panel for the 2nd fusebox, line lock, wideband O2, plus a few other things)
.
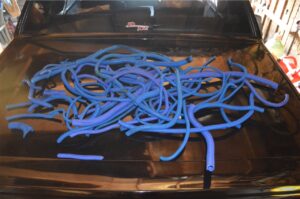 Now that it’s done, we like it.
(now who wants to buy all that used blue wire loom we have? lol, but seriously, contact us. Take the whole pile for $30 shipped)
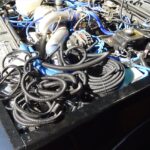
The pile we removed is shown to the right!
Probably much more than you’ll need to convert yours.
(since we have extra wiring under the hood).
.
Another job completed on the Turbo Regal.
Good stuff!
.
TIPS:
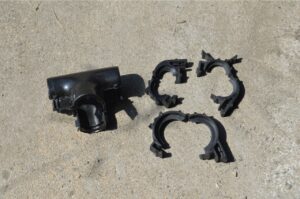 It’s handy to have a bunch of Tees, and end clips available to secure or branch off the wires that need it.
Electrical tape on the ends of the looms are equally as effective to make sure the wires don’t pop out of the looms (and to keep them in place).
Lots of zip ties work well too, for securing the wire looms out of the way of other things (or moving parts!).
.
Once we finished, we ended up with (about 20 ft) of the (50′) of 3/8″ left we bought, a few feet of the 3/4″, and all of the (10′) of the 1″ stuff (we didn’t need this type at all).
The majority of loom that we used was the 1/2″ version, and we used all 20 feet we had. The 1/4″ stuff was the same, we used the entire 20′ long piece.
[there’s plenty left over for future upgrades if needed]
.
Stay tuned for a few more under the hood tasks later…
.
.


