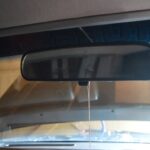
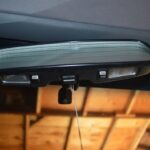
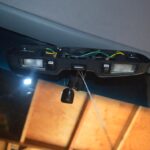
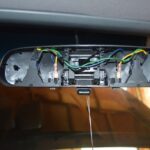
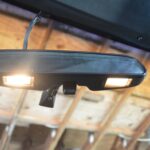
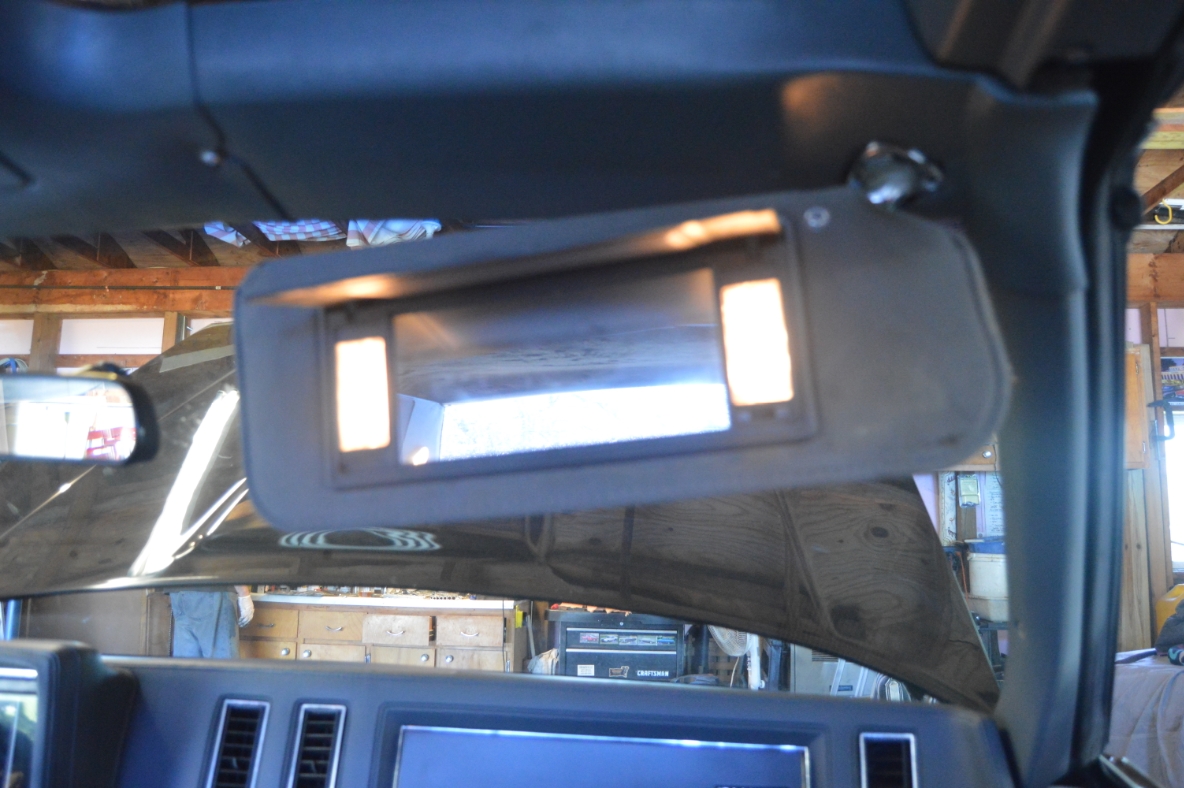
The OEM rear view mirror did not have any lights in it.
However, this is a very popular option that wasn’t standard on Buick Regals (but should have been), so this one is included since a lot of Turbo Regal owners have upgraded to this mirror version.
These mirrors came out of later model Buick Regals (as well as other GM vehicles).
(a few of the Buick vendors carry a mirror similar to this)
This mirror came with 2 white bulbs.
.
.
SPECS:
OEM BULB NUMBER: 912
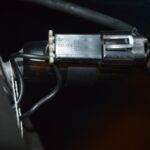
SOCKET COLOR: black
NUMBER OF WIRES ATTACHED:
3 on LH (driver side)
2 on RH (passenger side)
.
WIRE COLOR & PURPOSE (according to factory wiring diagram):
Power wire = orange
Negative wire = black to ground
3rd wire = orange/white stripe, goes to switched white wire from door jam switches
.
HOWEVER:
WIRE COLOR & PURPOSE (according to the one we have installed in a Buick Grand National):
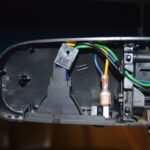
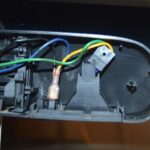
2 incoming wires from headliner to plug: brown / white stripe, and a black wire.
Then from that plug TO mirror: 2 black wires. (terminal A = brown from above, terminal C = black from above)
Incoming black (“A” – headliner brown wire) goes to RH switch.
Other side of RH switch has 1 blue wire & 1 yellow wire.
Yellow wire goes to RH side light.
Blue wire goes from RH switch to LH switch.
The other side of RH side light has 1 green wire, which goes to LH side light.
LH side light has 1 black wire (“B”) that attaches with/to the green wire.
Other side of LH light has 1 yellow wire that runs to LH side switch.
Other side of LH switch has 1 blue wire that runs to RH side switch.
Black wire “A” from above, is the one that goes to RH side switch (from terminal A).
Black wire “B” from above, is the one that goes to LH side light (from terminal C).
.
LIGHTED VANITY MIRROR:
.
You can easily add this mirror on if you don’t have it already.
Many vendors still sell it, or find it on ebay.
The existing wires can be found above your headliner, made for the dome light, simply splice the new wires in (if they are not already there waiting for you already).
.
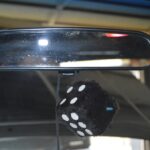
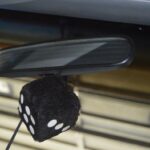
THIS is the standard mirror that came in the Buick Regal WH1 example car we’re featuring (non-lighted):
.
HOW TO CHANGE BULB:
,
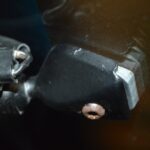
The bottom of the mirror has a seam in it that runs lengthwise.
Separate this section by hand.
The lights will be revealed.
Pull the sockets out, and then you can pull the bulbs out.
Reassemble by hand putting the 2 sections back together.
.
This is part of an ongoing series about the details & specifics on Changing Light Bulbs in your Buick Turbo Regal:
1) Overview
2) Head Lights
3) Bumper Lights (running lights, turn signals)
4) Front Corner Side Marker Lights
5) Front Lower Cornering Lamps (Limited models)
6) Under Hood Light
7) Brake & Turn Tail Lights
8) Backup Lights (reverse light)
9) Rear Running Tail Lights (center & side corner marker lights)
10) License Plate Light
11) Trunk Light
12) Under Dash / Courtesy Lights (driver / passenger side)
13) Glovebox Light
14) Dash plaque (usually on Limited models)
15) Dash Gauges / Side Warning Lights (analog & digital dash)
16) HVAC Light (heater / AC)
17) Console Shifter Indicator Light
18) Ashtray Light on Non-Console Cars
19) radio light bulbs
20) Rear Window Defogger Button Light
21) Rear View Mirror Map Lights (upgraded option, not standard on Regals) (THIS page)
22) Passenger Visor Vanity Mirror Light
23) Dome Light (t-top & hardtop; factory & upgraded hardtop versions)
24) CHMSL (Center High Mounted Stop Light, AKA Third Brake Light)
25) Lower Door Panel Courtesy Lights (Limited models)
26) Aftermarket Dash / Other Extra Add-on Gauge Lights (a-pillar, console under radio, etc)
27) Opera / Coach Lights (Limited models)
You can click any link above and be taken to the light of your choice.
.


