INSTRUMENT PANEL (SPEEDO & SIDE WARNING LIGHTS) BEFORE WORK STARTS:
(note the owner of this Regal WH1 has the upgraded illumination lights from Kirban installed)
.
.
The dash lights, or more correctly, instrument panel lights, (the speedometer lights), illuminate when you turn your regular lights on.
These lights are on analog as well as digital dash instrument panels.
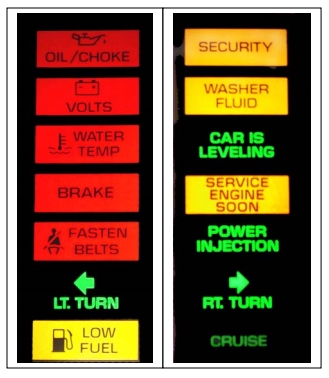
Side warning lights are also known as tell-tale lights, idiot lights.
These lights turn on if there are issues with your Turbo Buick (other than on start-up of the Gbody Regal, for which they come on for 10 seconds).
Analog and digital dash setups utilize similar components, with a few differences.
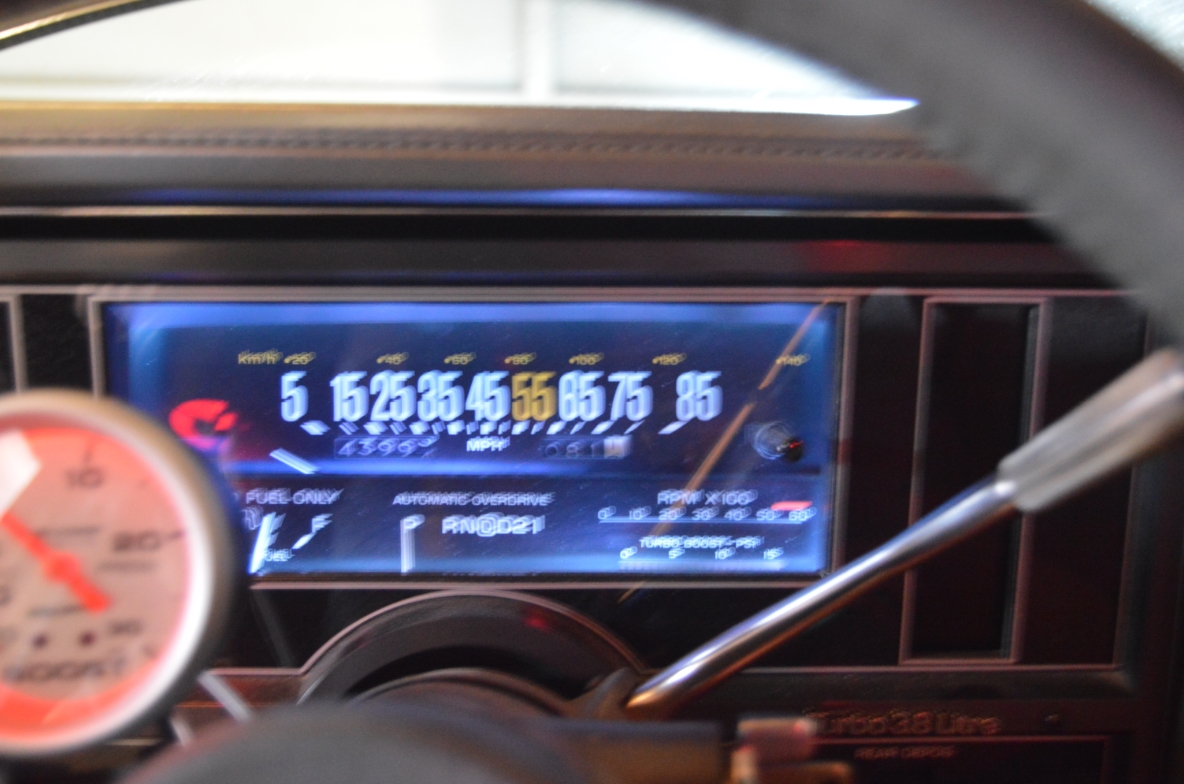
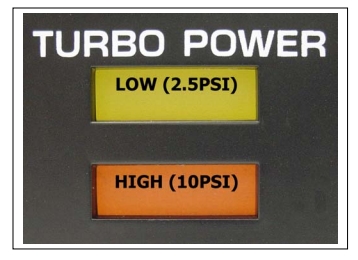
Digital dashes have “Turbo Power Economy Indicator” and “Turbo Power Power Indicator” on them.
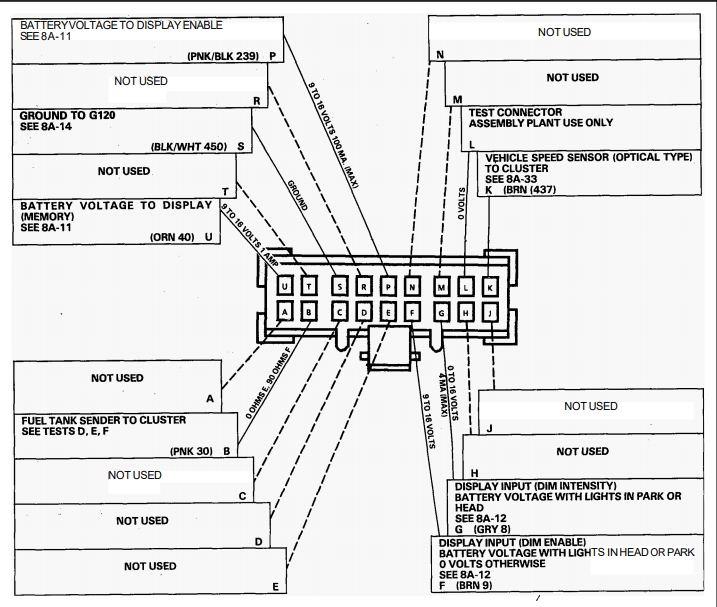
Digital dashes have 2 main plug connectors that are attached to the cluster, whereas analog has 1.
There’s 7 illumination bulbs on the analog dash, 2 on the digital (odometer).
.

.
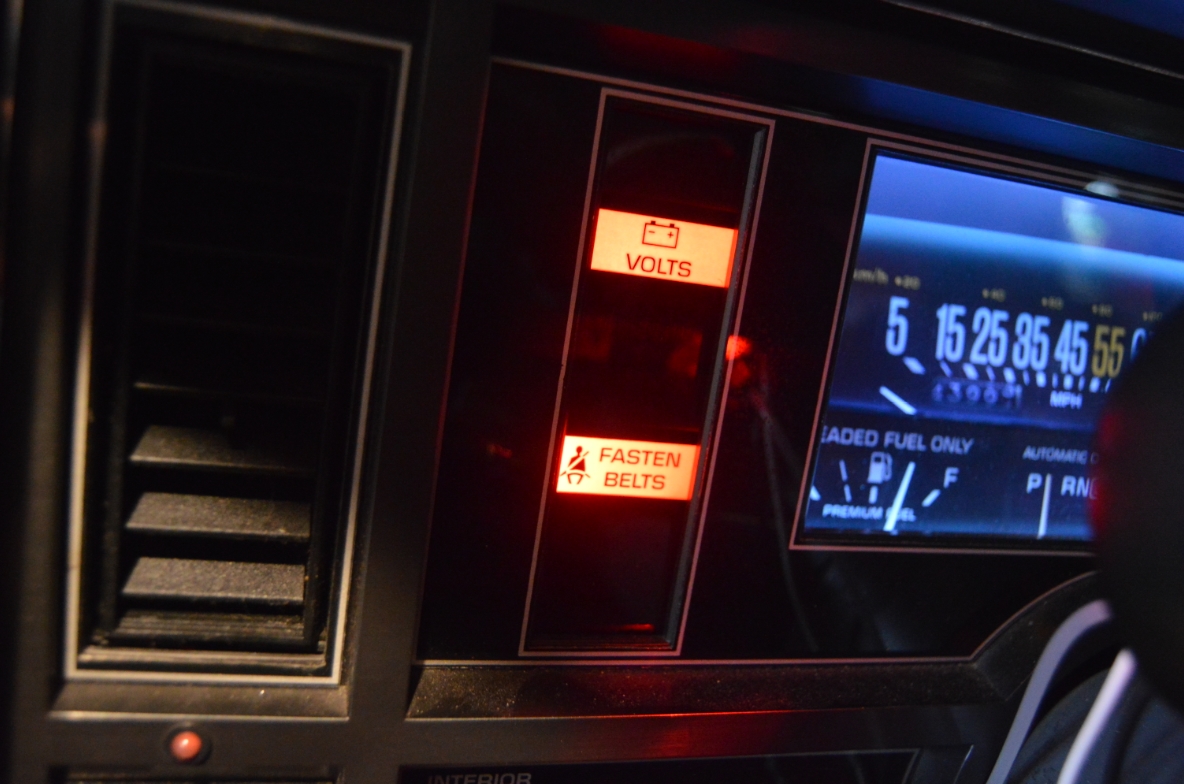
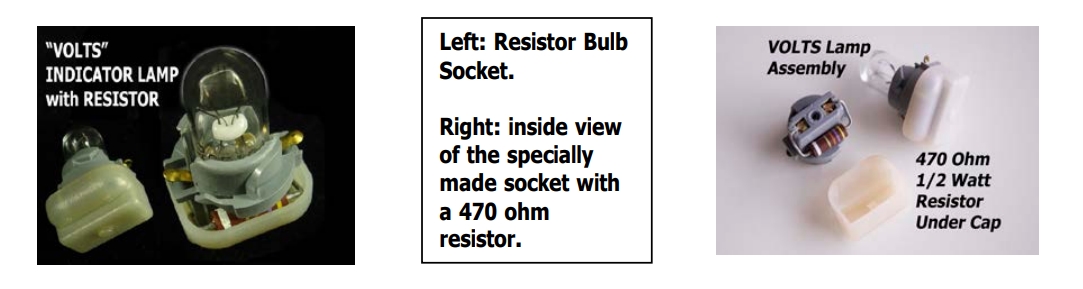
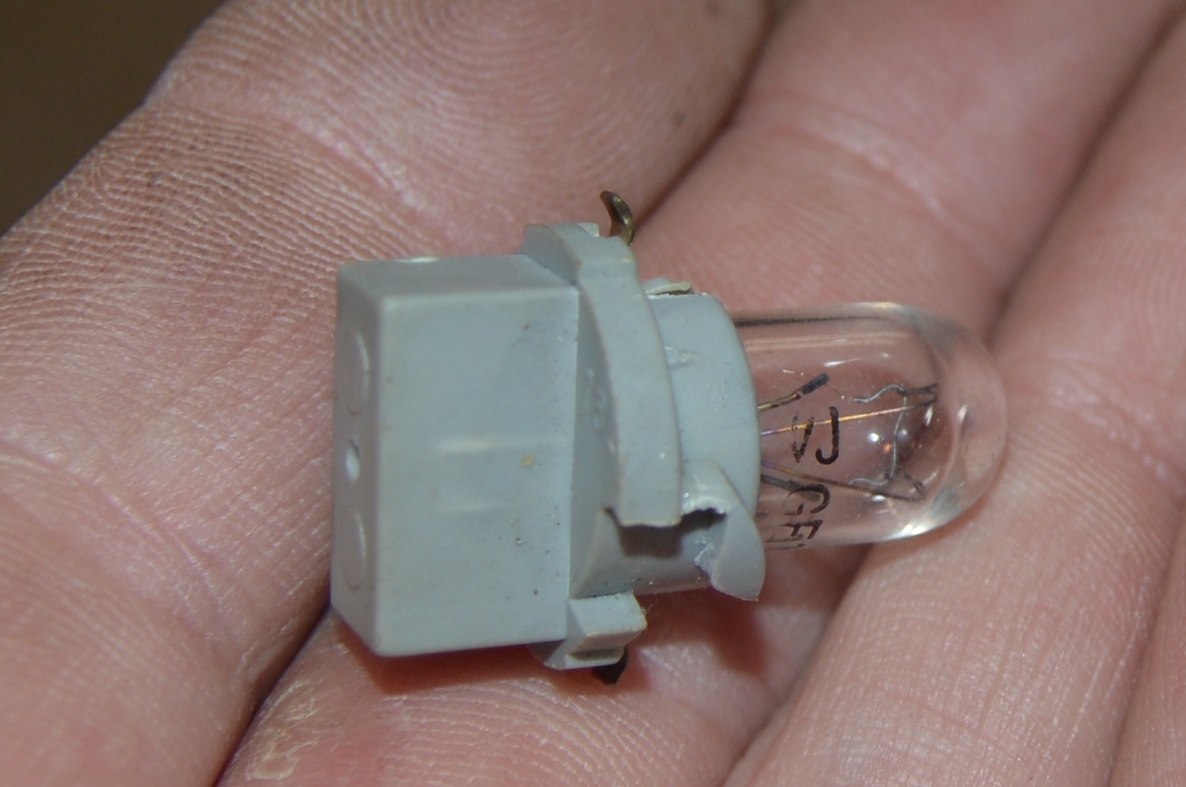
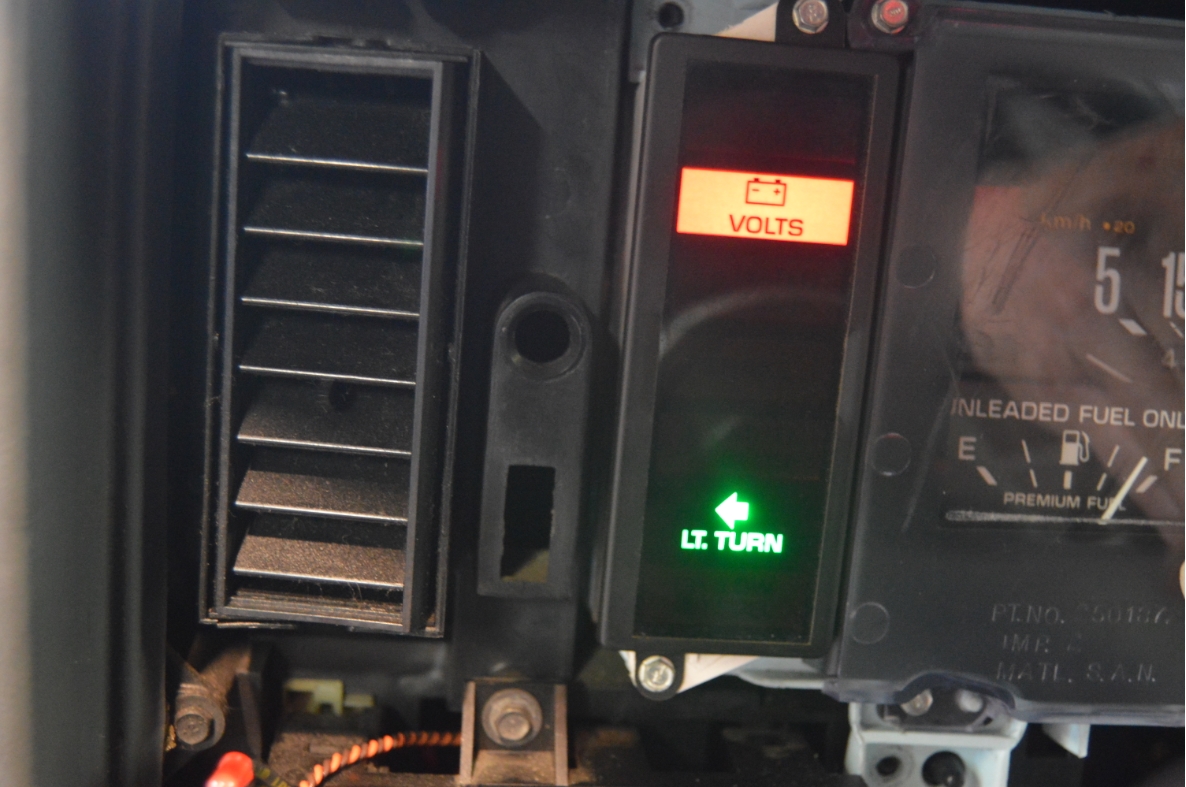
The “volts” bulb has a special (white, sometimes a bigger gray) socket (with a resistor across it), as the alternator completes it charging circuit thru it.
(the resistor is so if this bulb burns out, the alternator keeps charging with this special socket/bulb combo)
[ ALSO TO NOTE: a blown LPS fuse will prevent the alternator from charging, as that fuse supplies 12 volts to the VOLTS lamp! ]
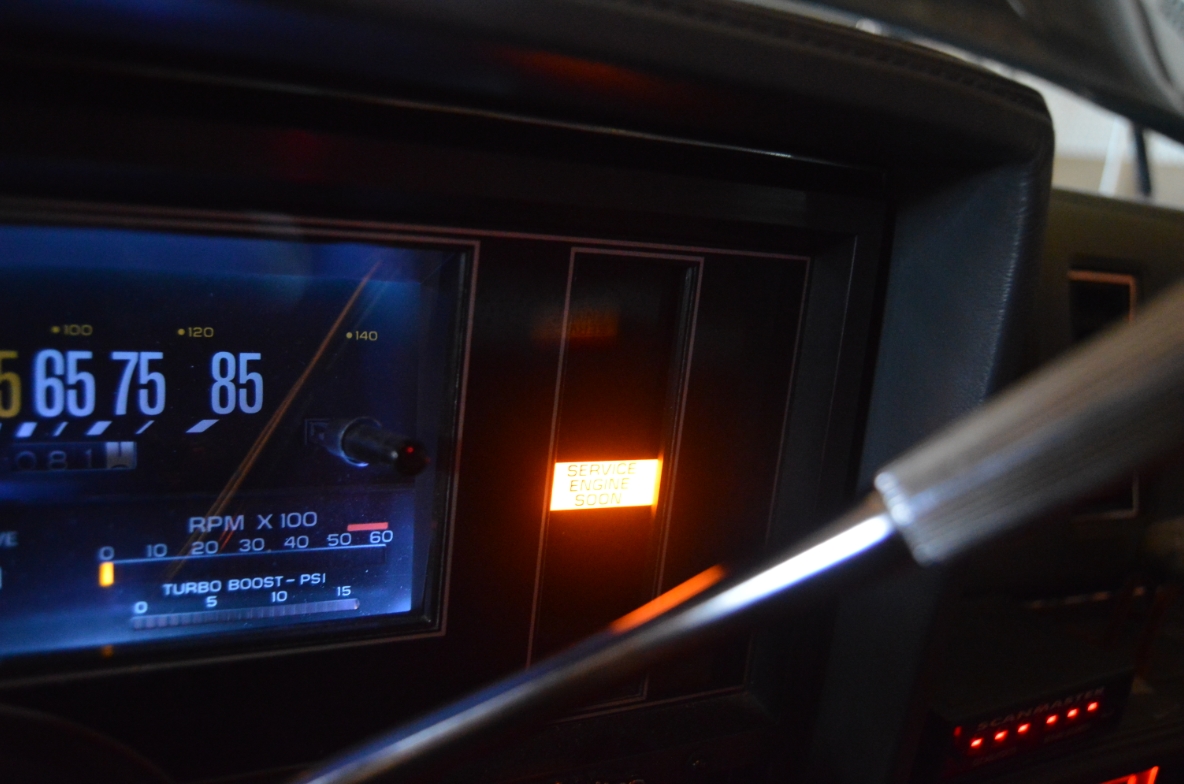
The “SES” light (Service Engine Soon), has a white socket, and is not technically connected to the cluster like the other tell tale lights are.
(the rest of the lights are connected via a copper flexboard circuit panel that is attached to the backside of the instrument cluster)
.

.
DASH SPECS (both analog and digital are the same, with notes below):
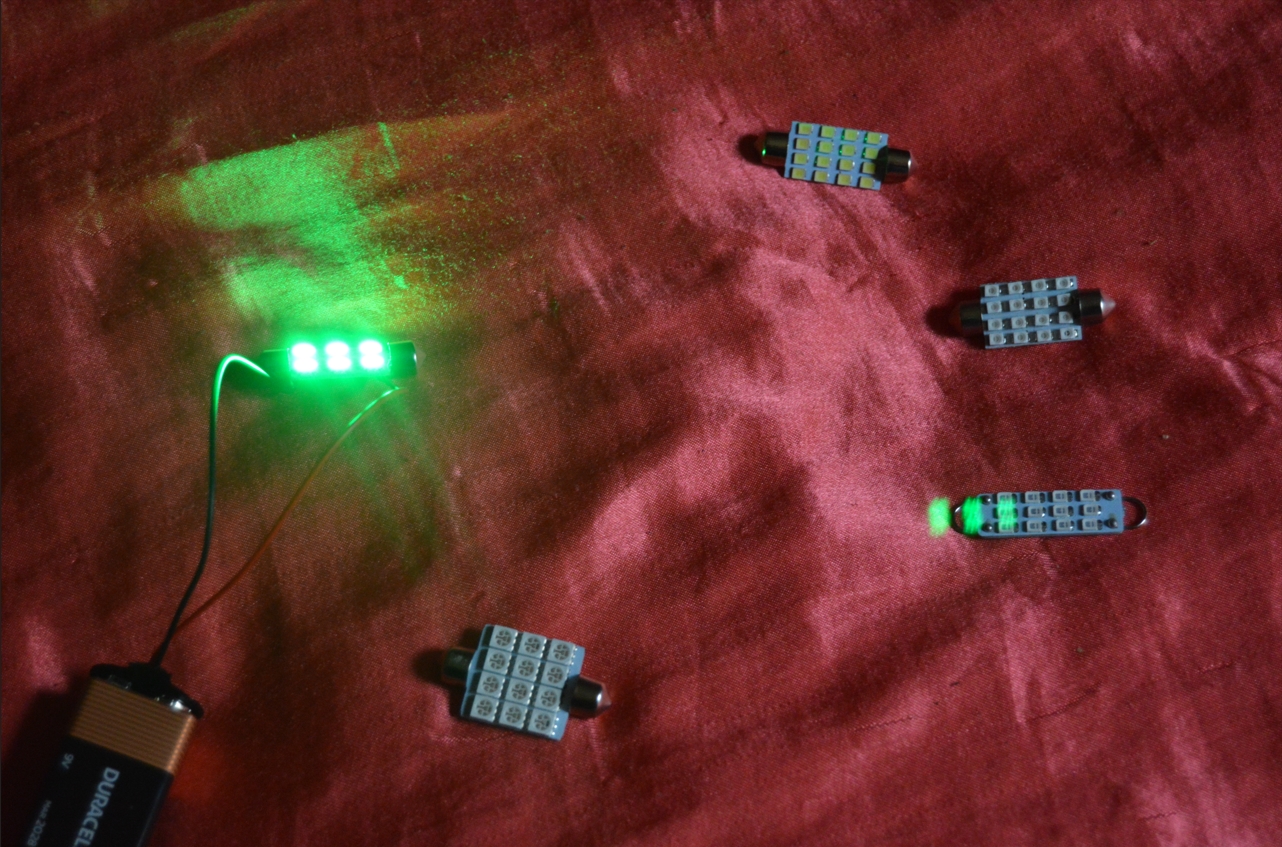
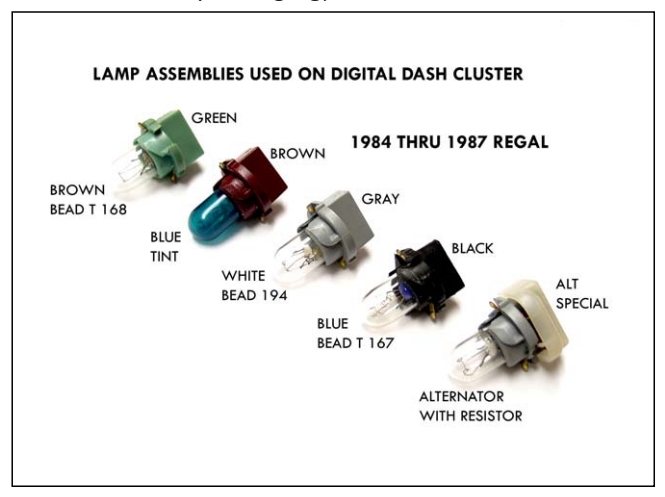
OEM BULB NUMBER: 167-168-194
SOCKET COLOR, PURPOSE, BULB:
gray = illumination & side warning lights, 194 bulb
black = hi beam, 167 bulb
brown = blue tint (digital dash) 194
white = Volts socket ONLY (special with resistor, for alternator charging) 194
green – digital dash, 168 bulb
(the Service Engine Soon socket is white, but is not connected thru the cluster like the above ones, it has attached it’s own 2 separate wires)
NUMBER OF WIRES ATTACHED: (wires connect to a main plug connector on cluster housing, instrument panel snaps into connector via copper flexboard on cluster)
.
.
WIRE COLOR & PURPOSE:
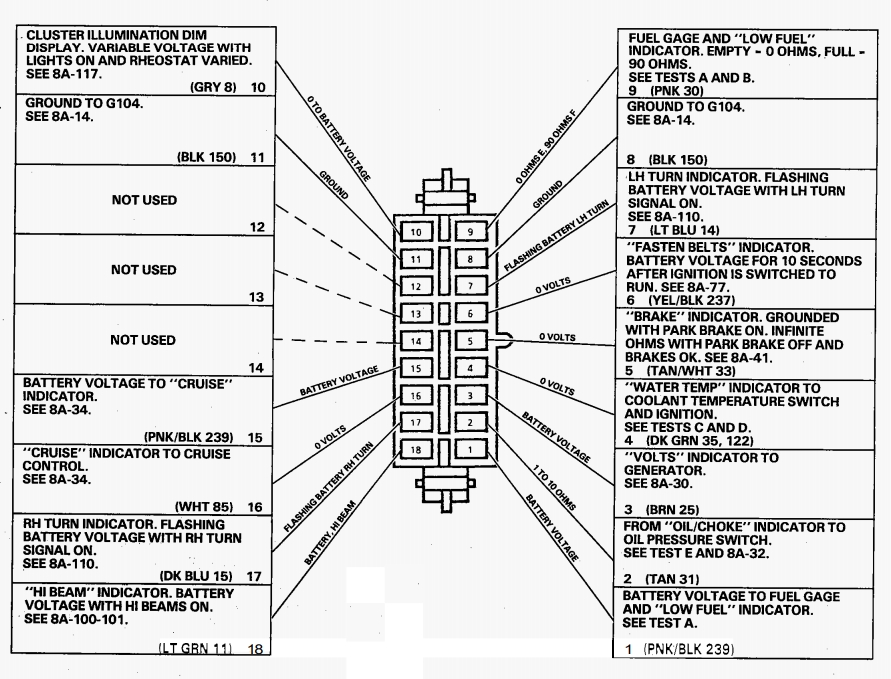
7 illumination bulbs (ANALOG DASH), gray wire power in, black wire out to ground (connects with right turn)
2 illumination bulbs (DIGITAL DASH), (for the odometer), gray wire in from INST LPS fuse, black wire out to ground.
Hi Beam indicator, light green in from (high side) headlight dimmer switch, WHICH ALSO connects to light green wire that runs to LH (high side) (low beam) headlight.
Black wire out to ground (connects with left turn, fasten belts)
.
ILLUMINATION SOCKETS & SIDE WARNING LIGHT SOCKETS:

.
oil/choke, pink/black in from GAGES fuse, tan out to engine/oil pressure switch
Volts, pink/black in from GAGES fuse, brown out to alternator
Water Temp indicator, pink/black in from GAGES fuse, dark green out to coolant temp switch and ign switch
Brake indicator, pink/black in from GAGES fuse, tan/white out to brake warning system (brake pressure switch, park brake switch, ign switch, brake accumulator pressure switch)
Fasten Belts, yellow/black power in from warning chime module, black wire out to ground (connects with left turn, high beam)
left turn signal, light blue in from turn signal (flasher), black ground out (connects with high beam, fasten belts)
.
.
Security Indicator: orange wire power in from CIG/CLK fuse. dark green out to theft deterrent controller.
SES (service engine soon):
CONNECTOR 1: pink/black in from GAGES fuse
CONNECTOR 2: 2 brown/white out to aldl terminal D, and A5 on the ECM.
[ NOTE that different years/models may only have 1 brown/white out wire connected to connector 2 but may split off after that ]
{ OR yellow (in/out of bulb) wires on connector 2 ]
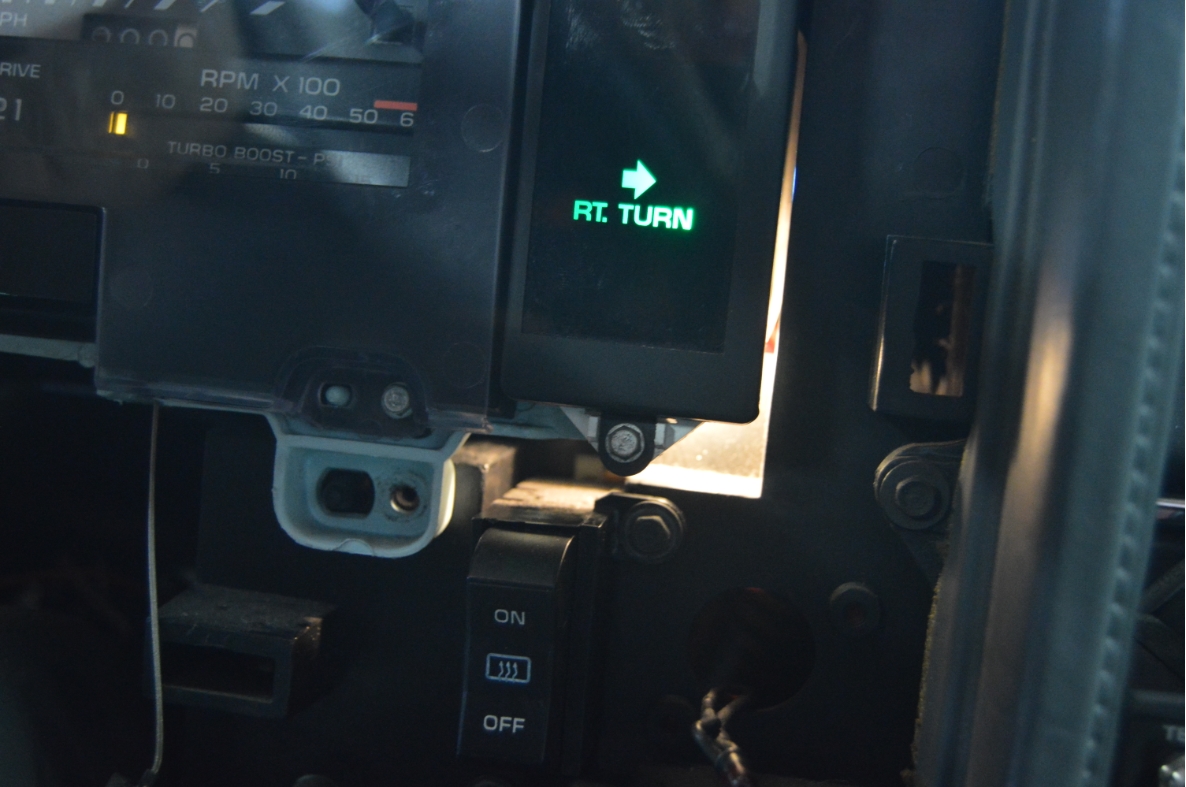
right turn signal, dark blue in from turn signal (flasher), black ground out (connects with illumination)
Cruise Indicator, pink/black in from GAGES fuse, white out to cruise control
.


.
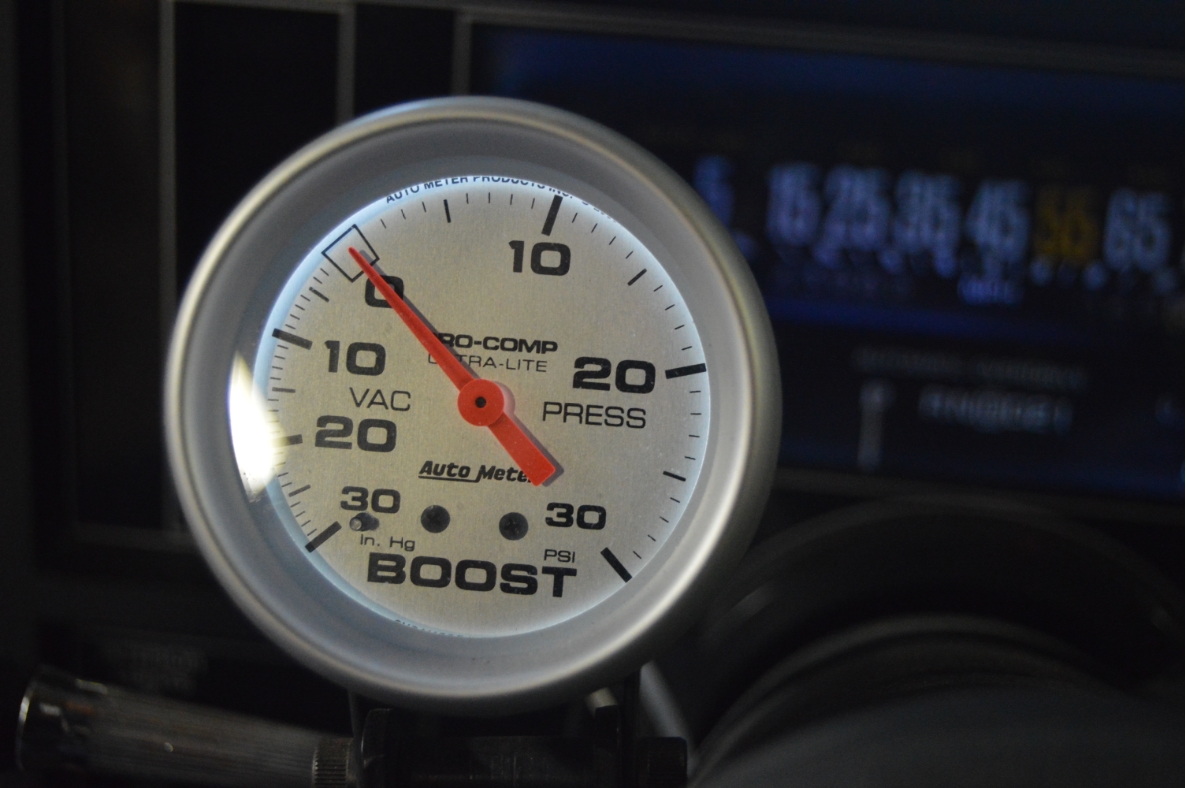
DIGITAL INSTRUMENT CLUSTER:
Turbo Power Economy Indicator, pink/black in from GAGES fuse, white/black out to turbo boost indicator switch
Turbo Power Power Indicator, pink/black in from GAGES fuse, blue/yellow out to turbo boost indicator switch
.
The tachometer light, gray power wire in from INST LPS fuse, black wire out to ground.
.
If your boost gage or tach gauge stop working, they need to be sent in to be repaired (NO separate bulbs for these).
(caspers can fix these items for you)
.
ANALOG INSTRUMENT PANELS:
.


.
DIGITAL DASH INSTRUMENT PANELS:
.


.
HOW TO CHANGE BULBS:
.
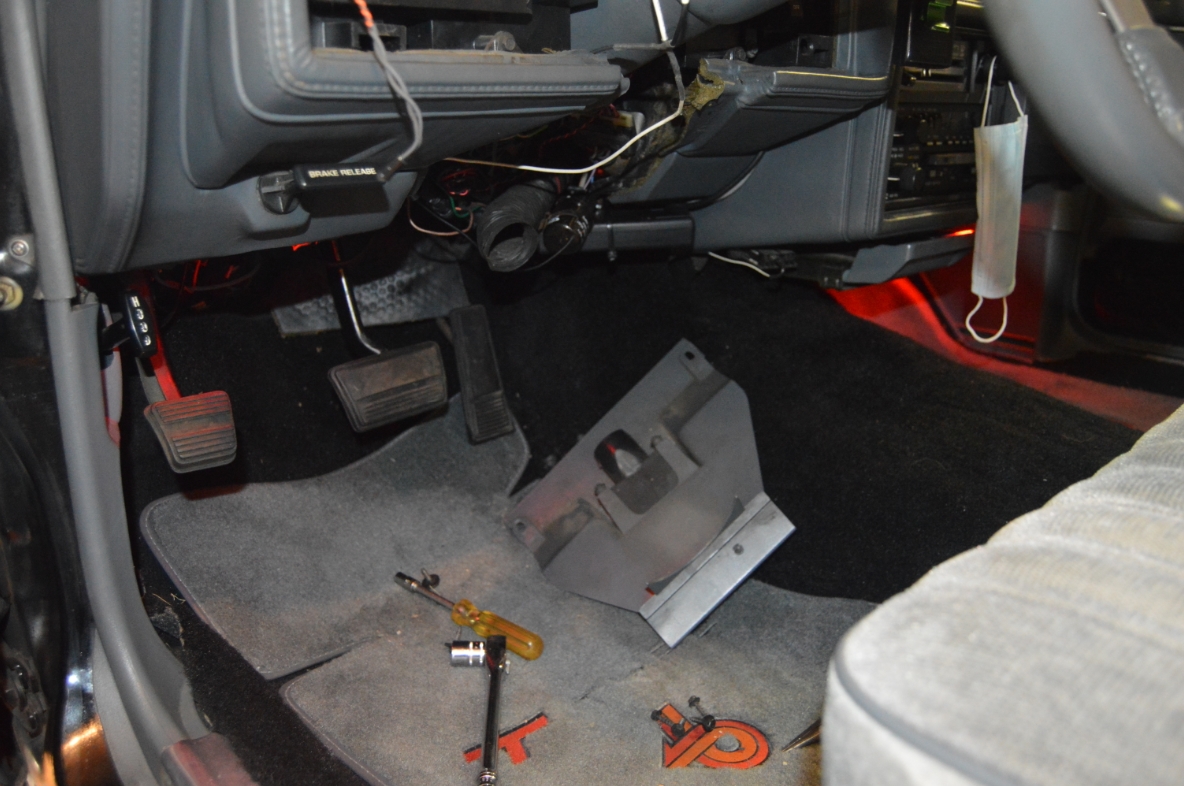
Remove outer trim bezel.
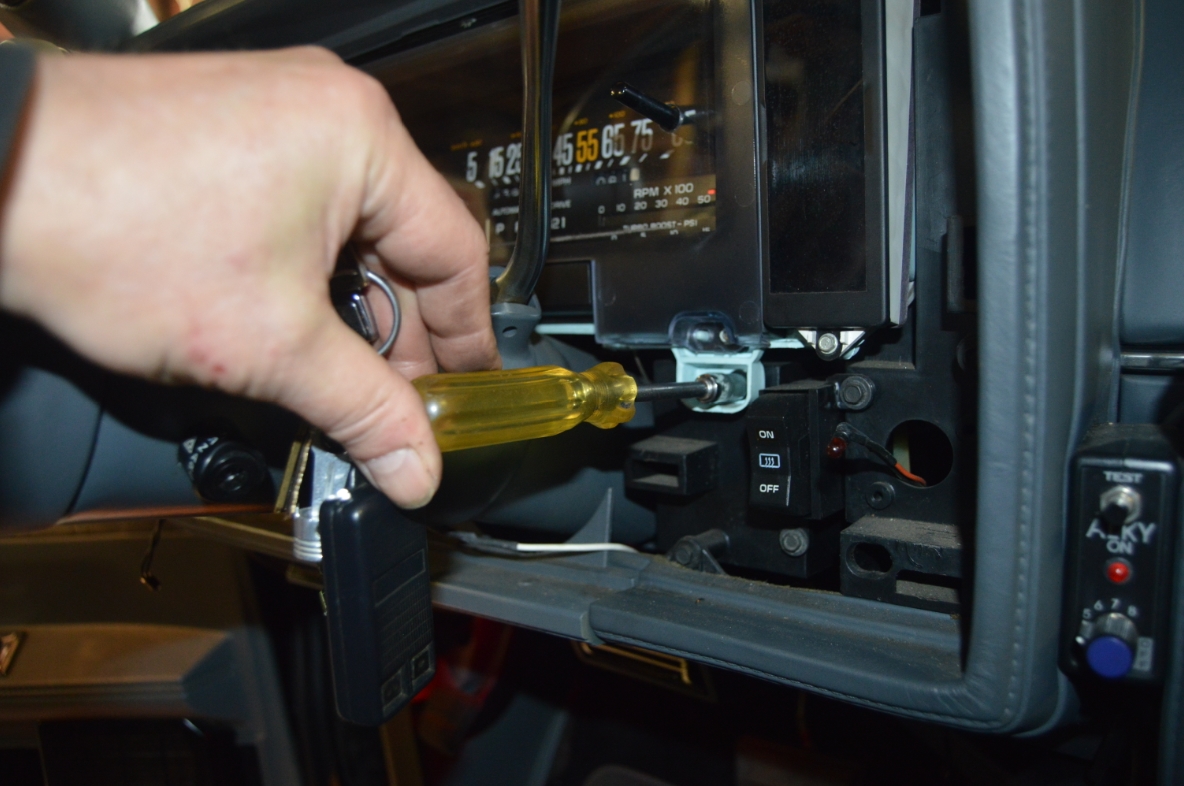
Remove lower dash panel (under the steering column, 2- 7mm bolts),
Drop the steering column (2- 15mm nuts).
Put the shifter into low gear to get it out of the way.
4- 7mm bolts hold the instrument panel onto the cluster housing (2 on top, 2 on bottom).
If the Buick Regal has a column shifter (like this car does) unclip the gear indicator from under the steering column.
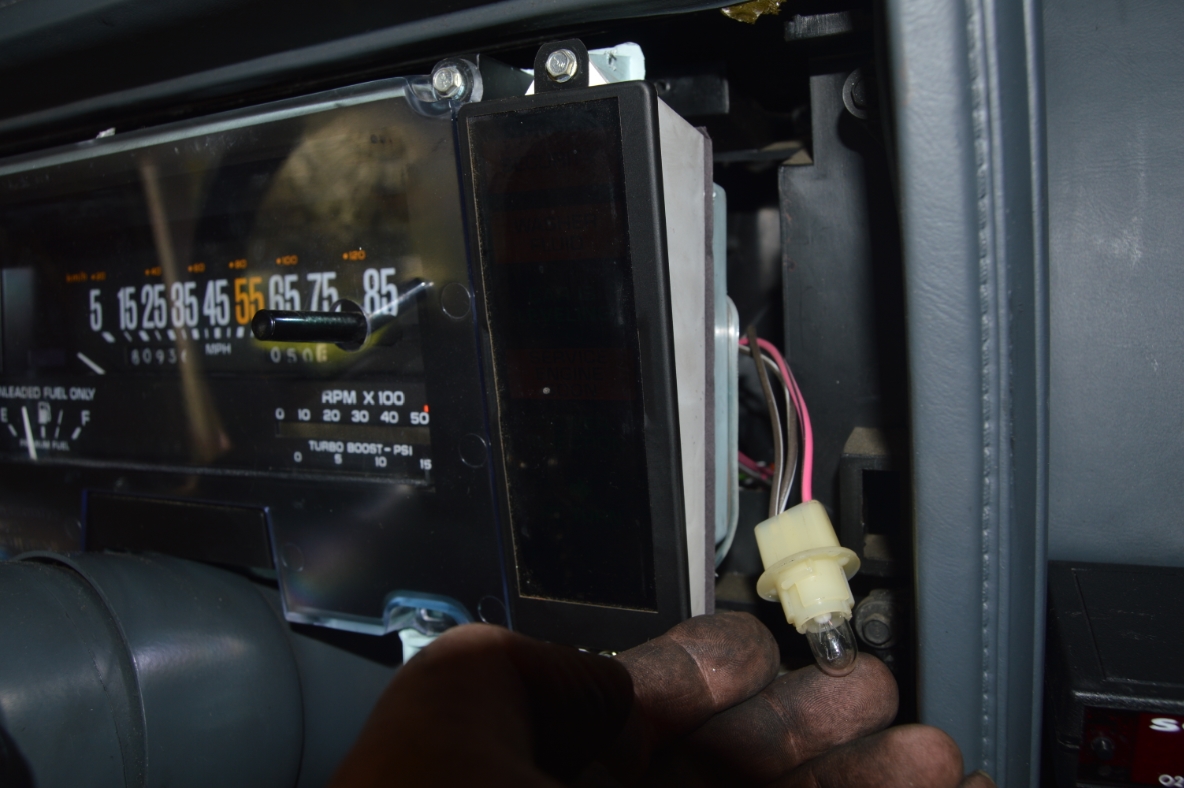
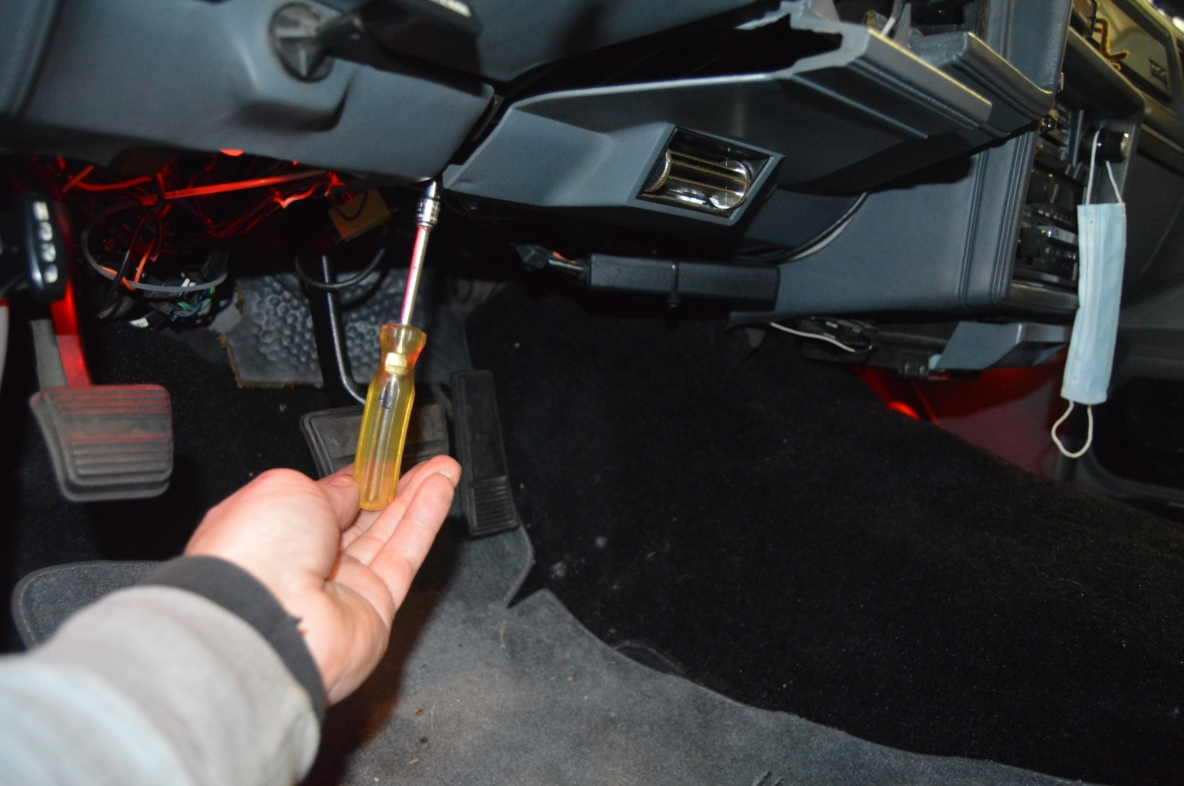
Pull the cluster out somewhat (as far as you can, but it will only come out a bit), you need to stick your hand back there and unclip the speedo cable.
(the tab is on the top side, push it in while pulling out the speedo cable from the speedometer)
Once that is done, pull the instrument panel out a bit more.
Next is unbolting the VSS cable. (it’s a very small bolt, 5mm?)
You’re almost there.
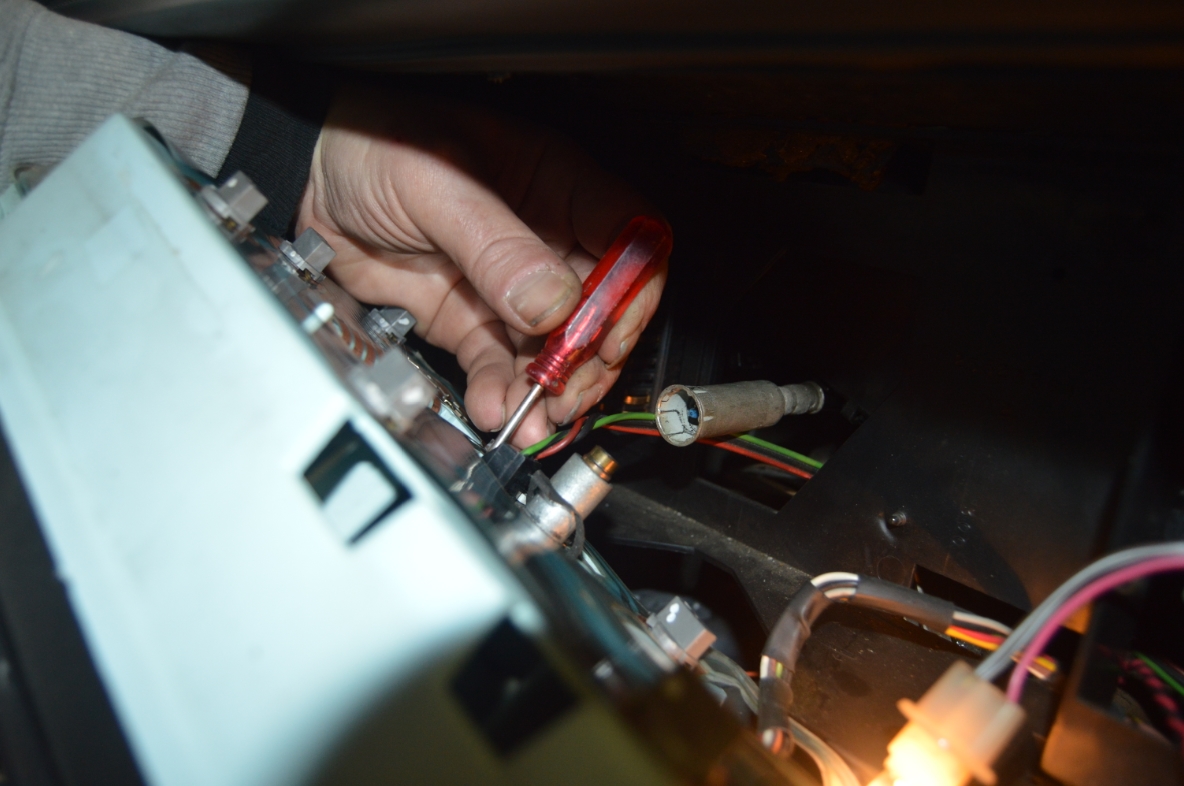
Twist out the Service Engine Soon socket.
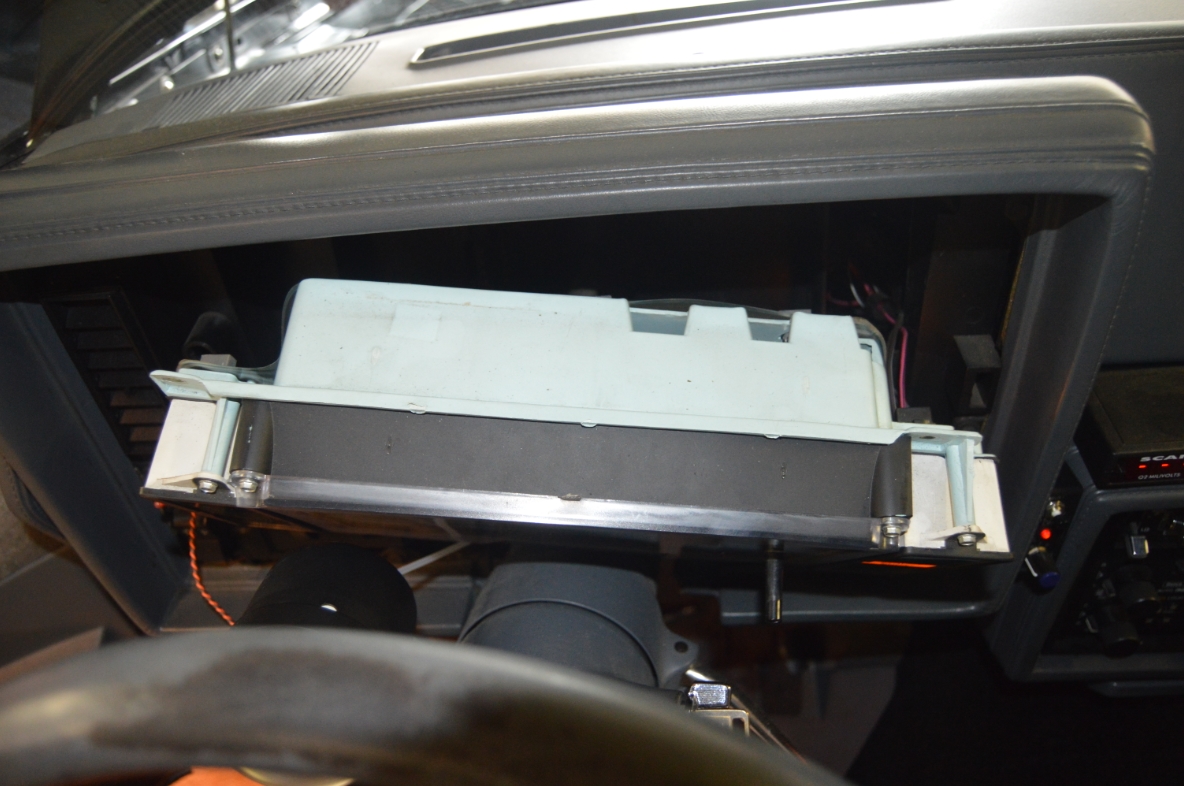
You can now pull out the entire cluster.
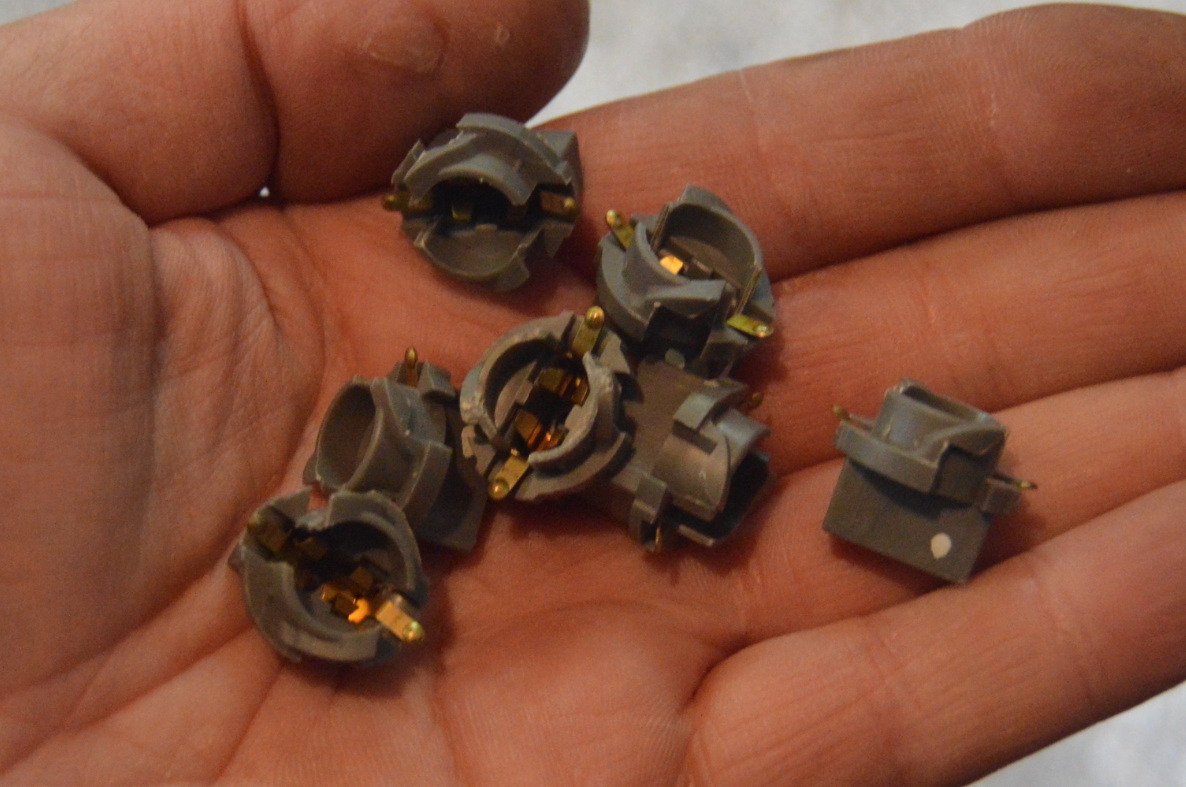
Be aware of all the different socket colors.
(the below lists the socket colors how they should be; if the cluster has been worked on previously, the sockets may not be in the original spot)
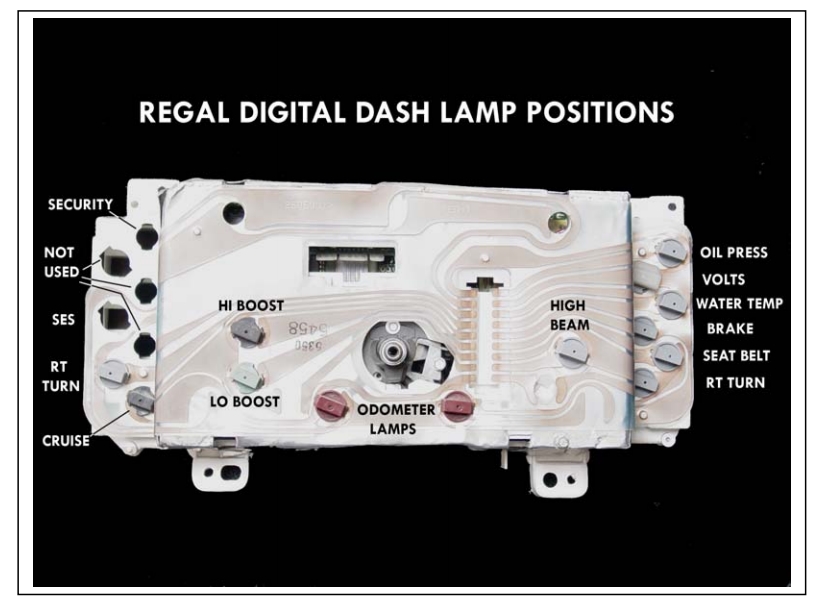
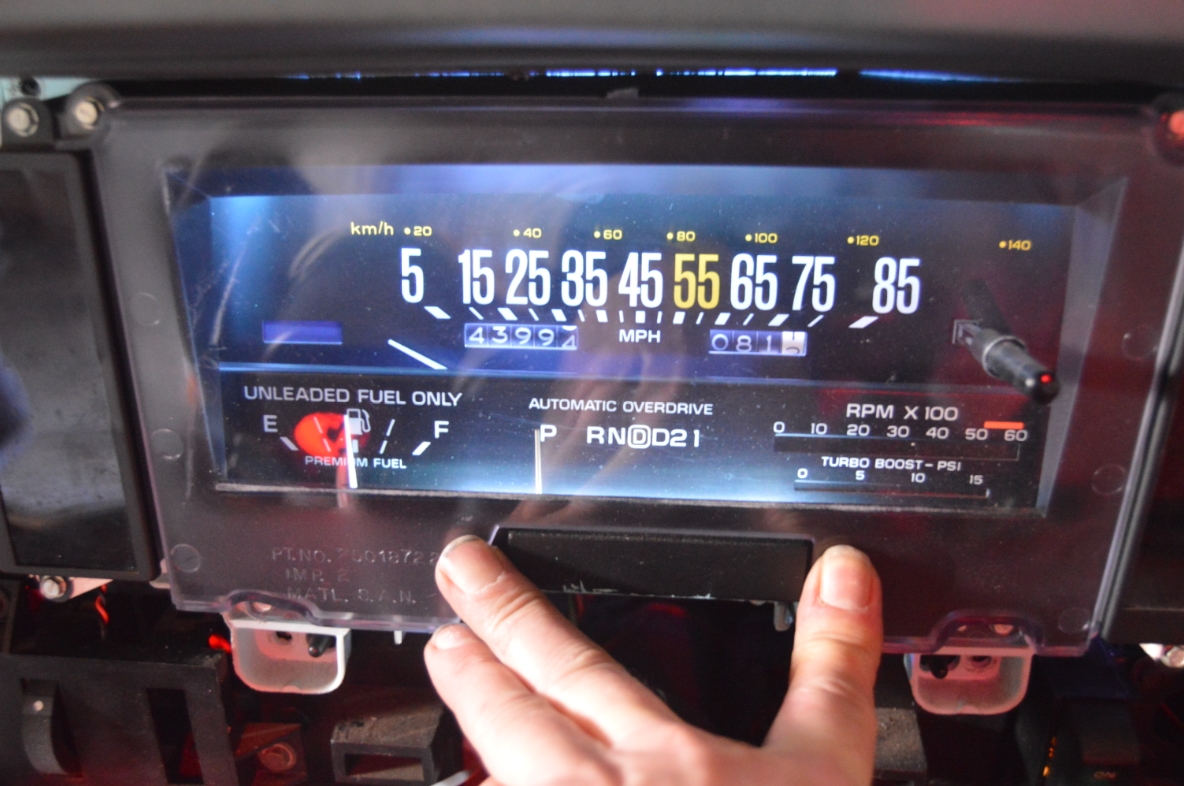
Analog dashes have 7 illumination lights (pic below, they are circled in green), which are gray sockets.
Analog dashes have gray sockets in all of the side warning lights, EXCEPT for the 2 WHITE ones for the VOLTS and SES.
Analog dashes have a black socket for the HI BEAM indicator.
Digital dashes have 1 black socket (hi boost) and 1 gray socket for the (low boost).
Digital dashes have a gray socket for the HI BEAM indicator.
Digital dashes have 2 brown sockets for the odometer (blue bulbs).
Digital dashes have gray sockets in all of the side warning lights, EXCEPT for the 2 WHITE ones for the VOLTS and SES.
(the fuel gauge & trip odometer are digital displays and have no bulbs)
The side warning lights (position wise) are the same for both analog and digital dashes.
Twist out sockets.
Pull out bulbs.
(you should replace the bulbs one by one until they are all done so you replace them in the proper spots)
Replace with new bulbs.
Reinstall entire assembly in reverse order.
.
REMOVING I/P ASSEMBLY:
.


.
This is part of an ongoing series about the details & specifics on Changing Light Bulbs in your Buick Turbo Regal:
1) Overview
2) Head Lights
3) Bumper Lights (running lights, turn signals)
4) Front Corner Side Marker Lights
5) Front Lower Cornering Lamps (Limited models)
6) Under Hood Light
7) Brake & Turn Tail Lights
8) Backup Lights (reverse light)
9) Rear Running Tail Lights (center & side corner marker lights)
10) License Plate Light
11) Trunk Light
12) Under Dash / Courtesy Lights (driver / passenger side)
13) Glovebox Light
14) Dash plaque (usually on Limited models)
15) Dash Gauges / Side Warning Lights (analog & digital dash) – (THIS page)
16) HVAC Light (heater / AC)
17) Console Shifter Indicator Light
18) Ashtray Light on Non-Console Cars
19) radio light bulbs
20) Rear Window Defogger Button Light
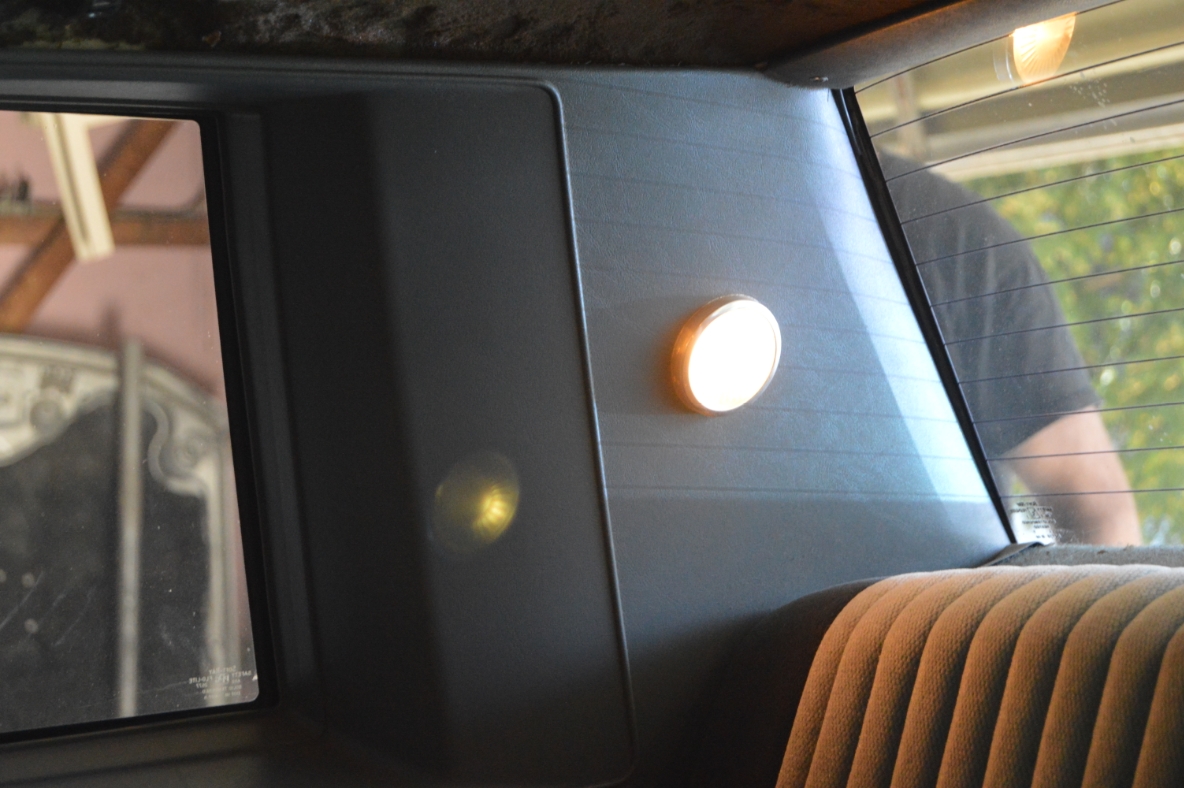
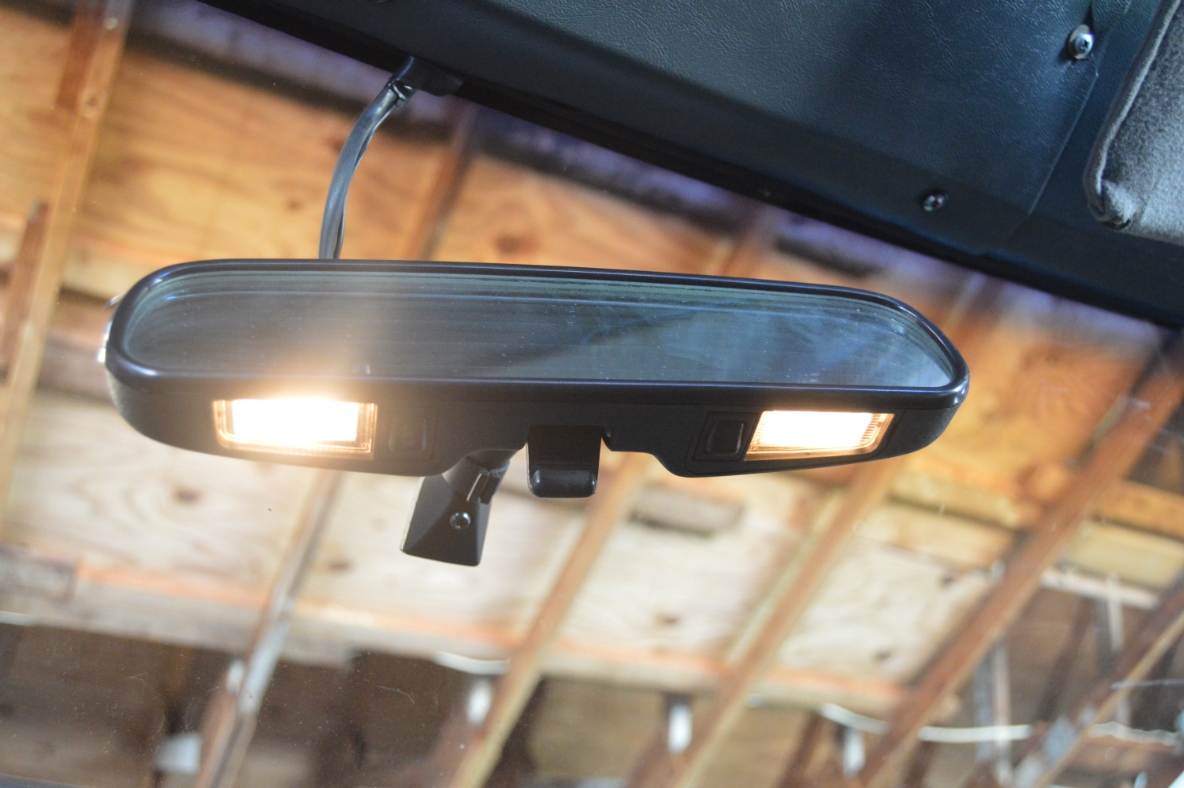
21) Rear View Mirror Map Lights (upgraded option, not standard on Regals)
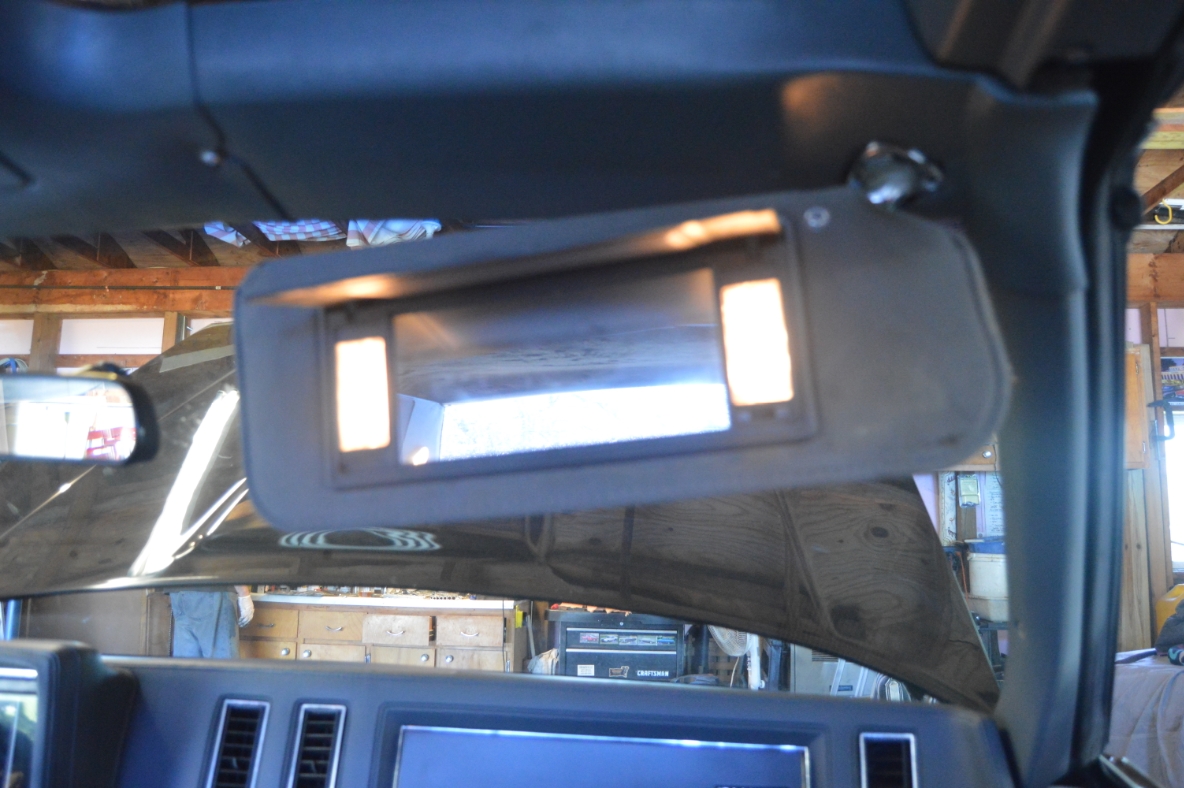
22) Passenger Visor Vanity Mirror Light
23) Dome Light (t-top & hardtop; factory & upgraded hardtop versions)
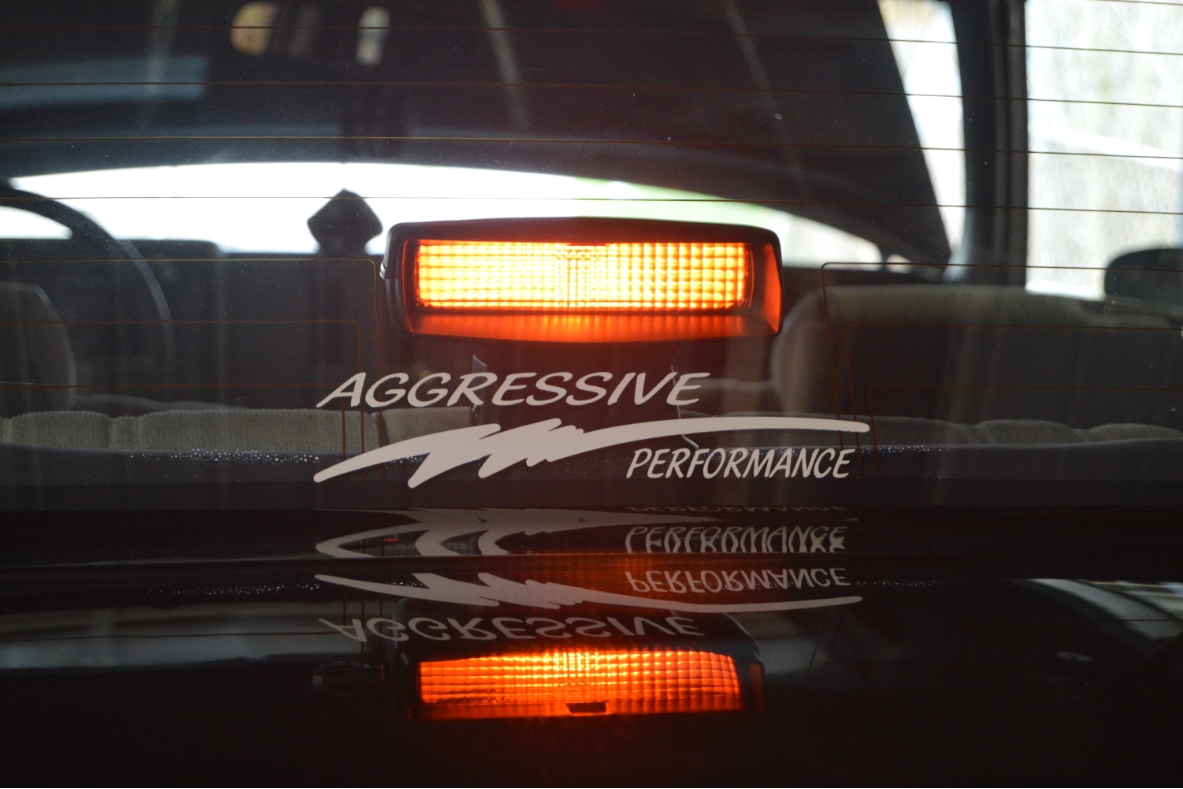
24) CHMSL (Center High Mounted Stop Light, AKA Third Brake Light)
25) Lower Door Panel Courtesy Lights (Limited models)
26) Aftermarket Dash / Other Extra Add-on Gauge Lights (a-pillar, console under radio, etc)
27) Opera / Coach Lights (Limited models)
You can click any link above and be taken to the light of your choice.
.