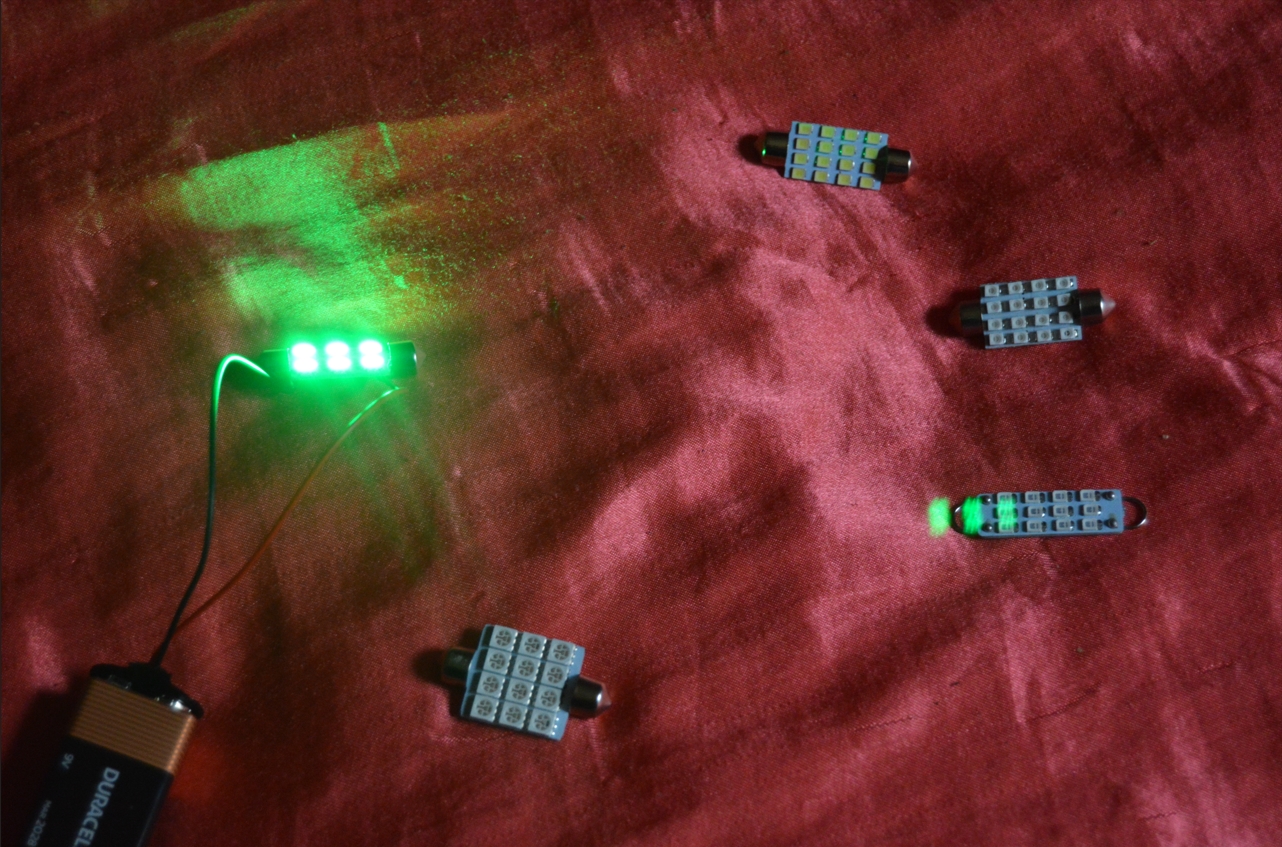
Most all aftermarket gauges, such as Autometer, VDO, etc., use the exact same bulb to light up the gauges.
The most common light found in gauges is a white bulb.
(some gauges can be ordered with different colored bulbs)
(some bulbs are white with a rubber colored cover/sleeve over them making them the color of the cover)
.
.
SPECS:
OEM BULB NUMBER: 194
SOCKET COLOR: varies by product maker. (but usually black or white)
NUMBER OF WIRES ATTACHED: 2
WIRE COLOR & PURPOSE:
Power wire = varies by product maker. (but usually yellow or orange)
Negative wire = usually black
.
Depending on how and where your gauges are mounted, will determine how the bulbs get changed.
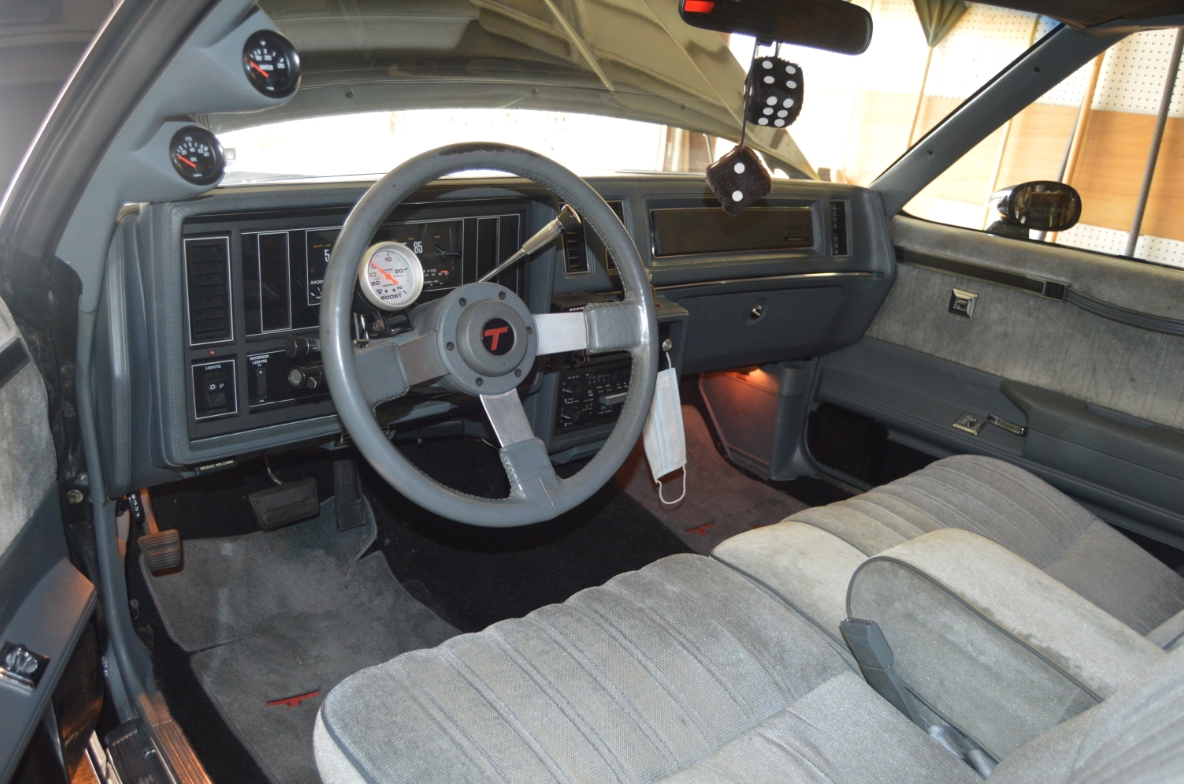
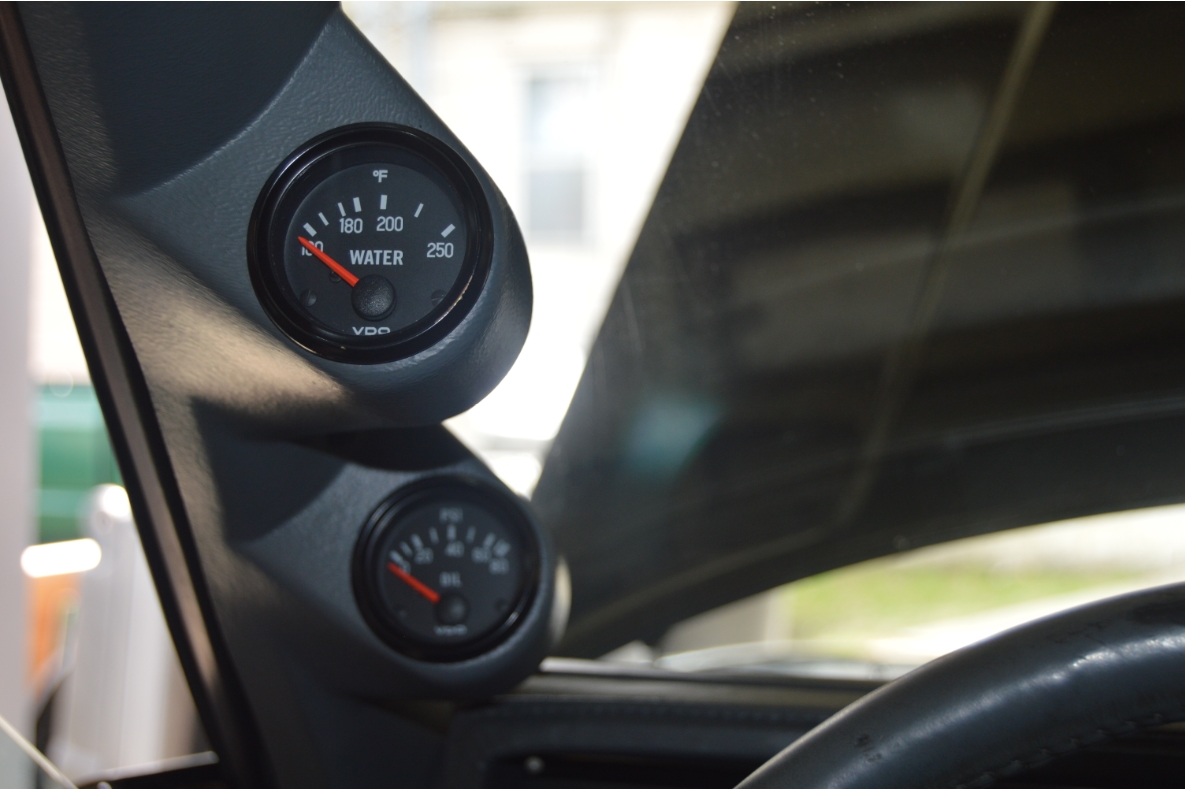
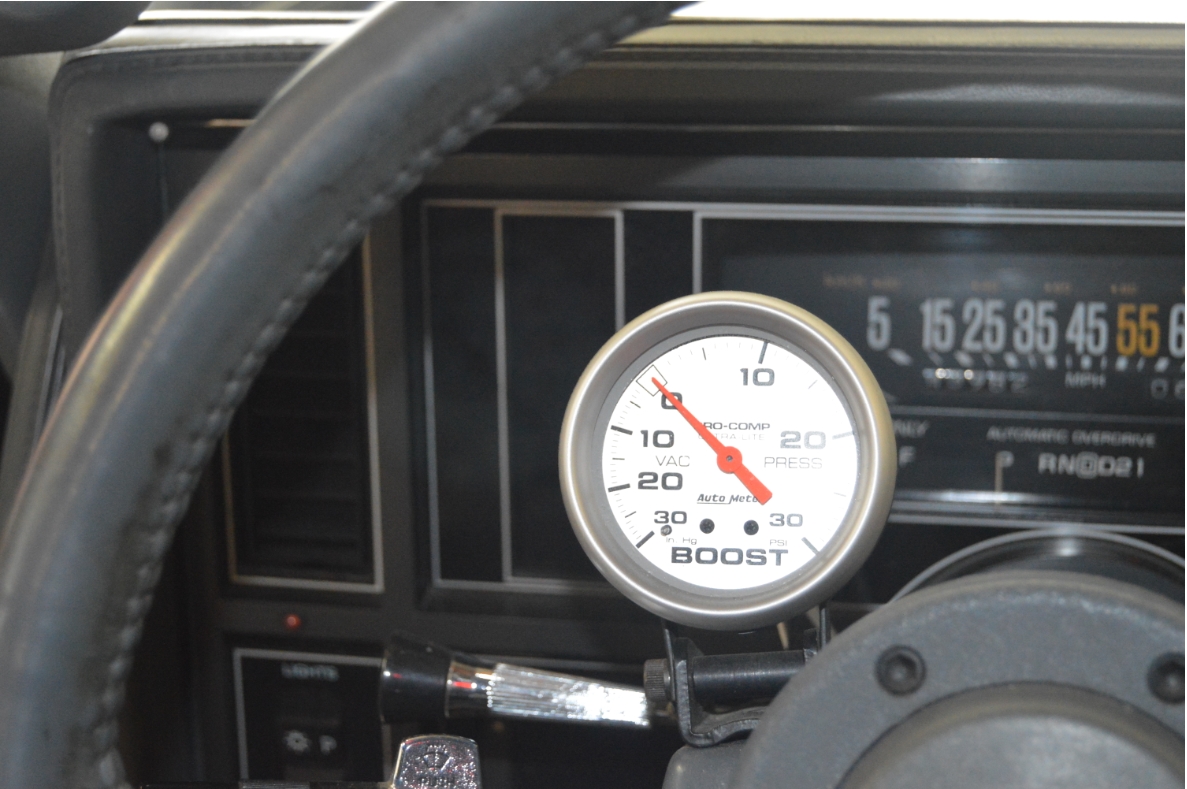
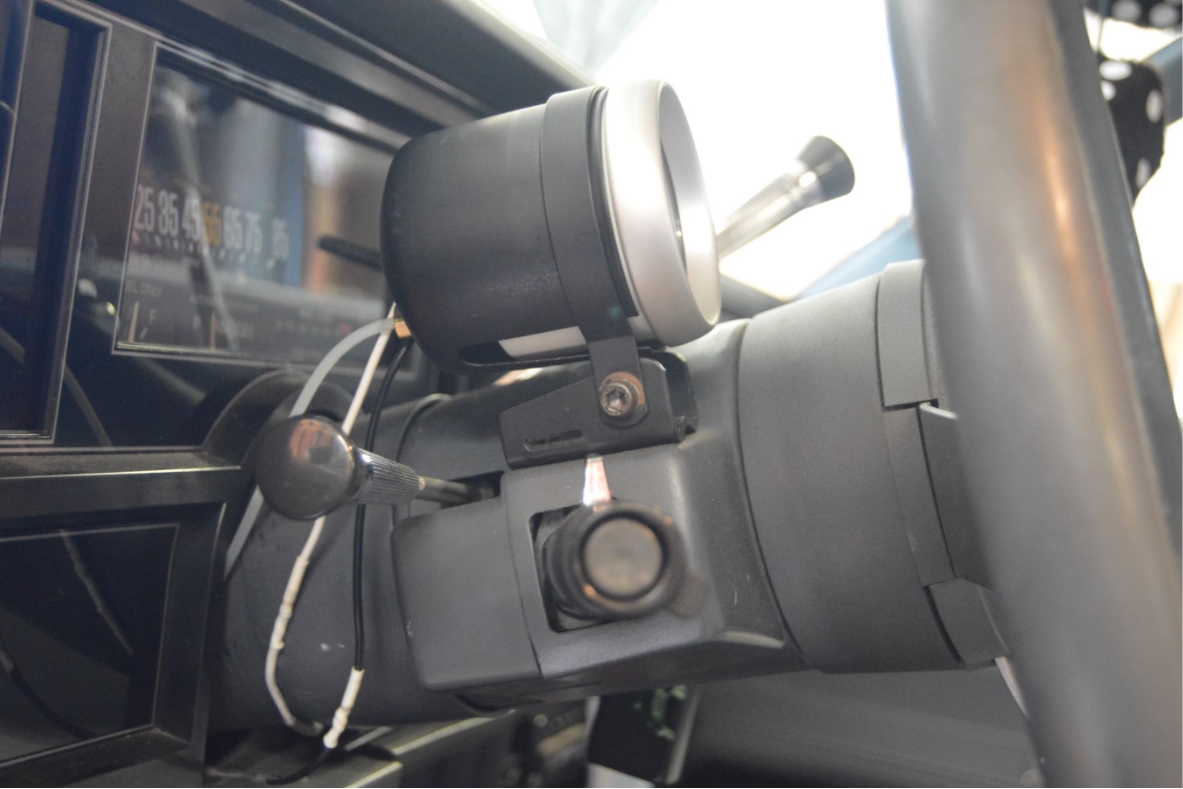
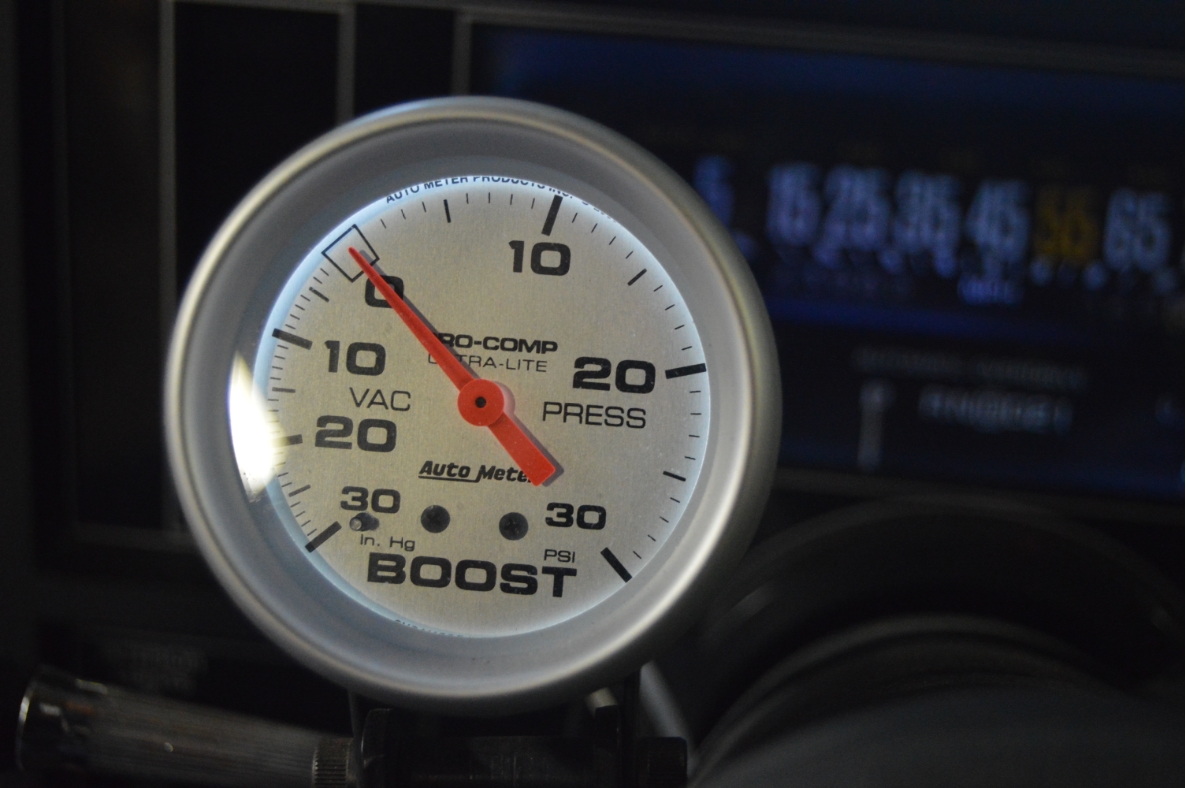
The WH1 Regal we are using for these examples has 2 a-pillar mounted gauges (water temp and oil pressure) and a boost gauge mounted on the top of the steering column via a clamp.
.
HOW TO CHANGE BULB:
.
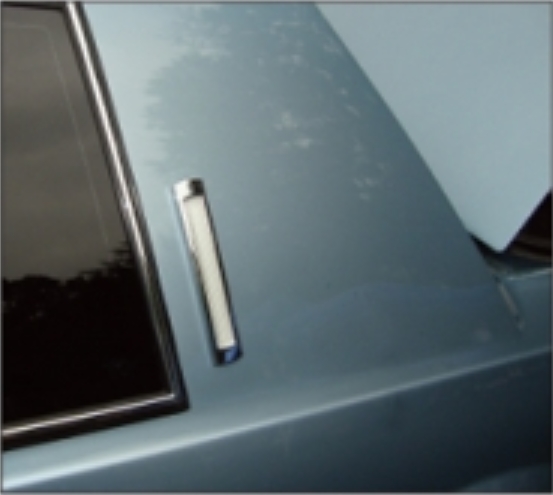
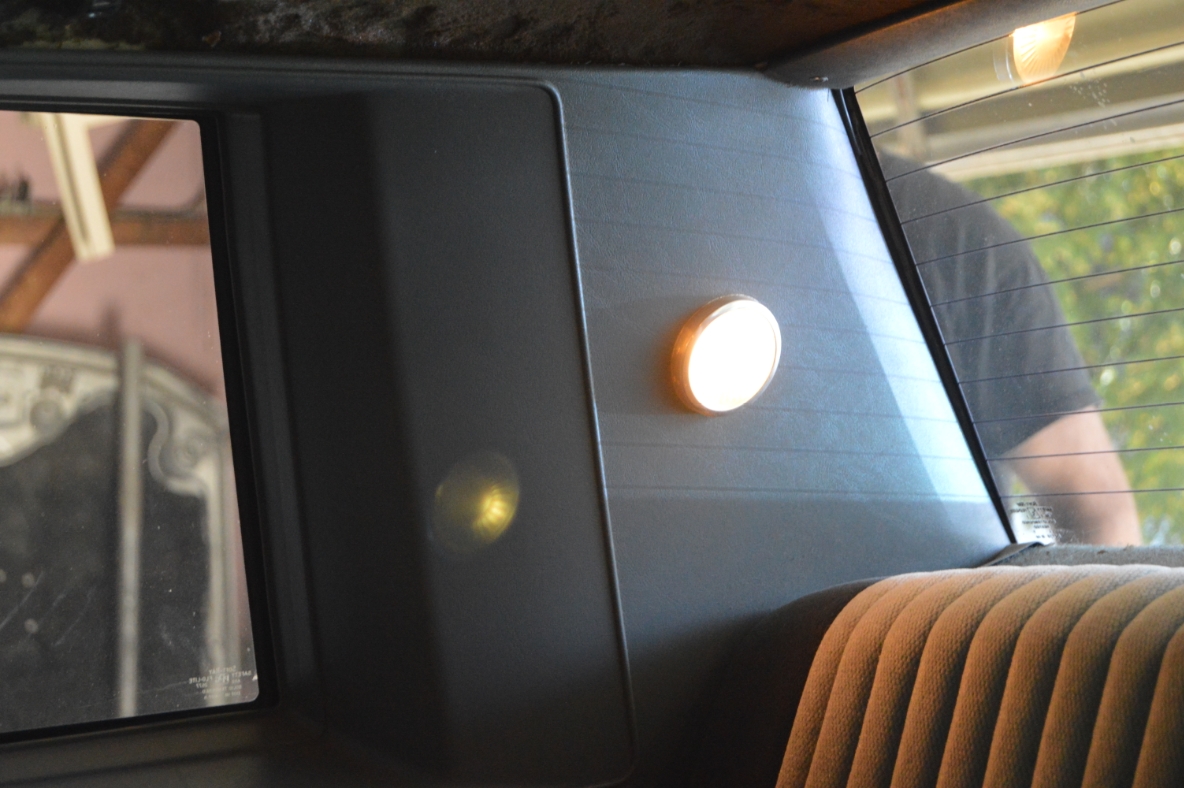
A-PILLAR GAUGES:
Gauges in this location are mounted within an aftermarket a-pillar post.
The wiring and lights are on the backside, and run down the a-pillar.
The most common covers are held in via the 2 screws that hold the stock pillar post in.
A phillips screwdriver will remove them.
You can then either pull the pillar out completely, or (most likely) pull it out (in the center where the gauges are) far enough to be able to reach the light socket. (sometimes it’s a tight squeeze to get the socket out!)
Twist the socket out.
Pull the bulb out.
.
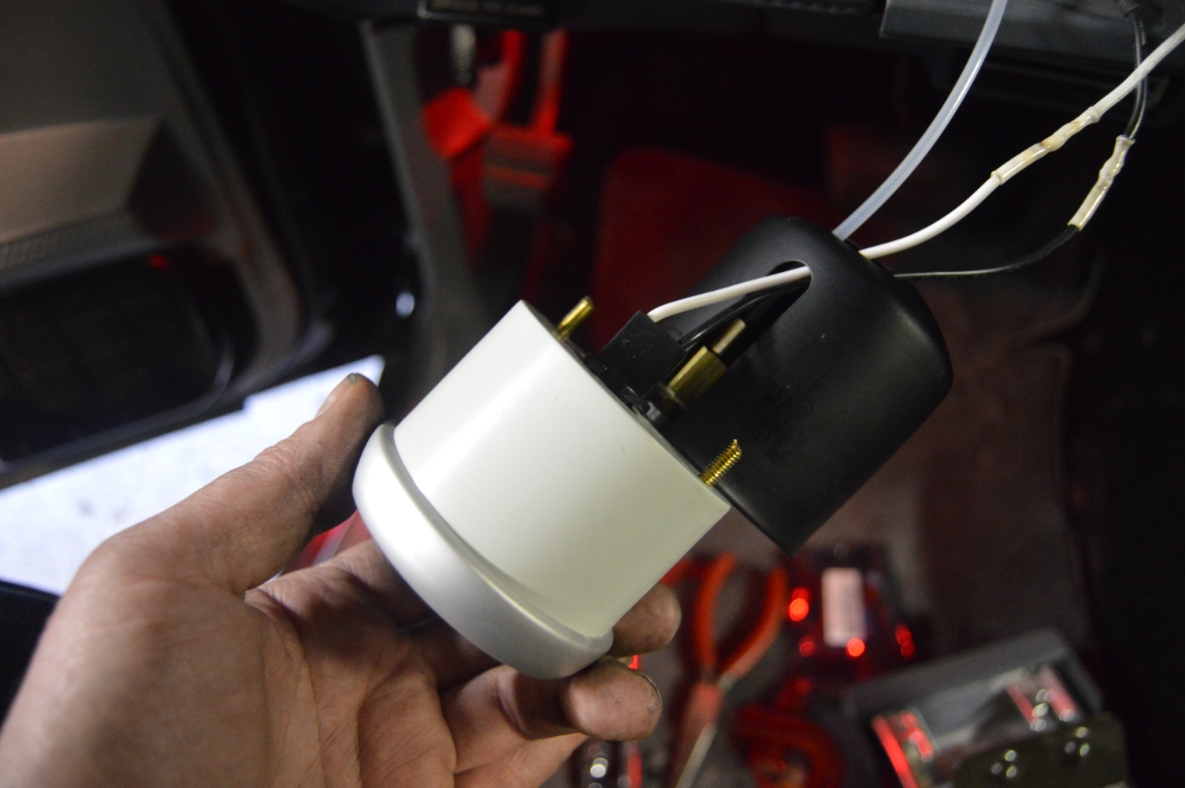
STEERING COLUMN MOUNTED:
Unbolt the clamp (allen wrench).
Remove the cup from the gauge.
Twist the socket out (black in this case).
Pull the bulb out.
.
.
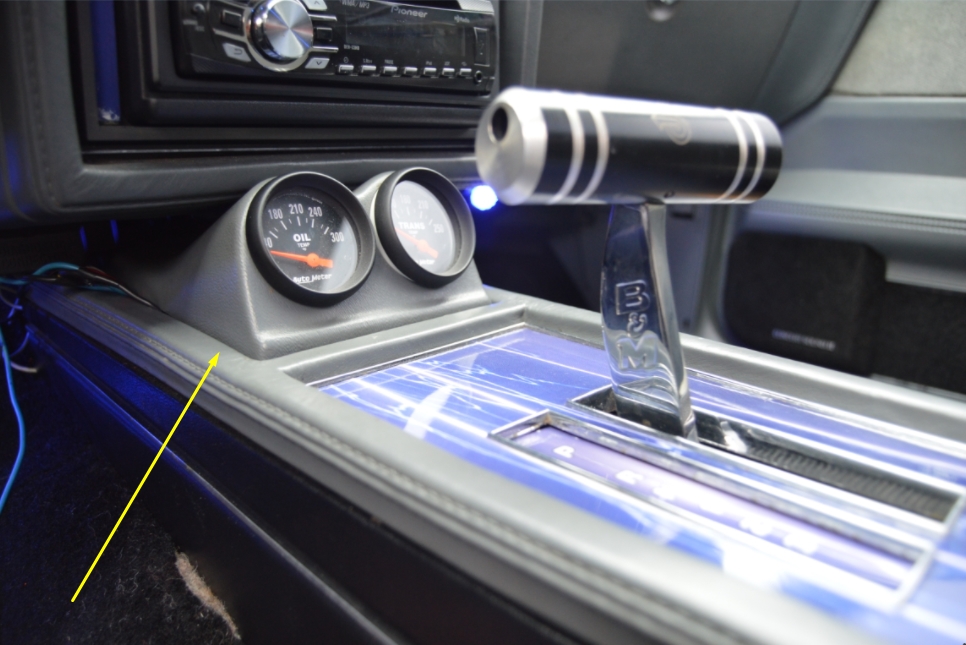
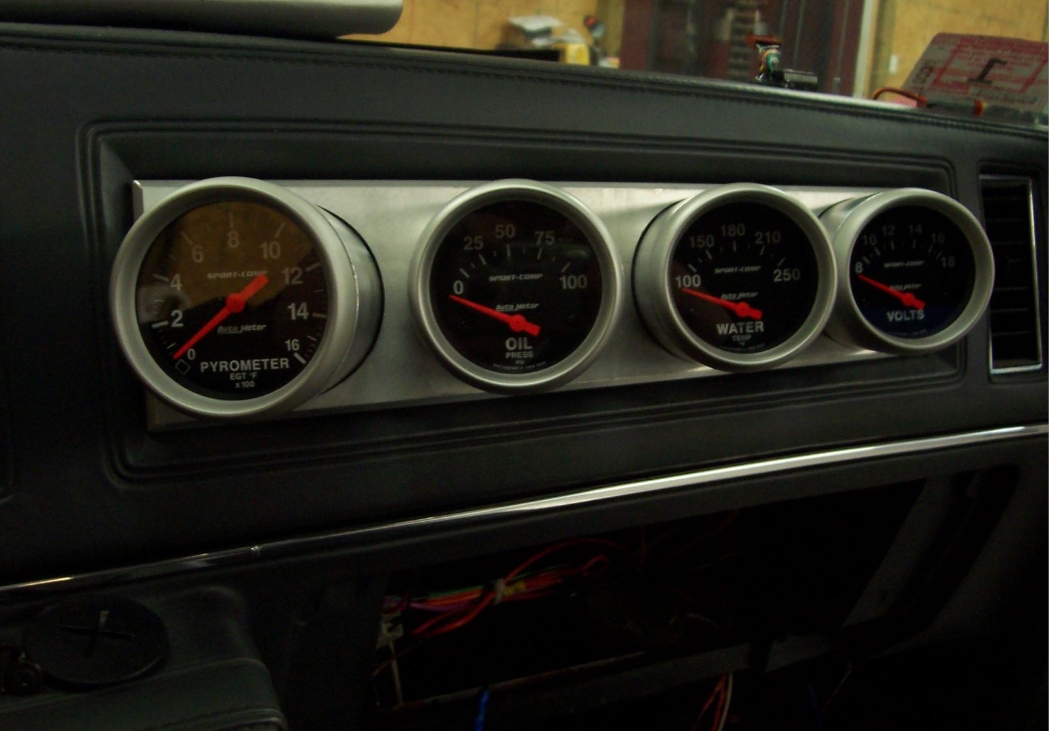
CONSOLE MOUNTED GAUGES:
Gauges located above the console, at the front, under the dash, are usually mounted on an aftermarket gauge holder.
You can simply slide the entire unit over to one side, flip it upside down to reveal the backside of the gauges.
Twist out the socket.
Pull out the bulb.
.
.
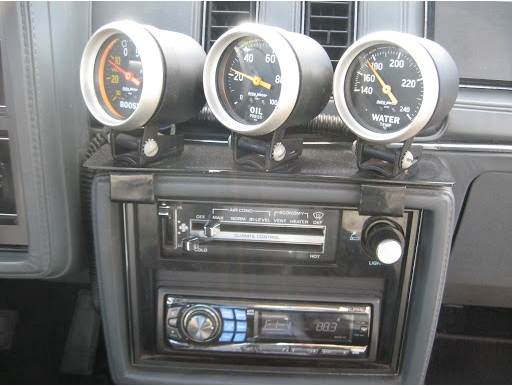
DASH MOUNTED GAUGES:
Center dash mounted gauges, above the radio section:
The bracket attaches to the dash, loosen it to remove the clamp.
Remove cup to get to the backside of the gauge.
Twist out socket, pull out the bulb.
.
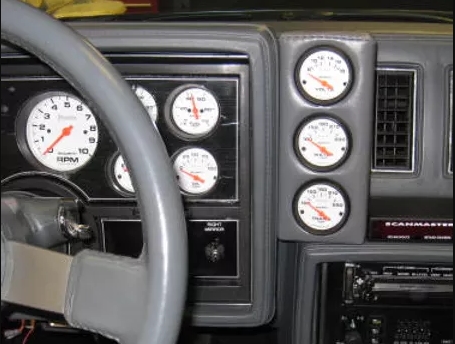
GNS 3-GAUGE POD CLUSTER:
These pods mount to the right of the stock instrument cluster, above the radio area.
The backside of the pod sits almost against the dash, so you can’t easily gain access to that area.
They are held on via a bracket that is under the factory instrument panel.
You need to remove that OEM section to get to that brackets bolt.
Once removed, you pull the entire pod forward, away from the dash, so you can access the backside of the gauges.
Twist out socket, pull out the bulb.
.
DASH PLAQUE MOUNTED GAUGES:
Depending on how the plaque is mounted, could be as easy as reaching behind the glove box, up behind where the plaque is at, and twist out socket, pull out the bulb. That’s assuming the area behind the plaque (on the dash) is a cutout area. If not, you will have to remove the plaque to get to the backside of the gauges, where the sockets are at. 4 pins are on the dash plaque with speed nuts securing it to the dash. Once the 4 nuts are off, you can pull the plaque off the dash and access the back side of it.
.
.
This is part of an ongoing series about the details & specifics on Changing Light Bulbs in your Buick Turbo Regal:
1) Overview
2) Head Lights
3) Bumper Lights (running lights, turn signals)
4) Front Corner Side Marker Lights
5) Front Lower Cornering Lamps (Limited models)
6) Under Hood Light
7) Brake & Turn Tail Lights
8) Backup Lights (reverse light)
9) Rear Running Tail Lights (center & side corner marker lights)
10) License Plate Light
11) Trunk Light
12) Under Dash / Courtesy Lights (driver / passenger side)
13) Glovebox Light
14) Dash plaque (usually on Limited models)
15) Dash Gauges / Side Warning Lights (analog & digital dash)
16) HVAC Light (heater / AC)
17) Console Shifter Indicator Light
18) Ashtray Light on Non-Console Cars
19) radio light bulbs
20) Rear Window Defogger Button Light
21) Rear View Mirror Map Lights (upgraded option, not standard on Regals)
22) Passenger Visor Vanity Mirror Light
23) Dome Light (t-top & hardtop; factory & upgraded hardtop versions)
24) CHMSL (Center High Mounted Stop Light, AKA Third Brake Light)
25) Lower Door Panel Courtesy Lights (Limited models)
26) Aftermarket Dash / Other Gauges (a=pillar, console under radio, etc) – (THIS page)
27) Opera / Coach Lights (Limited models)
You can click any link above and be taken to the light of your choice.
.